

How to Set Up 301 Redirects in Joomla
3 min read

Using redirects is a very crucial part of the internet. Just like physical addresses, your URL may change. If you do change it, your frequent visitors and regular users might find it hard to find you since the old and new addresses are separate. To prevent this, you can use 301 redirects. Put plainly, a redirect will effortlessly "direct" the user (and crawlers) to your new URL when they visit deprecated URLs.
Why is a 301 Redirect Useful?
Suppose your site has an affiliate program and details of this program could be found via www.example.com/affiliate. But recently you've changed the site structure and the permalink structure is also reorganized. So, the Affiliate page got a new address: www.example.com/affiliate-program. As a result, users who bookmarked the Affiliate page by the old address will get hit with a 404 error, because the URL has been changed. Such an embarrassing situation can be fixed with 301 redirects. Joomla has a built-in feature for this, called URL Redirect.
It's also useful if you want to maintain site authority and SEO weight while also moving the content to a different page. A search engine's bot will visit the old URL, be redirected, and crawl your new page while maintaining the old URL's weight.
How Joomla Handles 301 Redirects
Joomla handles 301 redirects using a built-in plugin called Redirect. You just need to follow a few simple steps to enable 301 redirects for any URL of your Joomla site. Let’s see how it works.
Step 1: Find the Redirect Plugin
Now we will see how to add a 301 redirect for the expired address to the current one. Okay, first, we need to login to the Joomla administration panel. Now let's click Components. There are several menu items under this.
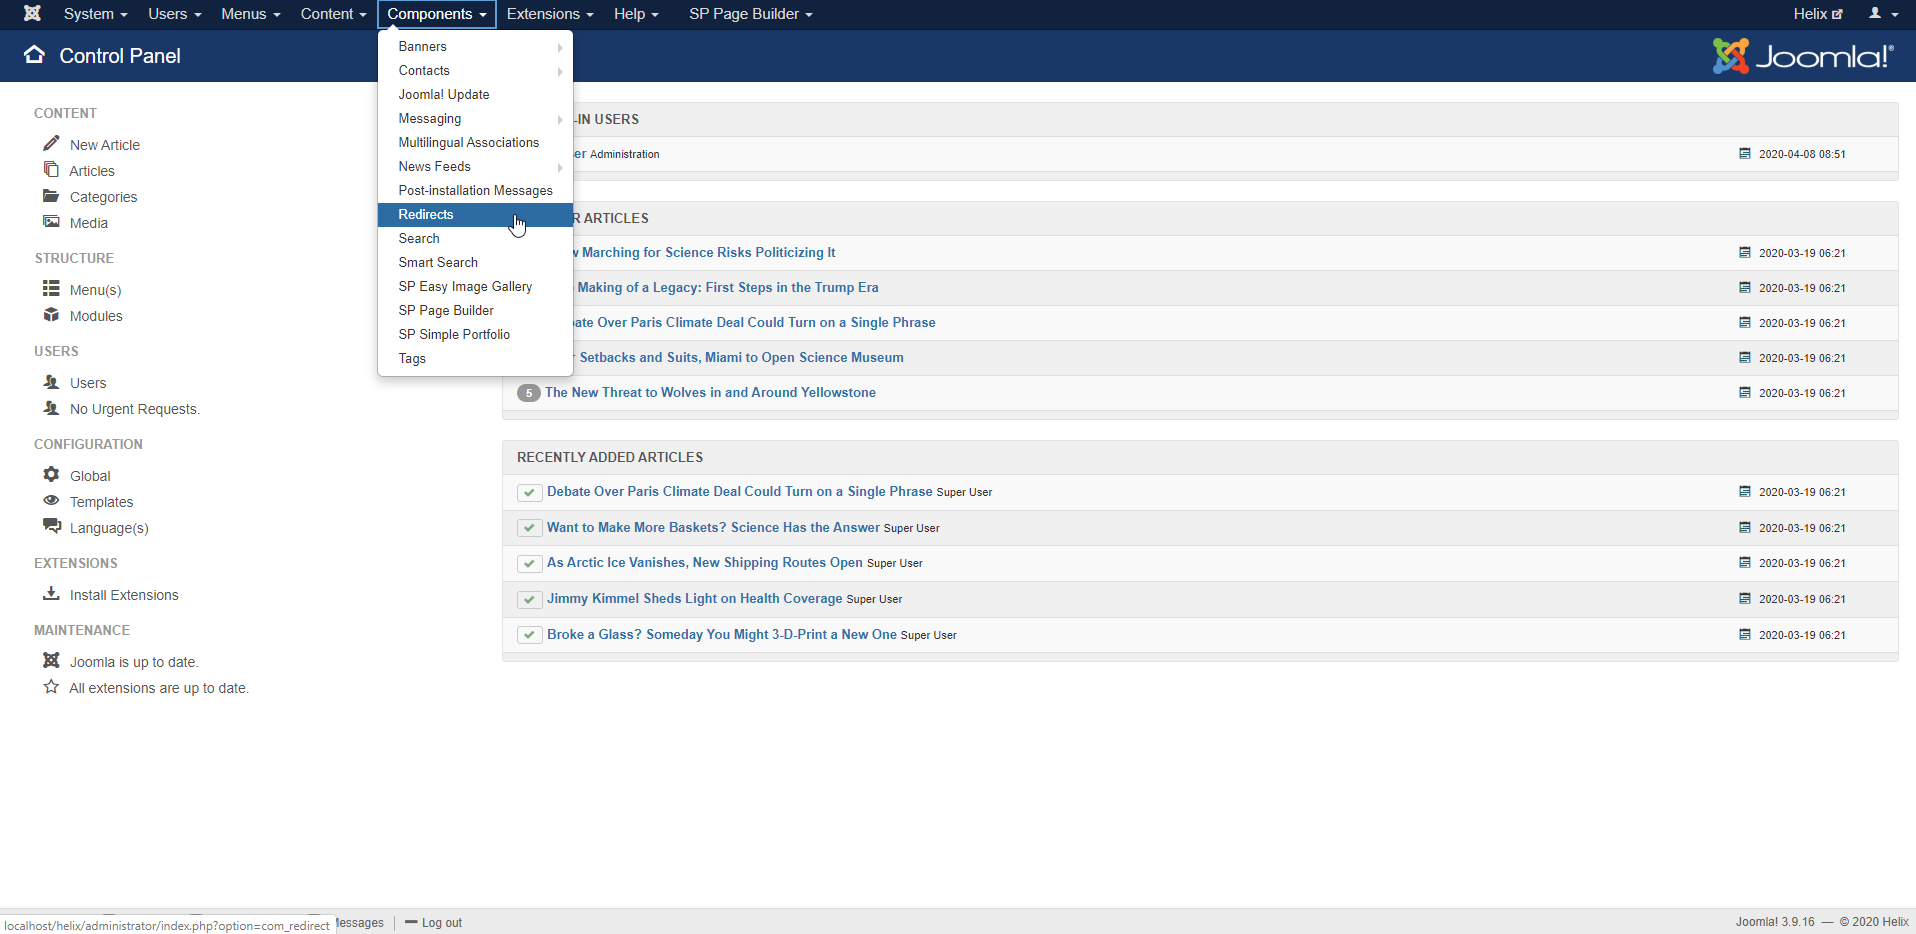
In the above screenshot, you can see the Redirect option. Let's visit that.
Step 2: Enable The Redirect Plugin
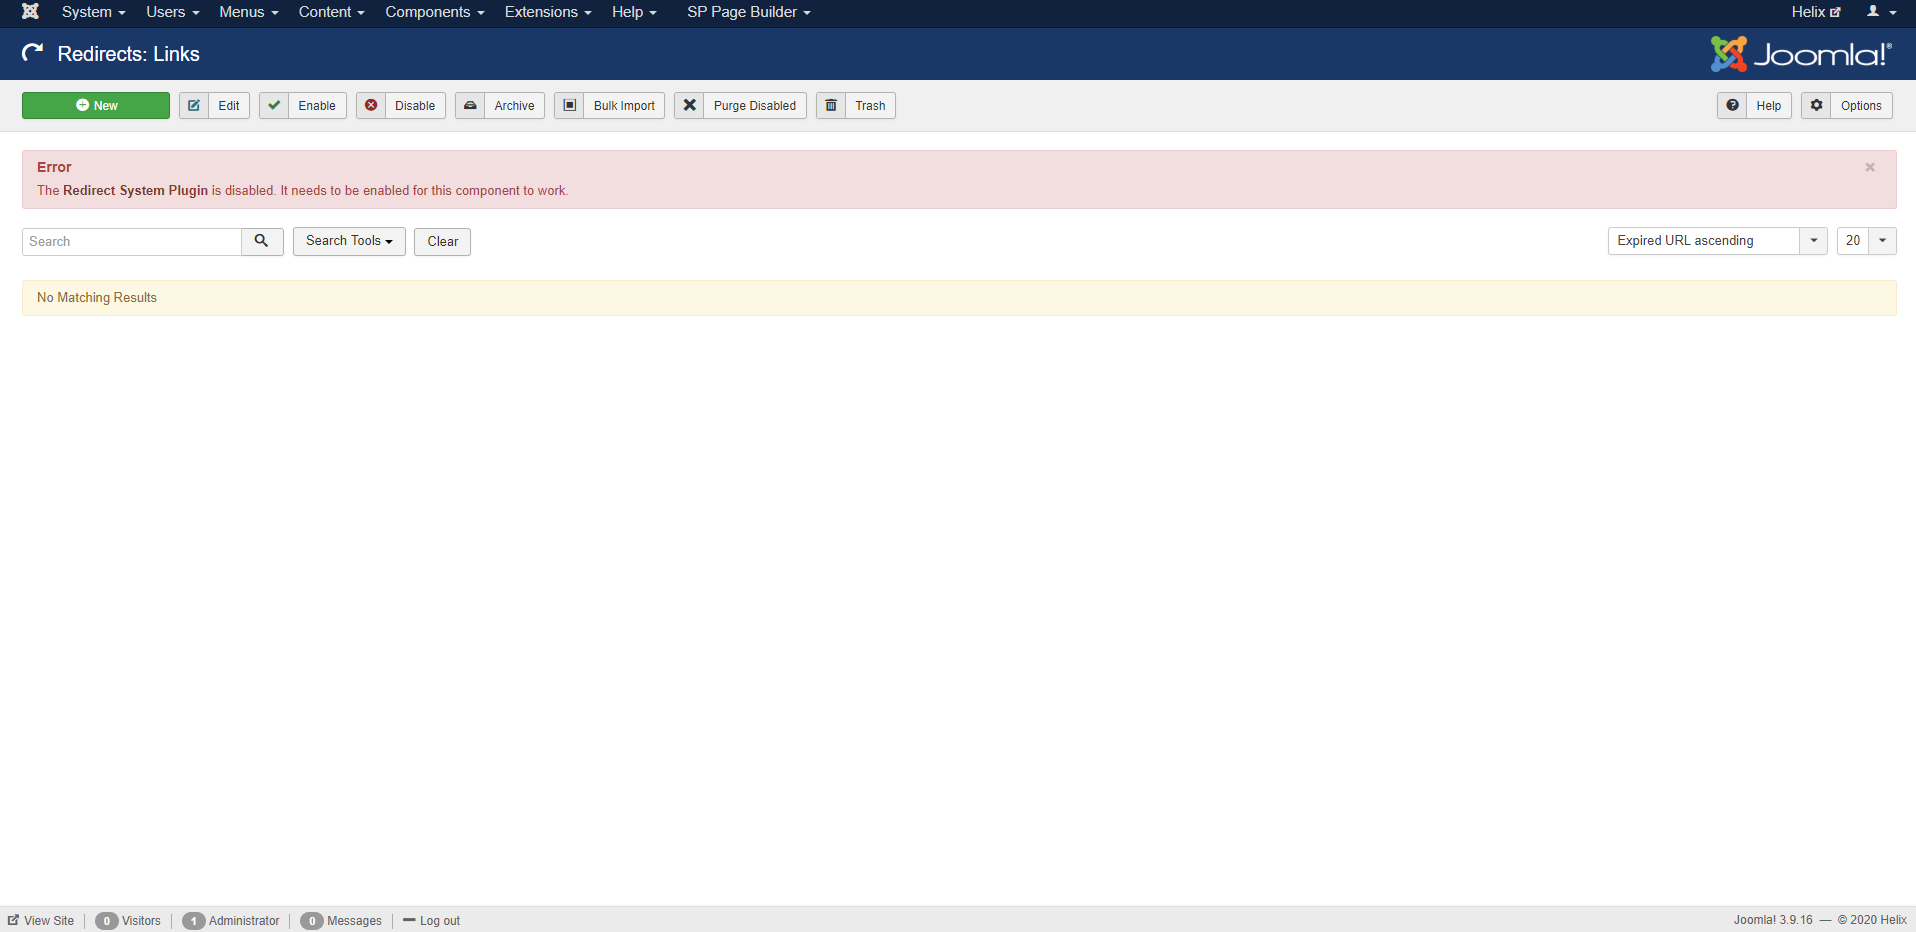
Oops! I think we're forgetting something. The Redirect plugin is disabled by default. Don't worry, we can enable it in one click.
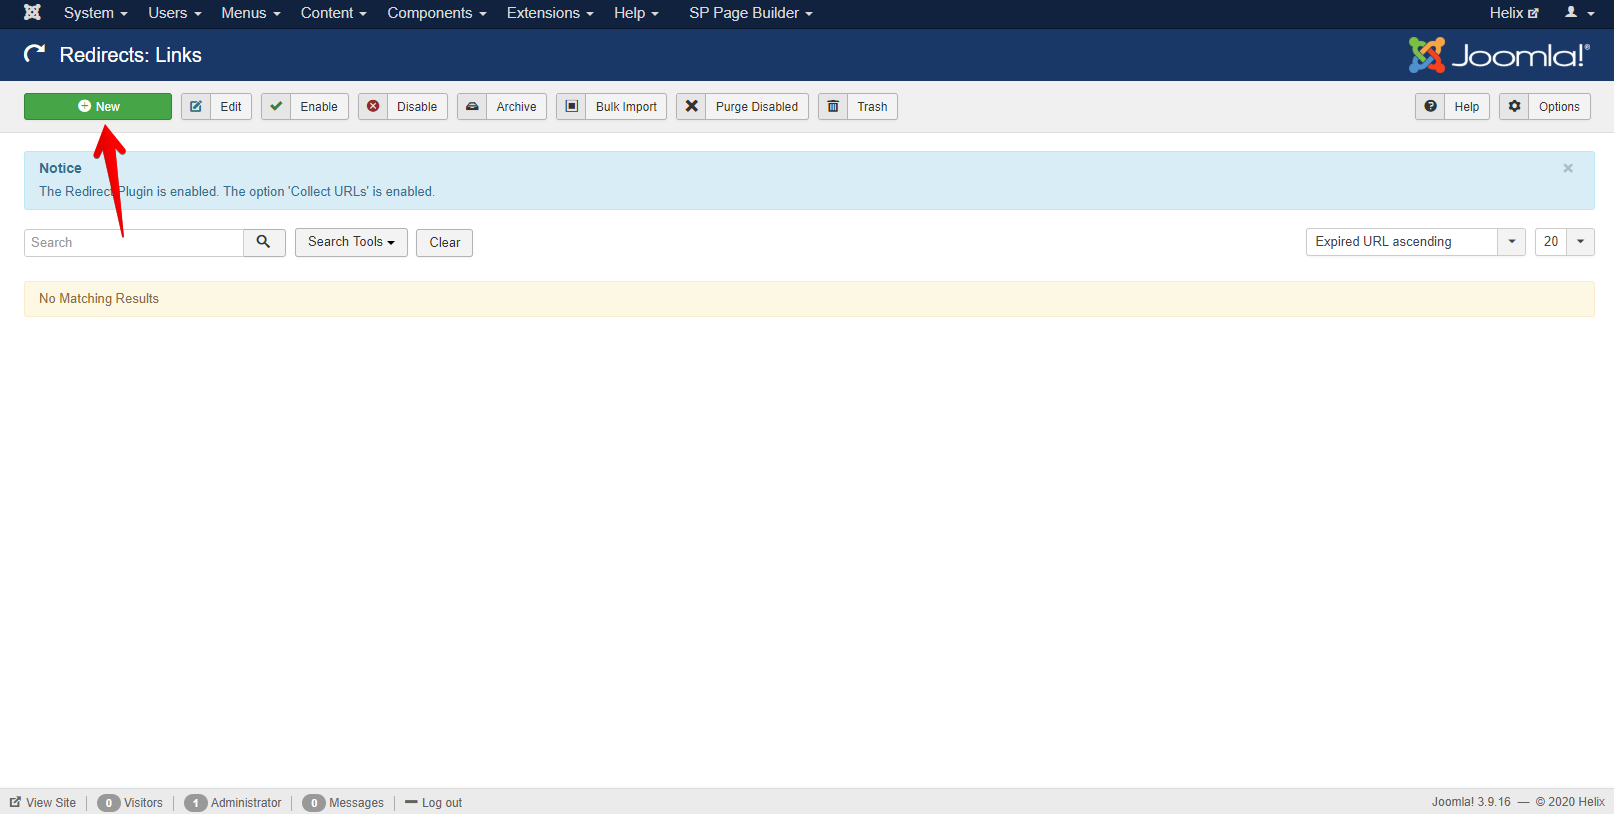
Now that the plugin is active let's head to Components > Redirect. Here it comes.
Step 3: Add The Redirection Properties
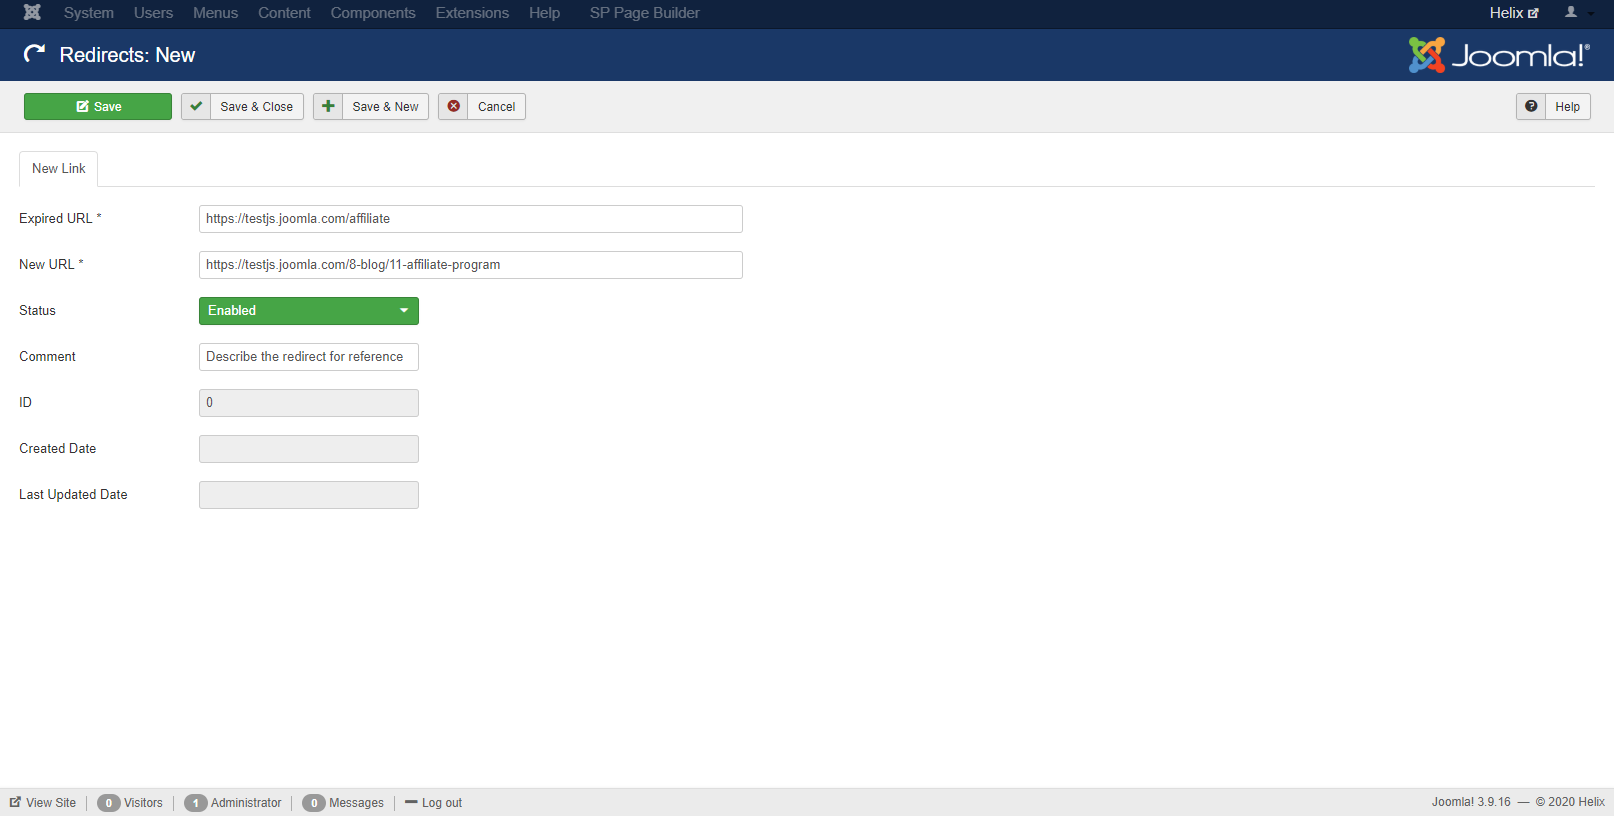
In this interface, click the "New" button. A new page will appear where you can input the source and destination addresses. Remember, the source is the old (expired) URL and the destination is the new URL.
You can add a comment for reference about the redirect link as well. The system will generate an ID for each 301 redirect item. It will also record the date when it was created and updated.
Step 4: Test The Feature
After filling these fields, click the Save button. Now, to test the 301 redirect, visit the old (expired) URL. It should redirect to the new address. That's it.
Wrapping Up
This post is based on Joomla! 3.9.14. I hope you will find Joomla's 301 Redirect feature helpful. Please let us know your experience with this handy utility. Thanks for reading.
Note: This article was originally published on 26 August 2015, and updated in 20th April 2020 with additional information.


Step 1 - disable page.
Step 2 - go to the url of this disabled page to get 404.
Step 3 - now you can configure a redirect.
--
For more advanced users we also recommend using Sh404sef extension.
My skills have continued to grow since I came across joomshaper.
Forgive me for my poor English skills...
Cheers to the joomshaper! :)