How to Display Testimonials & Clients on Your Website to Grow User Trust

Users in this digital age are well informed, well researched, and typically have good knowledge of an industry they are interested in. If that is the case, how can you leverage this fact to boost your business or website? If well-informed consumers look for high-quality and well-reputed businesses to work with, that is what you should focus on: credibility.
Today, we’ll be doing exactly that. We will show how to build a section on your Joomla website powered by SP Page Builder and create a beautiful and professional-looking testimonial section along with client icons.
Why is it Important to Showcase Testimonials and Clients?
So what exactly are testimonials and clients, and why is every web designer obsessed over it? Well, testimonials are formal statements written by customers or renowned people of the industry whose opinions hold a high value to the community. On the other hand, ‘Clients’ is a section where you can place your former, current and long term customers, partners, and affiliations.
Businesses need to set themselves apart from the crowd to gain more customers and drive sales. One way of doing that is to be perceived as trustworthy and reliable. And the best way to do that is by word of mouth: asking relevant and influential people from the industry to vouch for you. This is where the Testimonial sections come in.
Variations of Testimonial Tools in SP Page Builder
We have 3 versions of testimonial tools present in SP Page Builder, each with their strengths and scopes. They are:
- Testimonial: A simple addon with the barebones features of a testimonial. It contains an avatar, designation, and a text field for the client's statement.
- Testimonial Pro: This is the scrollable variant of a testimonial, which comes with more in-depth controls and features as well.
- Testimonial Carousel: Testimonial Carousel is an addon that adds scrollable interactive testimonials with a plethora of design options.
For the sake of our tutorial here, we will use the Testimonial Pro addon and the Clients addon as I prefer the kinds of customizability they provide.
5 Steps to Show Testimonials and Clients on Joomla
For this tutorial, we will use Indigo, a multipurpose business Joomla template based on Helix Ultimate framework and SP Page Builder. To create and design this crucial part of the webpage, all you have to do is to follow the next 5 steps and you’ll be just fine!
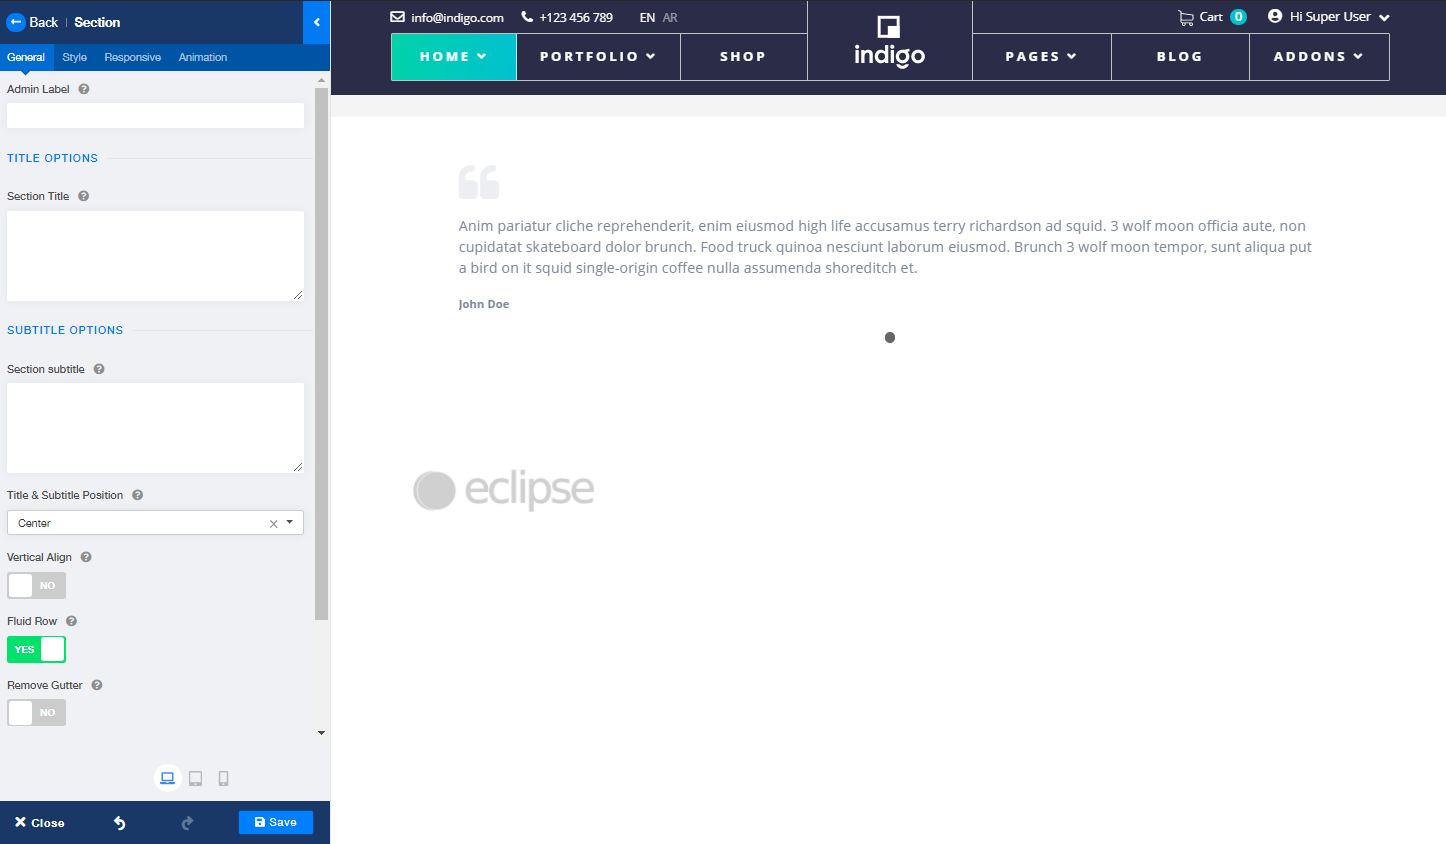
Step 1: Define the Row Structure of Your Preferred Page
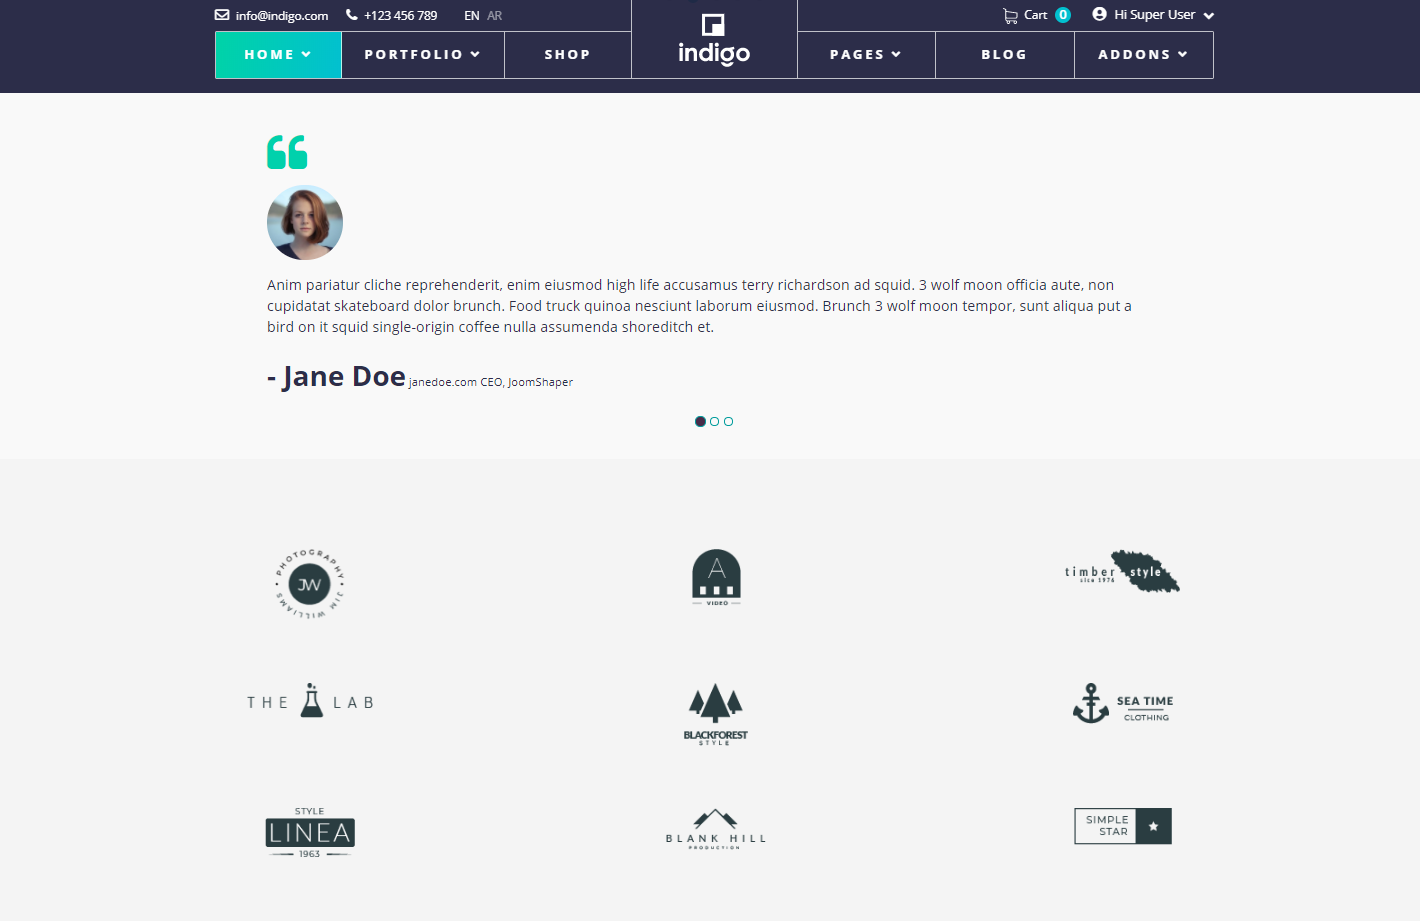
The row structure should be very elegant yet simple. To get started, we will use a row with 1 column for the testimonial pro addon. Remember, this addon is scrollable so this one column will be able to hold several testimonials. After that, we’ll use another row with 1 column for the clients section.
Step 2: Visualize Your Perfect Structure and Layout
Before we get started, we need to visualize our final result. I will target a testimonial with medium sized avatar image and text spanning about 800 pixels. I will also have linked social icons for the author of the testimonial. The color scheme will be light-blue and light-grey to mix well with the other parts of the page. And last but not the least, I will create a client list with several transparent icons which I will source from their websites and demo ones.
Step 3: Place the Addons for Testimonials and Clients
To start designing, we will simply search for “testimonial pro” in the sidebar search and drag and drop the Testimonial POro addon to the first row. Then we will search for “clients” in the same search bar and drag and drop one client addon to the next row.
Step 4: Customize the Addons to Fit Your Design Needs
After that, we’ll design our testimonial addon and client addon to fit our design needs.
First things first, we will enable “Fluid Row” from the section settings of both our rows so that we can select a custom width for both. Then, we will add a generous padding around the Testimonial Pro addon. For this use case, I used 270px.
![]()
Moving on, we will add an image for the clients’ avatars, and then increase the size of the avatar image by adjusting the “Avatar Width” slider in the General tab of this addon. I will also increase the size of the icon by adjusting the "Icon Size" slider.
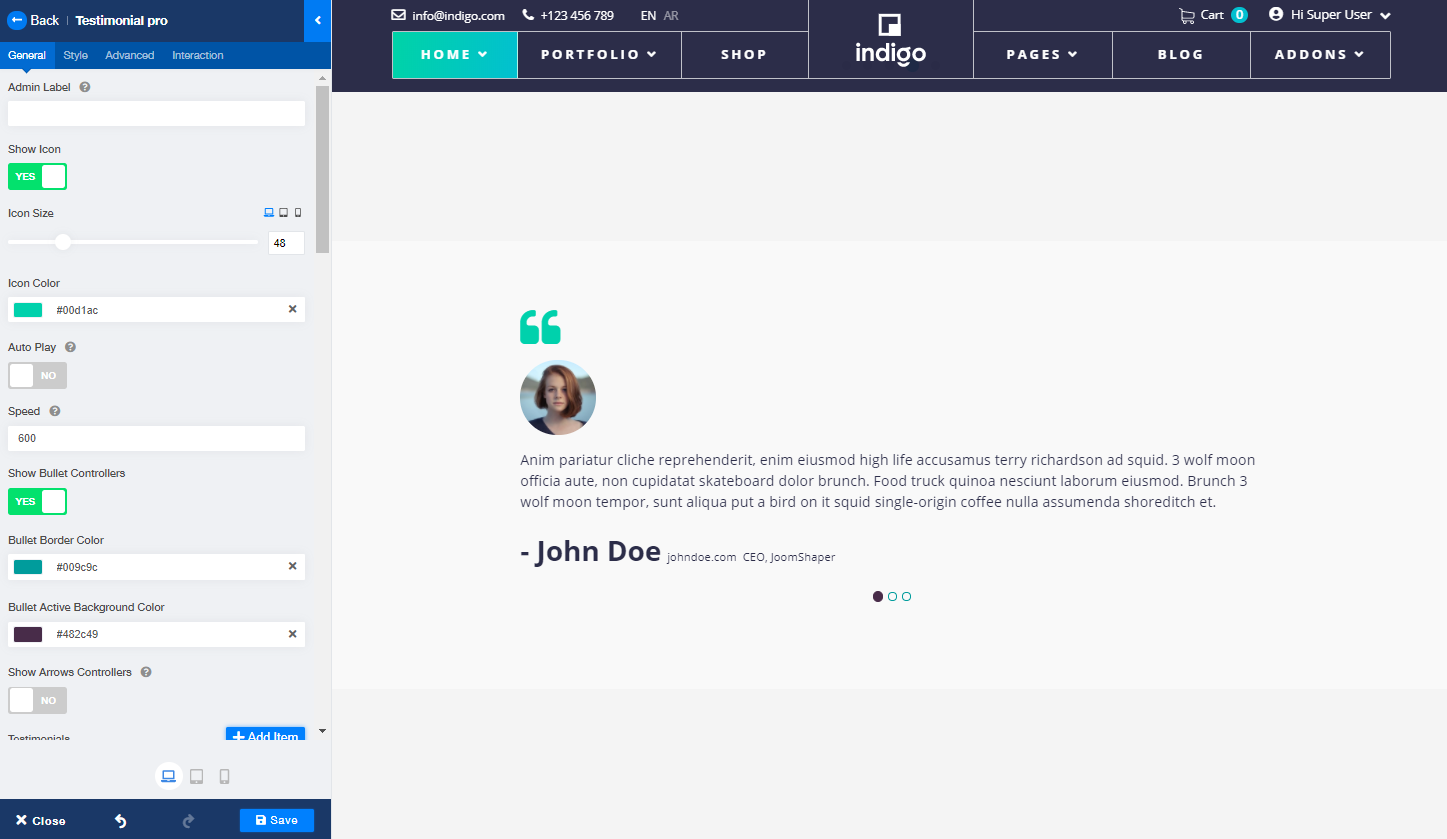
After that, we will change the colors of the text, links, and so on to match that of the website itself. The color settings can be found in the Style tab of the addon. You can also enable Auto Play to constantly rotate the carousel and showcase other reviews
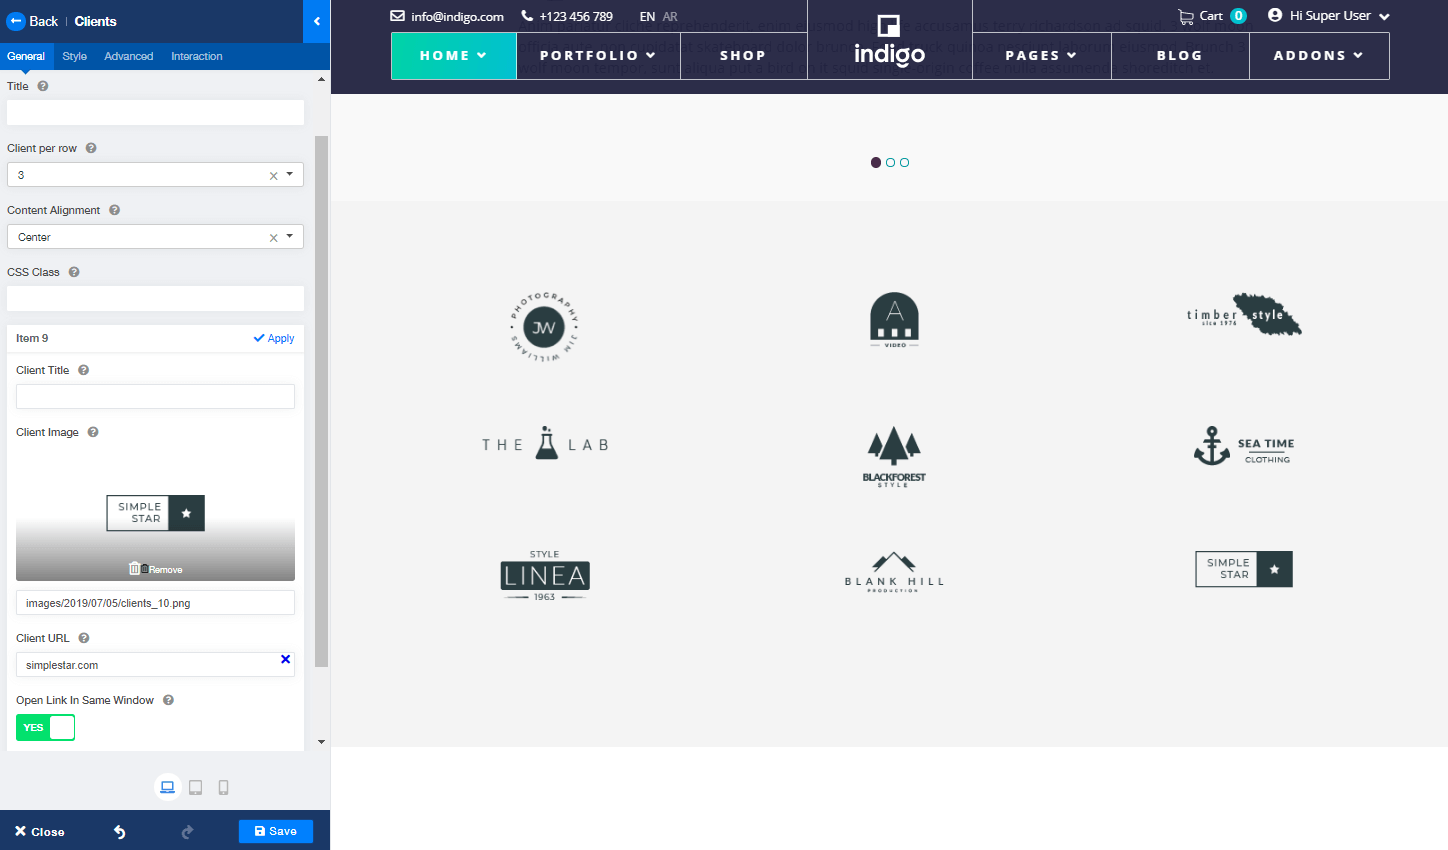
Moving on to the Clients addon, at first we will add all the logos. To add more clients, click on “Add Item” and add as many as you want. Make sure to change the “Client per row” and you can change content alignment to center. For our tutorial today, we’ll use 3 clients per row and a total of 9 clients.
In this tutorial, we will use monochromatic logos. You can also go with colorful logos. The best option is to simply go with the clients’ original logos. To add the logos, go into every client item and either upload, or place a URL of the logo. You can also add a client URL so that a visitor can click on the logos to visit the client website.
Step 5: Customize the Content to Represent Your Business
Testimonials are, put very simply, positive reviews from influential people that the visitor might know and respect. Therefore, the content in it and also around it needs to be customized so that a visitor gets hooked instantly. So pick the authentic and most impactful ones.
We’ve given you all the tools that you might need to completely customize these crucial pieces of your webpage to maximize the site authority. Therefore, you can always keep adding newer testimonials on the same carousel to add even more value to it.
Wrapping Up
We hope this tutorial helps you out in designing or customizing a Testimonial and Clients section on your website or current project. You can also check out our SP Page Builder layout bundles, premade blocks, and Joomla templates to use from. All you need to do to them is customize like we showed you!
And as always, leave us a comment, we love to hear you out!
Try SP Page Builder for FREE!Get SP Page Builder ProRate on JED