

Add a newsletter subscription form to your Joomla blog with AcyMailing and SP Page Builder

Newsletter is the perfect medium to build strong communication with clients and prospects. US research firm Nielsen Norman Group surveyed on numerous products’ clients and asked them how they would love to be updated on their desired products. 90% clients cited on newsletter and 10% voted on social media. A good and effective newsletter is that much important for your products platter.
Why Newsletter is Important?
Newsletter is always a broad concept. It not only connects you with your clients but also lets you draw your clients close to know more about your vision, hype and perspectives. At the very first look, your potential clients may not get the full picture of what you are going to offer them, they may stall themselves buying your products, may want to reconsider. But with newsletter you have the perfect information bearer to get your clients to know about your awesomeness.
In that case, getting more and more recipients should be one of your priorities. A newsletter subscription form will allow you to get them. Today we are going to enlighten you with step by step guidelines of adding a newsletter subscription system to your blog with AcyMailing and SP Page Builder.
AcyMailing: Joomla Newsletter Extension
AcyMailing is a newsletter and email marketing extension for Joomla. It enables you to manage your newsletter subscribers, craft mailing lists and personalize your newsletter with most possible effective ways with multilingual approach, Joomla article inclusion and validation of email addresses.
Step by Step Procedure
Before adding the subscription form to your blog first we are going to set up the environment by installing the AcyMailing component, then we have to customize module options to add AcyMailing module to SP Page Builder Joomla Module and finally we will implement the design with SP Page Builder.
Step 1: Prepare the Environment
Download AcyMailing: Visit Acyba website. There are four download options containing various feature based variations. You need to choose your right option and download the file.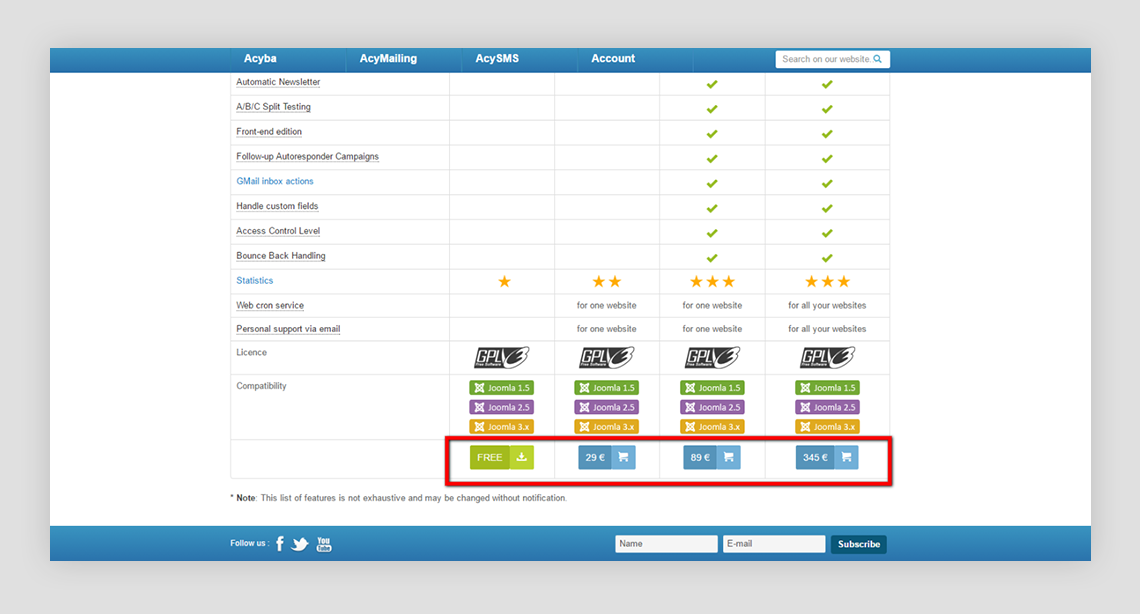
Install AcyMailing
Go to your site’s Joomla administrator control panel. Navigate to Extensions > Manage > Install. On the upcoming page, choose the downloaded file and click upload and install. Your AcyMailing component is ready to go.
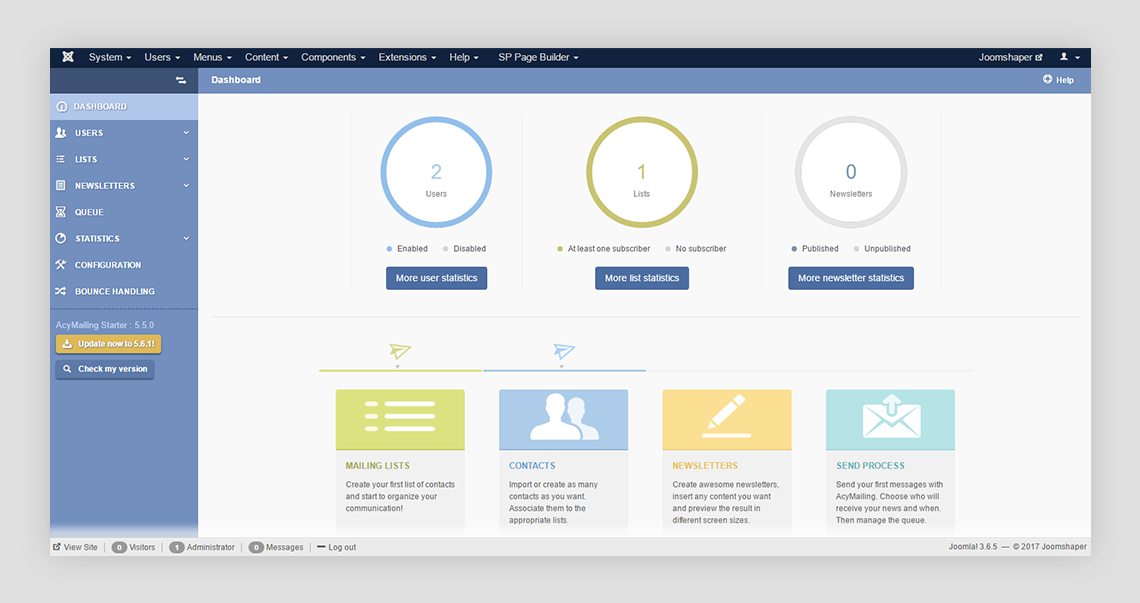
Now that, AcyMailing has been installed on your Joomla site. Head to Components from the top menu bar and click AcyMailing to open the extension dashboard. Here is a screenshot of the AcyMailing dashboard.
Step 2: Create a Newsletter Subscription Form with SP Page Builder
You have to follow two easy steps in order to add your subscription form with SP Page Builder. First you have to add the AcyMailing module to SP Page Builder Joomla module. Then you have to implement the design with the page builder addon and other functionalities.
Add AcyMailing Module to SP Page Builder Joomla Module
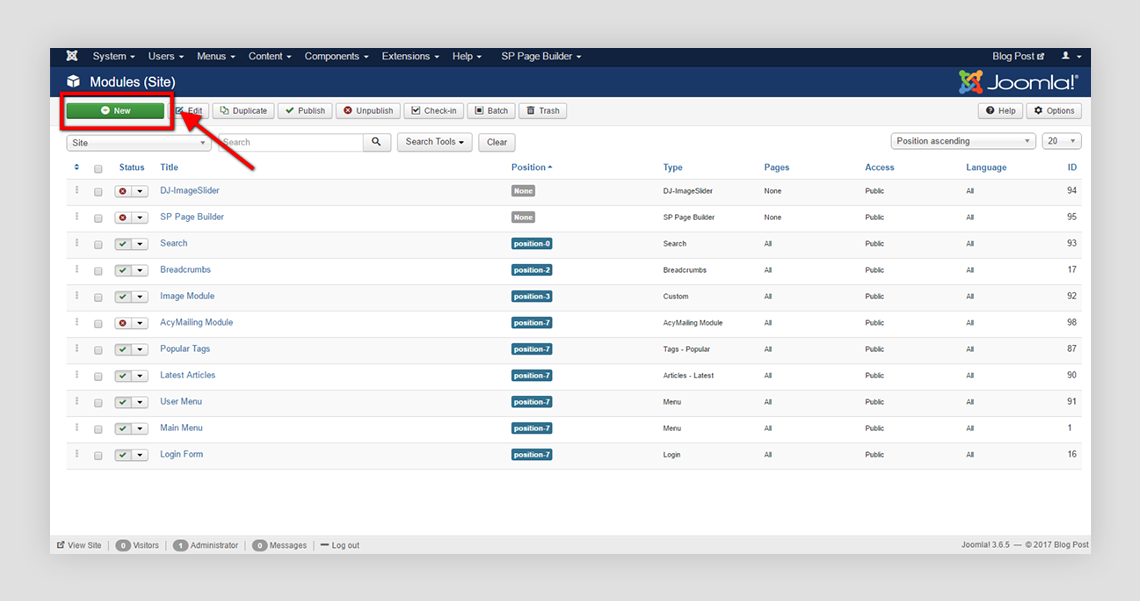
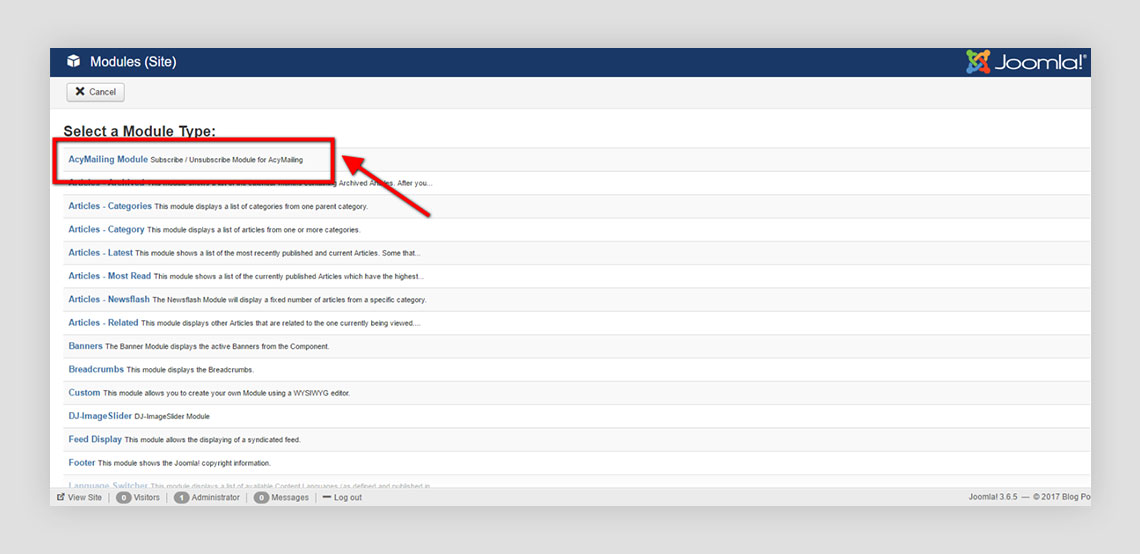
First go to the Extensions menu, from there you need to select Modules. After the appearance of modules page (Extensions > Modules), now it is your job to add a new module to SP Page Builder Joomla module. So click New.
After clicking New to add a new module, now select AcyMailing Modules that you installed few seconds ago. After the selection of AcyMailing module, the page of the module will appear and you have to do some customizations here.
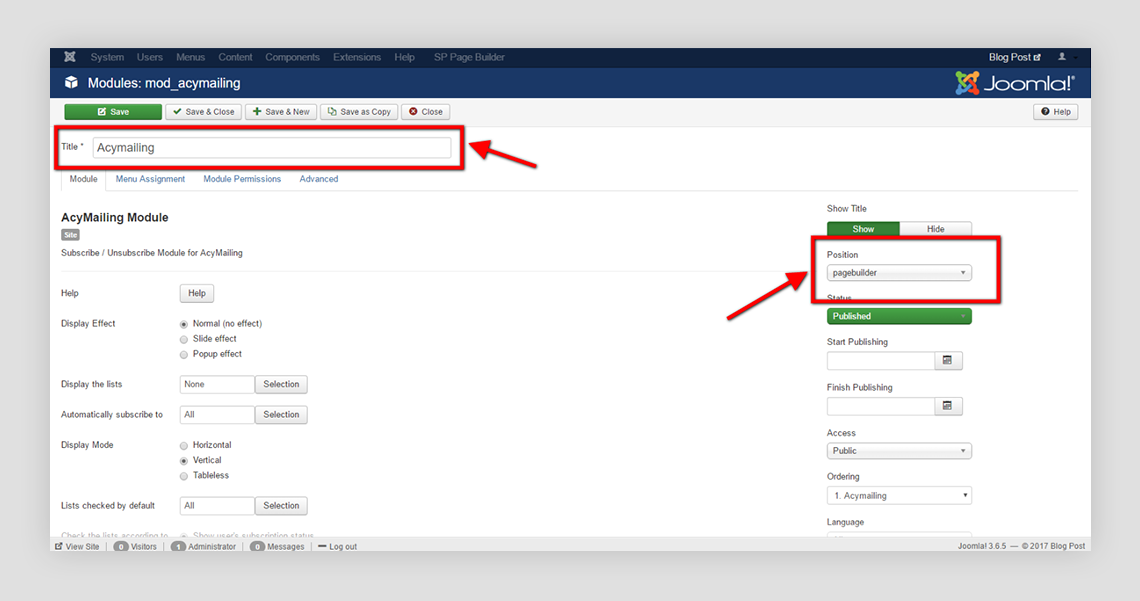
In the AcyMailing Module page, give the module a name in the title section. In that case you can name it AcyMailing. Now let’s change the default position of the module to Page Builder. Do so according to the procedure given in the image.
Implement the Design with SP Page Builder
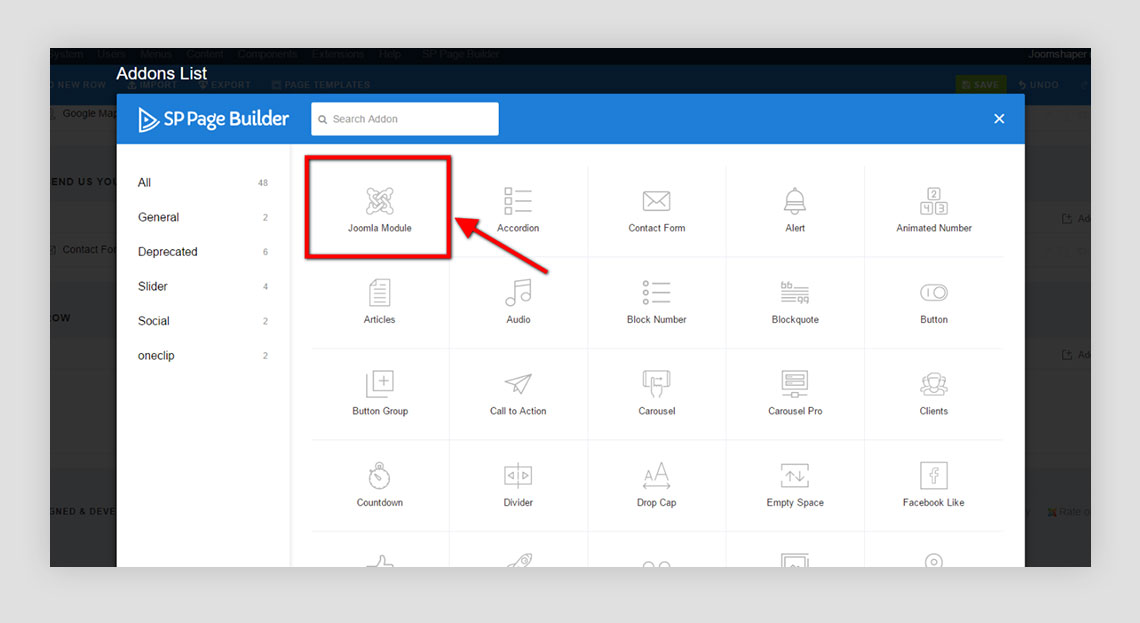
First you have to select the addon “Joomla Module” from the SP Page Builder addon list. From there you have to select AcyMailing from the Module section. You can add a title here but if you want to add a title and subtitle, you have to edit the row option from the SP Page Builder frontend editor. In the row option you are availed to add a title and a subtitle, also some background options.
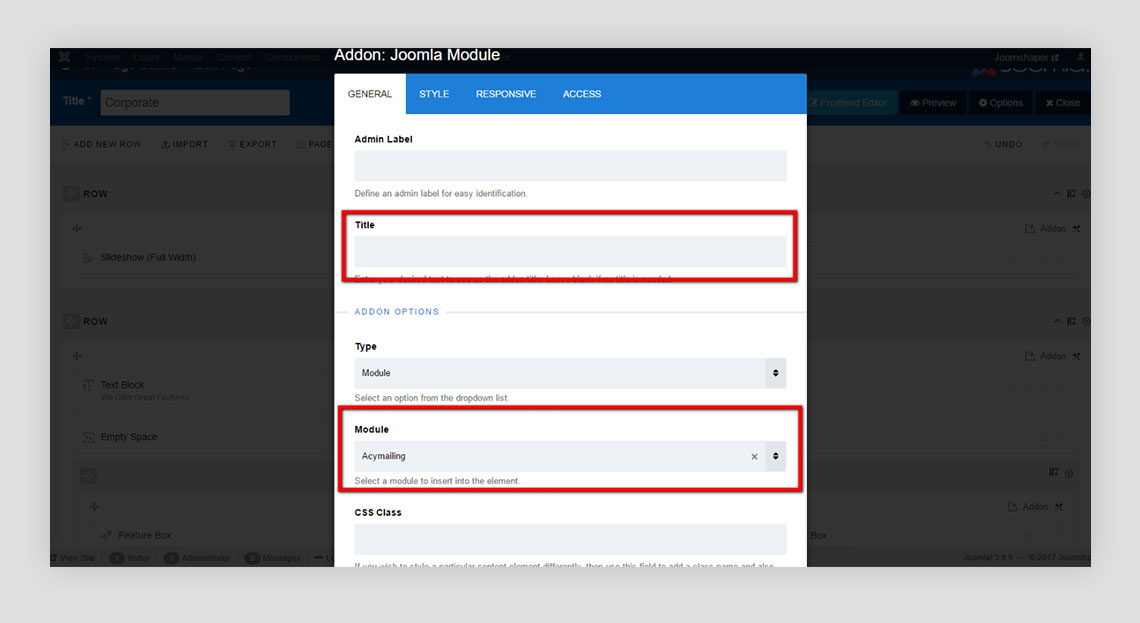
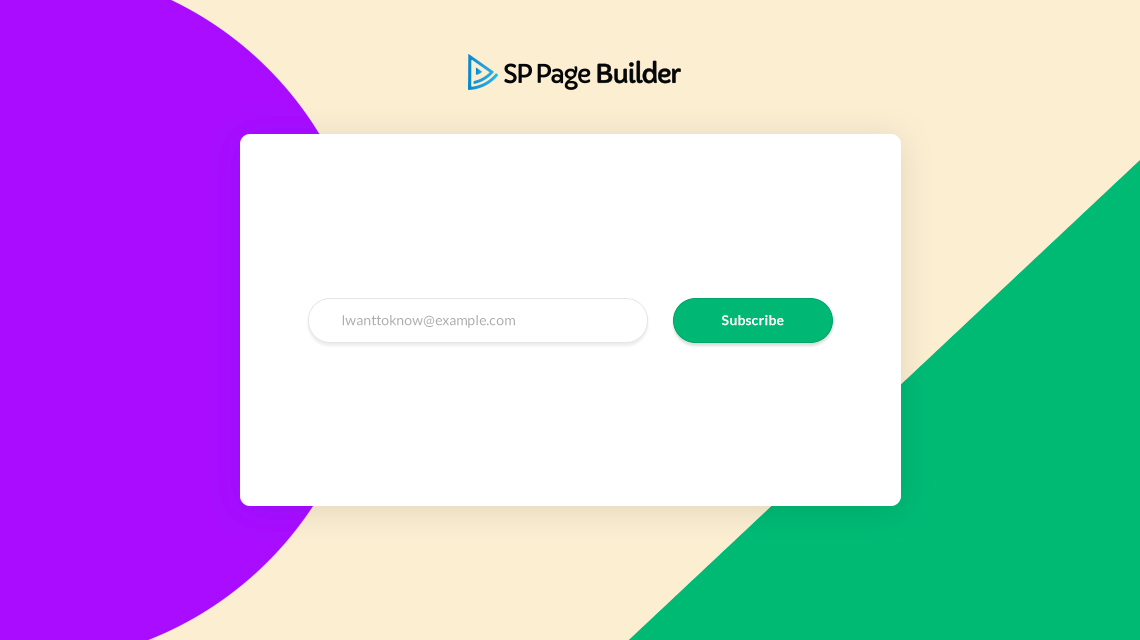
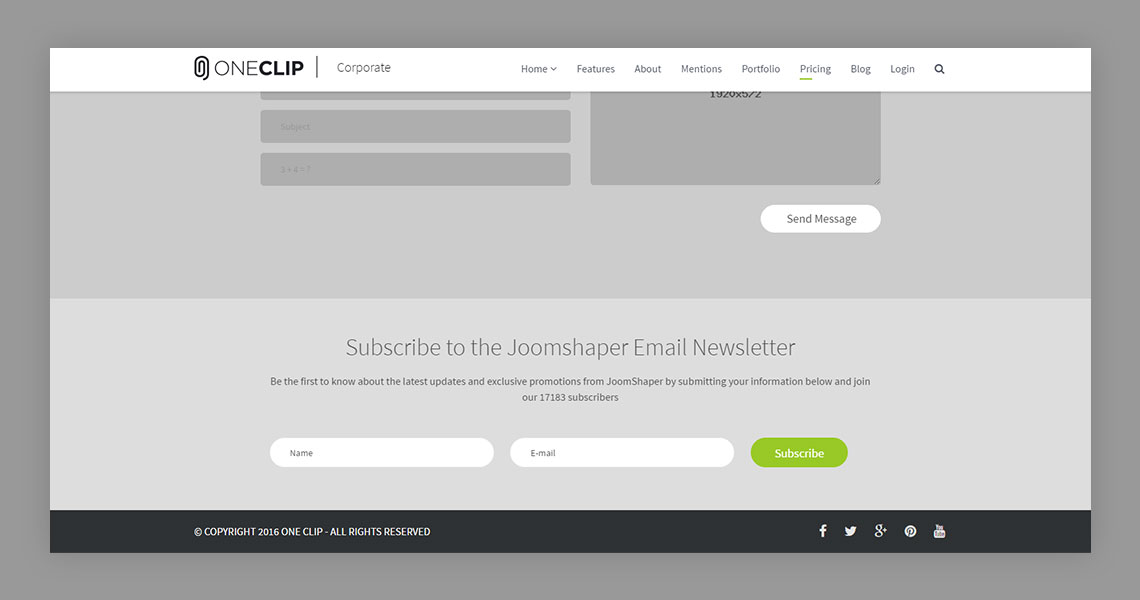
Below is the initial look after these mouse clicks. Your subscription form is now ready. But before publishing, you would want to give it some shape and styling.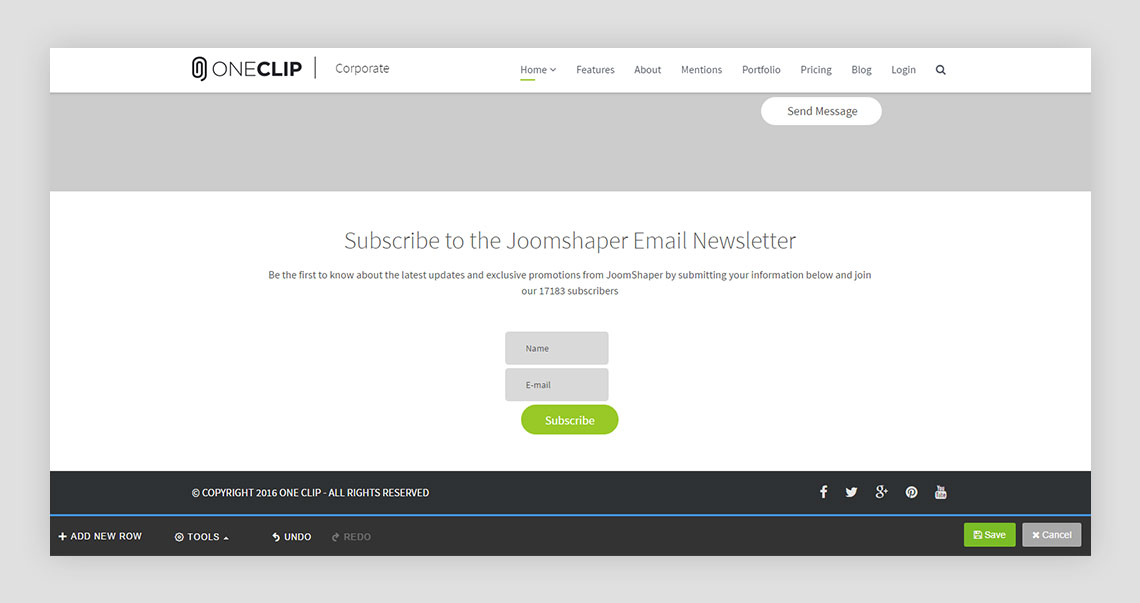
Final Touches with Some Custom CSS
Now it’s time to add some custom CSS to give it a better appealing look. Use the below CSS to give your newsletter form an amazing outlook.
.acymailing_module .acymailing_module_form .acymailing_form {
 width: 80%;
}
.acymailing_module .acymailing_module_form .acymailing_form tbody tr {
 float: left;
 width: 40%;
}
.acymailing_module .acymailing_module_form .acymailing_form tbody tr td.acy_requiredField {
 width: 340px;
}
.acymailing_module .acymailing_module_form .acymailing_form tbody tr td.acy_requiredField input {
 background: #fff;
 border: 1px solid #eee;
 border-radius: 40px;
 height: 45px;
 width: 100%;
}
.acymailing_module .acymailing_module_form .acymailing_form tbody tr:last-child {
 width: auto;
}
Wrapping up from AcyMailing and SP Page Builder’s total functionality of creating and designing stunningly beautiful newsletter subscription form. The combination brought the easiest way of adding an effective newsletter subscription form in your blog post.


You can write css inside media screen block:
[code type="css"]
/* Extra Small Devices, Phones */
@media only screen and (max-width : 480px) {
}
/* Custom, iPhone Retina */
@media only screen and (max-width : 320px) {
}
[/code]
- Thanks
Thank You too :).