Mega Menus, if implemented correctly, can actually enhance your website’s usability to a great extent. It's a great way to display information about your website. This can include categories and subcategories, products and services, testimonials and much more. From improving the navigation experience for your users to creating smart information architecture, a mega menu can come in handy if you have a range of products that you want to display.
Creating mega menus can be undoubtedly troublesome at times. But not with Helix Ultimate 2.0. With Helix Ultimate, mega menu can be added to any module position, sub position or custom position in your Joomla site. It can also display any type of content such as categories, articles, videos, images, links and more.
Today, we will take a look at how we can create a mega menu using the best Joomla template framework - Helix Ultimate. Follow through these simple steps of this tutorial and you will get your mega menu ready right off.
So without further ado, let’s jump into the tutorial.
Step 1: Log in to Your Localhost or Cpanel
First and foremost, log in to your local host or Cpanel. By this time you should be having your Helix Ultimate Quickstart pack installed and configured.
If you haven’t set up your quickstart pack then here is how to do so.
Step 2: Switch to Helix Ultimate Frontend Editor
Assuming you have your quickstart installed and all ready to go, switch to the Helix Ultimate Frontend Editor.
To do so navigate to the System from your dashboard. Then choose shaper_helixultimate - Default > Template Options

Step 3: Add New Menu Item
From the frontend editor, navigate to the sidebar and choose Menu. From Menu choose Menu Builder and add your Mega Menu.

In our case, we will name the menu item Mega Menu and fill in all the required information like below.
- Menu Item Type: System Links > URL
- Link: #
- Menu: Main Menu

Step 4: Assign Menus to the Parent Menu
Once you are done creating the parent menu, it’s time to create the sub-menus and assign them to the parent menu. Create all the sub-menus that you want to assign to your mega menu in the similar way you did in Step 3.
Now to assign your created menus to your mega menu you can simply drag the menus and drop it on the parent menu.
Or, you can choose the parent item from the Edit Menu Item option.

Repeat the step for adding the rest of your menu items. Once you are done, the initial Menu should look like this depending on how you nest the sub-menu items to their respective parent menu.

Step 5: Assign Modules and Layouts to Your Mega Menu
Once you are done with step 4, it is time to assign layouts for your Mega Menu. From the sidebar, choose Menu and scroll down to the mega menu you have just created. You’ll see an icon for layouts option like the screenshot below:

Now enable the Mega Menu option and add rows for your sub-menus. In our case, we have chosen the row with 4 columns.

Please note that you can use a predefined layout or create your own layout (custom).
All your menus and submenus will automatically get assigned to your layout’s rows and columns.
Step 6: Add Custom Modules According to Preference
Now that you’ve created your preferred layouts you can add any module from the list of available or installed modules. For example, you can display a banner, the latest articles, or a login module.
Just click the plus (+) icon inside the column where the module should be, then select a module. Or you can have your own customized module! In our case, we want to add the photos module to display our own photos just below the “New in Store” menu.
Let’s see how you can customize your own module according to your preference. Carefully follow through the steps and it should be ready in a blink of an eye!
Firstly, from the dashboard navigate to Components > SP Easy Image Gallery > Albums.
Here we are required to create an album that we wish to display thumbnails of in our mega menu. Hit +New to create a new album. Add a title to your album and featured image. We have named our album ‘Album 2’.


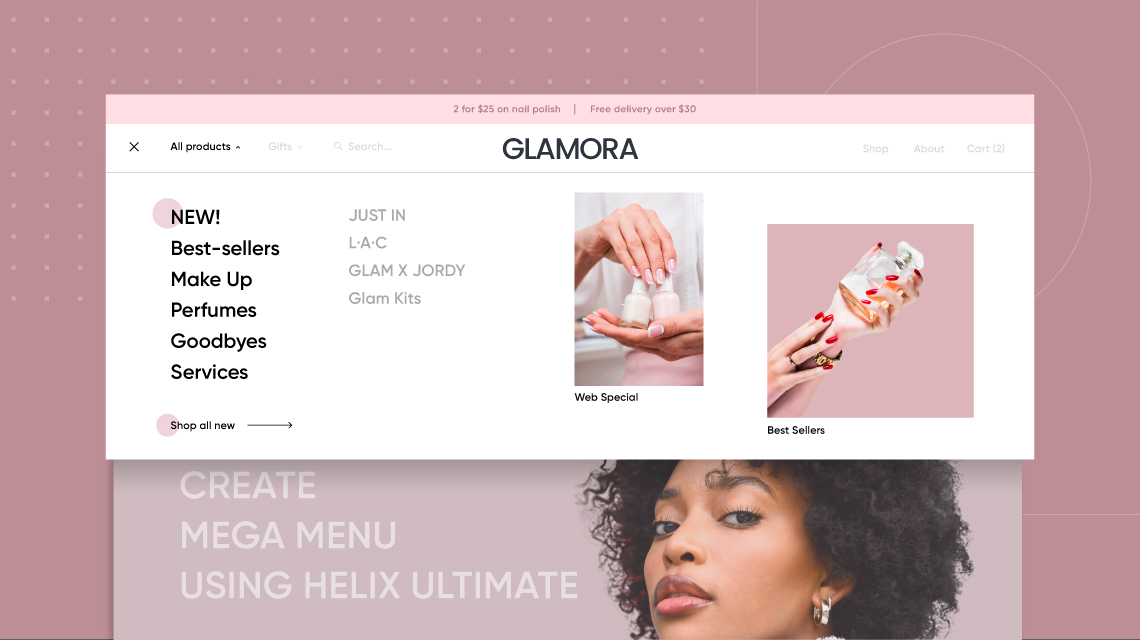
Final Output
Good job! You have now displayed your custom module exactly the way you wanted. Once you are done your overall Mega Menu should look like this:

Similarly, you can choose other modules and customize them according to your need. Here we have also set up a search button using the Search module using similar steps.
Wrapping Up
To keep your menu list organized and convenient for your users to locate what they need, a mega menu is an easy way out. And with the Helix Ultimate simple drag and drop function, building mega menus has never been easier!
Hope this tutorial was beneficial to you and answers all your questions regarding building a mega menu. Do not forget to keep an eye on our blogs for regular updates, new releases, and more tutorials, and please do share your valuable thoughts and opinions in the comment section.