- TemplatesTemplates
- Page BuilderPage Builder
- OverviewOverview
- FeaturesFeatures
- Dynamic ContentDynamic Content
- Popup BuilderPopup Builder
- InteractionsInteractions
- Layout BundlesLayout Bundles
- Pre-made BlocksPre-made Blocks
- DocumentationDocumentation
- EasyStoreEasyStore
- ResourcesResources
- DocumentationDocumentation
- ForumsForums
- Live ChatLive Chat
- Ask a QuestionAsk a QuestionGet fast & extensive assistance from our expert support engineers. Ask a question on our Forums, and we will get back to you.
- BlogBlog
- PricingPricing
Additional Tips & Informations
Gallery Customization
You can customize the album’s appearance by adding custom CSS. In SP Page Builder, open the editor and select the SP Easy Image Gallery Module. Navigate to the “Style” tab, scroll down, and locate the “Custom CSS” option to apply your adjustments.
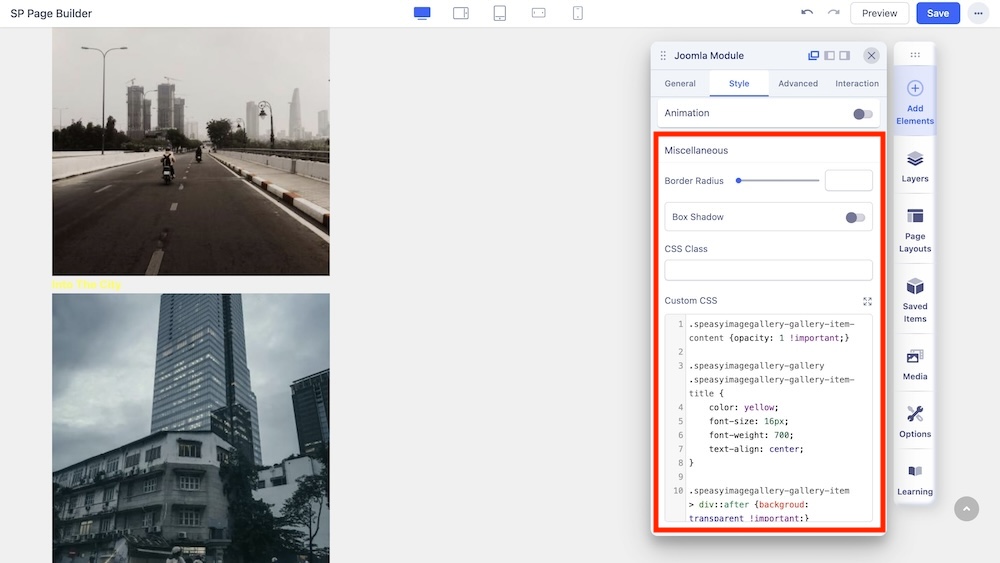
After adding your custom code, click “Save” and “Preview” to see your edits.
Below are some examples of edits that you can make with Custom CSS.
Show Image Titles
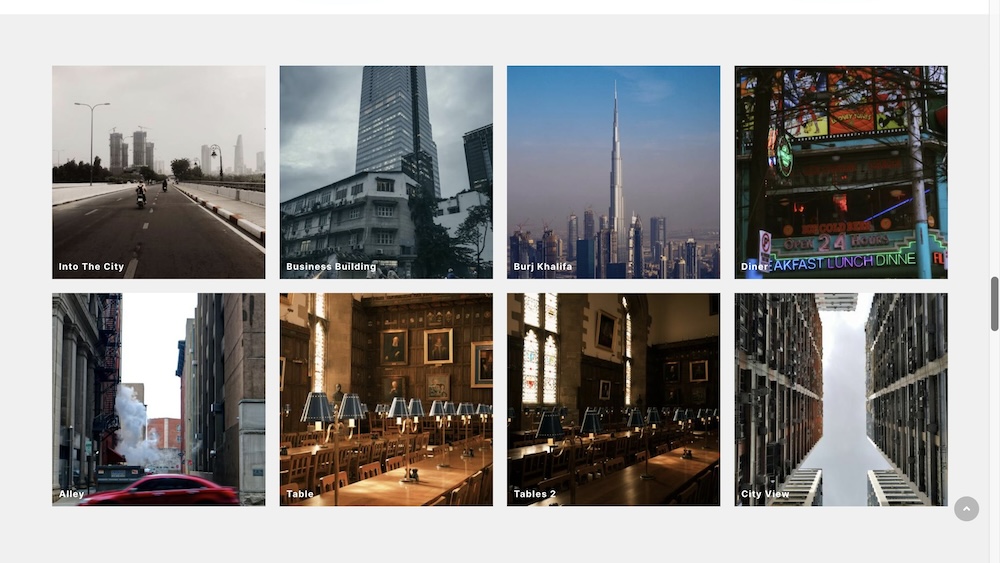
By default image titles are shown only after mouse hover, but by using simple CSS you can change that behavior by entering the following custom code:
.speasyimagegallery-gallery-item-content {opacity: 1 !important;}
Change Font Size and Color of Image Titles
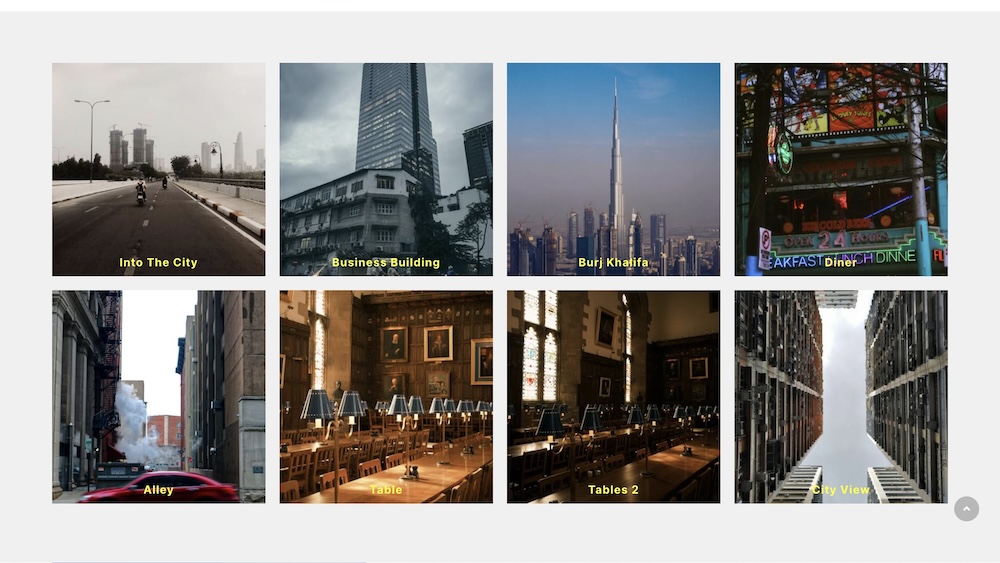
Single-image titles can be customized further. You can increase the font size, and change the title color or center titles. Here is an example code:
.speasyimagegallery-gallery .speasyimagegallery-gallery-item-title {

    color: yellow;

    font-size: 16px;

    font-weight: 700;

    text-align: center;

}
Remove the Dark Layer From Images
All presented images from the selected album have dark layers which can be removed with the following adjustment:
.speasyimagegallery-gallery-item > div::after {backgroud: transparent !important;}
Edit Image
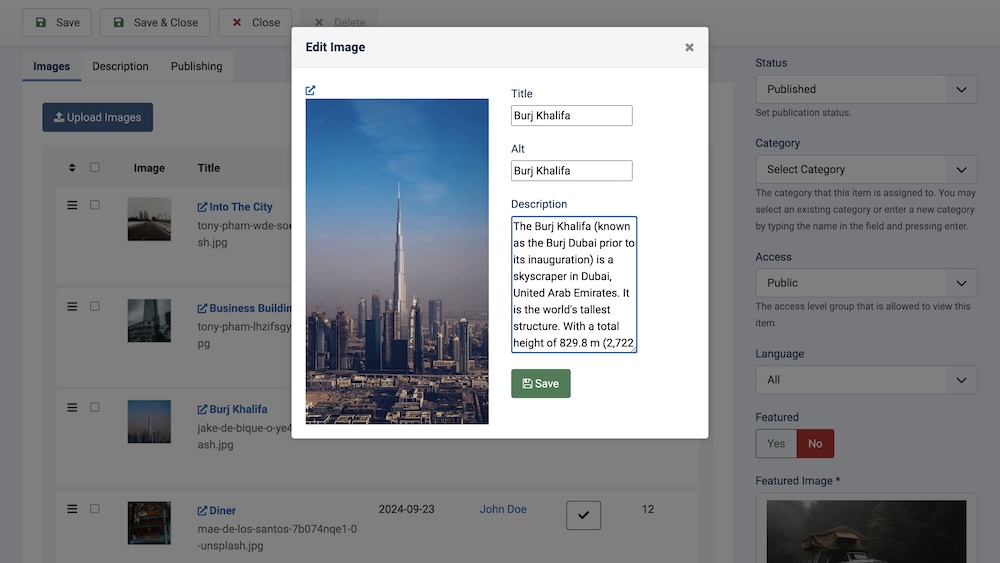
You can make minor customizations to the images you've uploaded. To do this, go to Dashboard>Components>SP Easy Image Gallery>Albums then click on the album you have created.
From there, click the “Edit” button located at the bottom of each image. A window will pop up where you can add or modify the image's title, alt text, and caption. Finally, click on “Save”.
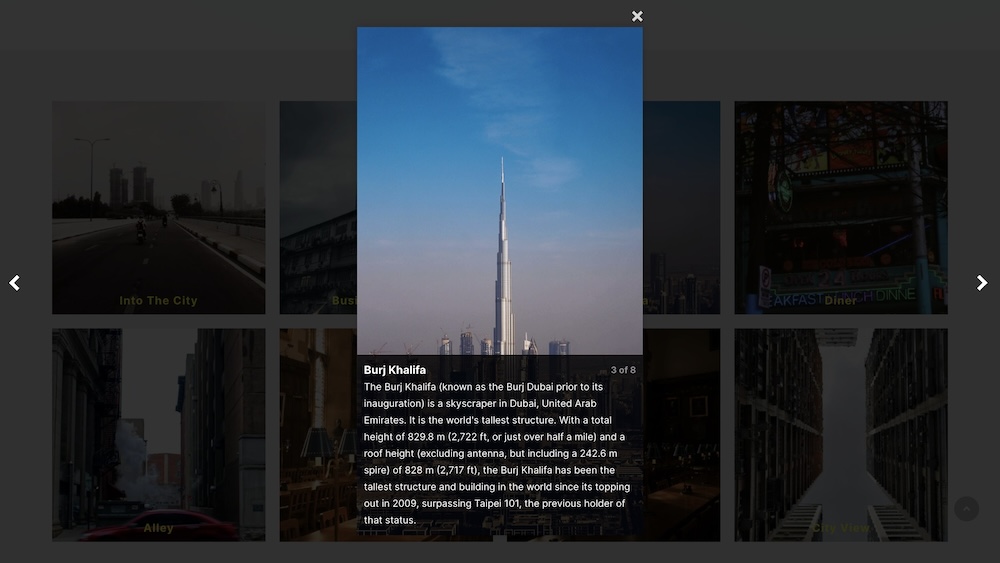
This allows you to provide more context or descriptions for each image, enhancing the user experience on your gallery. To see your changes, preview the frontend again and click on the image within the album. You will notice the updated title and description displayed with the image.
What tables in the database (MySQL) are used by SP Image Gallery
If planned backup or migrate only the gallery from site A to site B, please follow the presented steps. We can share only basic tips, the whole rest is in your hands:
- Using FTP copy gallery images from "/images/speasyimagegallery" folder
- Use PHPMyAdmin (from cPanel) and from the first website database export those tables, save it as a single file (.sql):
- prefix_speasyimagegallery_albums
- prefix_speasyimagegallery_images
- Edit saved file (using the code editor) to change the database prefixes from old to new, and save the changes.
- Then import the file into the new Database also using PHPMyAdmin tool (you have to be logged into 2nd database).
- Download & Install the SP EasyImage Gallery extension (link).
- System > Maintenance: Database > find "SP Easy Image Gallery" check it [x] > and click Update structure button
- Now add component views to the menu as the last step.
- In theory, after you should have a working Gallery on the second (new) domain.

