

SP Medical
This component it allows you display and manage list of specialists (doctors), departments, appointments, schedules and cost estimate for medical services. There is also Find a Doctor (mod_spmedical_search) view from where patients can search doctors by department, specialization or name.
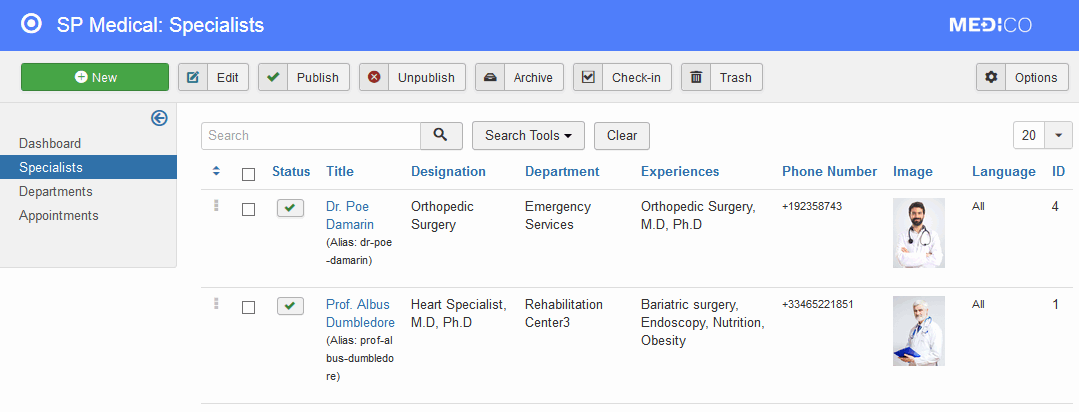
Admin area
Appointments (form)
As a site owner, you stay in the middle of the doctors and patients. Let the both parties be together for treatment and consultation purposes. Any patient or anyone on behalf of the patient can book an appointment via a form on the appointment page.. The appointment page takes some of the patient information in order to contact the patient in future.
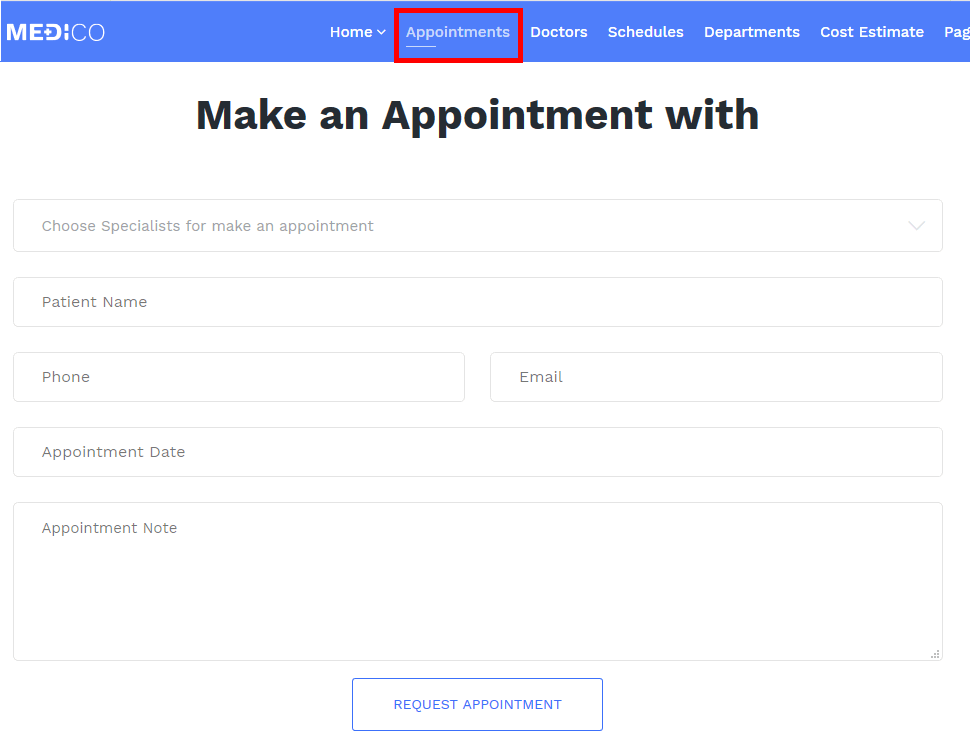
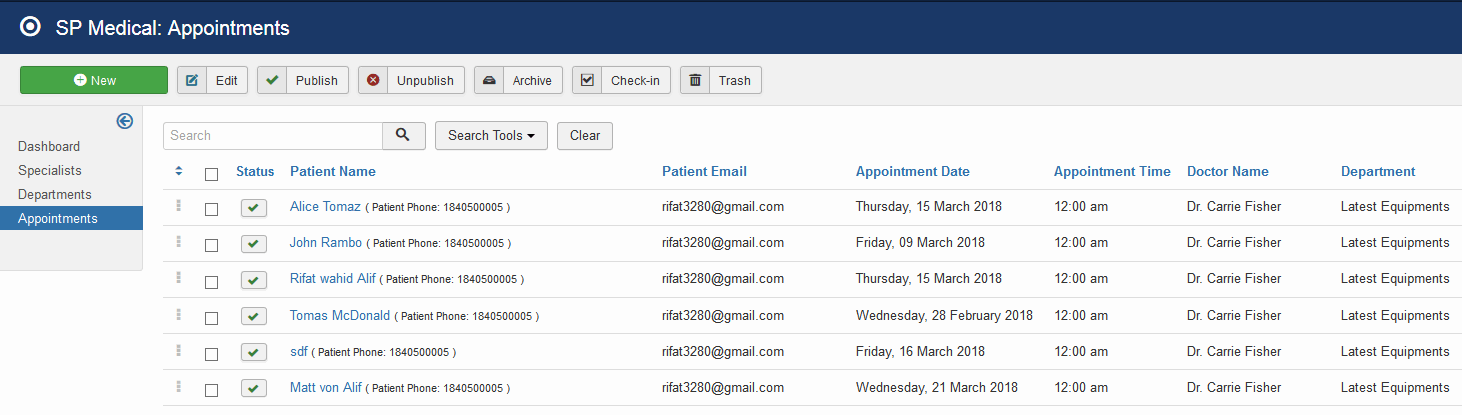
Appointment Form is SP Medico component view, all messages sent by patients are stored in component admin area.
Cost Estimate
Visitors on your site will have an efficient system to estimate the expenses before even taking services from you. They can select the categories of the services and click on check-boxes of available items to measure their costs. Your total expenses for the services you selected in the respective category will be displayed instantly.
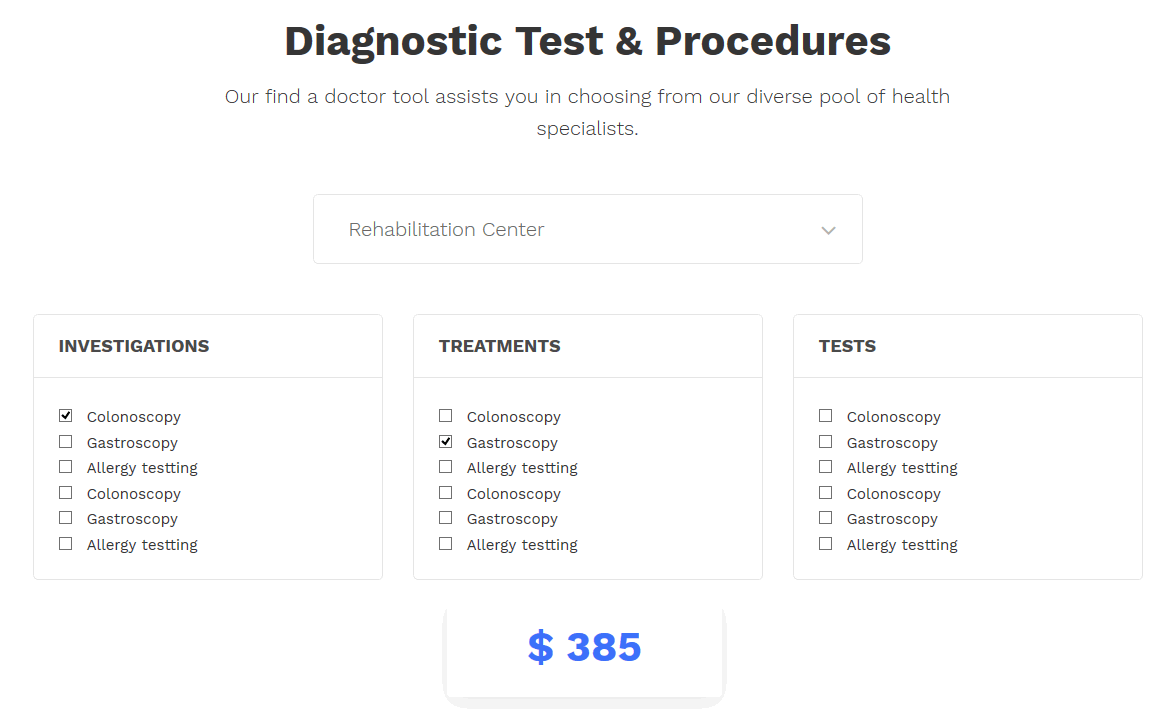
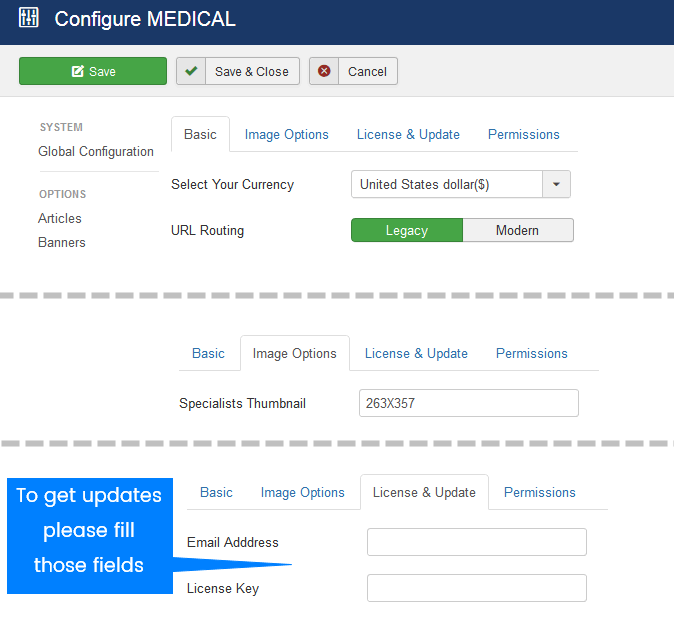
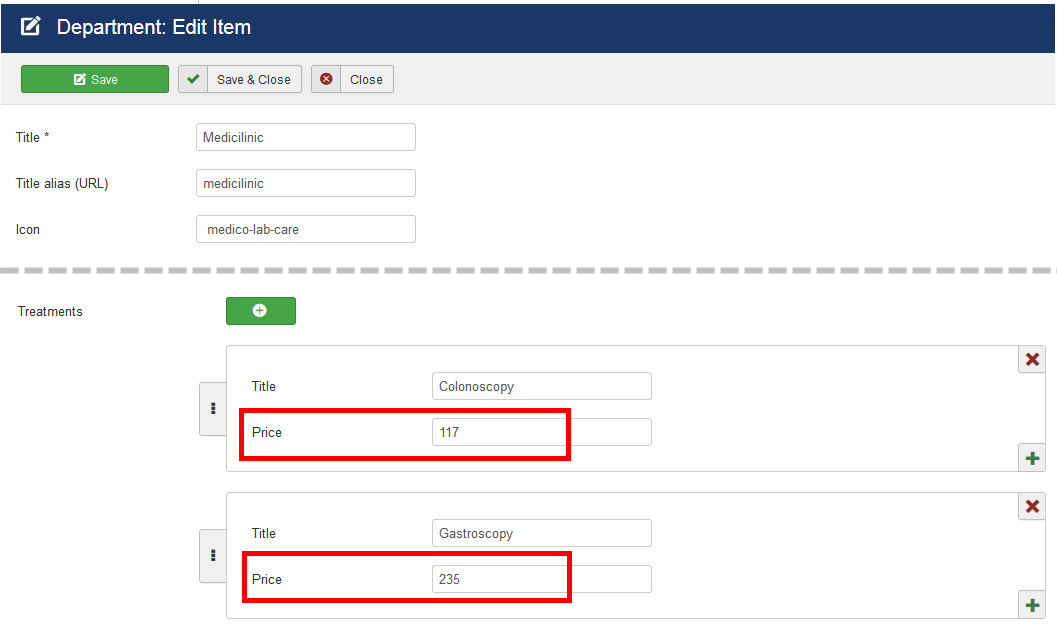
Treatments, Investigations and Services Cost Estimate & Prices are based on Department(s) settings (Department: Edit Item). Put there only raw digits.
In component Options there is the general settings area where you can set used currency (Dollar, Euro, Pound, Real, Ruble etc.).
How to change color of input fields
If you think that font color used inside "Make an Appointment with" form are too light, please use following custom CSS code to make it darker:
input[type="text"]::placeholder, input[type="email"]::placeholder,input[type="url"]::placeholder, input[type="date"]::placeholder,input[type="password"]::placeholder,input[type="search"]::placeholder, input[type="tel"]::placeholder,input[type="number"]::placeholder, select::placeholder,textarea::placeholder {color: #222 !important;}
Use it inside custom.css file located inside template folder (/css/).
How to translate phrases
We agree that translation is a crucial part of the website-localization process. SP Medical like any other Joomla! component use language files. It includes .ini files which contains all of the English terms we have used. All you have to do is to translate file(s):
- language\en-GB\en-GB.com_spmedical.ini
(this file include words used in front-end - component view only) - language\en-GB\en-GB.mod_spmedical_search.ini
- language\en-GB\en-GB.mod_spmedical_service.ini
- en-GB.mod_spmedical_specialists.ini
- administrator\language\en-GB\en-GB.en-GB.com_spmedical.ini
(this file include words used in back-end/admin only)
Translate the strings to your language and save them as with native language prefix and copy to your language folder. File (.ini) must be saved as UTF-8 without BOM encoding.
You don’t have to translate all strings from that file, select only those you really need. Each translated string must be enclosed by double quotes, always ! Here are example phrases from front-end .ini file only.
COM_SPMEDICAL_SPECIALTIES_SPECIALTY="Specialities"
COM_SPMEDICAL_SPECIALTIES_CONTACT_INFO="Contact Info"
COM_SPMEDICAL_SPECIALTIES_AVAILABLE_HOURS="Available Hours"
COM_SPMEDICAL_SPECIALTIES_REQUEST_BUTTON="Request Appointment"
COM_SPMEDICAL_ABOUT_THE_SPECIALTIES="About The Doctor"
COM_SPMEDICAL_SPECIALIST_WORK_EXPERIENCE="Work Experience"
COM_SPMEDICAL_SPECIALIST_AWARDS="Awards & Honors"
COM_SPMEDICAL_SPECIALIST_EDUCATION="Education & Certification"
COM_SPMEDICAL_SPECIALIST_GO_BACK="Back To Specialist/Search"
COM_SPMEDICAL_TOTAL_ITEM_FOUND="Specialist Found"
COM_SPMEDICAL_MAKE_AN_APPOINTMENT="Make an Appointment with"
Then, after translation, you have to change the filename
from: en-GB.com_spmedical.ini
to: xx-XX.com_spmedical.ini
Where xx-XX is a LANG-PREFIX, for example, es-ES – for Spanish (Español). Once the phrases inside file have been translated and file renamed, you can copy your language file into your "native" language directory using an FTP client.