

FAQ & Template Customization
Problem with a line under a top section in mobile view
If you noticed that line under contact and social icons in mobile view are not equal you have two options to choose from:
- Hide that line at all
- Keep that line stright
In both you need use extra custom CSS to improve it:
To disable/hide those lines from mobile view. Use following CSS code:
@media (max-width: 840px) {
#sp-top-bar .sp-column {border-bottom: none; }
}
But if you need this line, and you want to keep it use:
@media (max-width: 840px) {
#sp-top-bar .sp-column {border-bottom: none; }
#sp-top-bar {border-top: 1px solid rgba(255,255,255,0.2);}
}
With line design problems on desktop view, use also this line:
#sp-top1 .sp-column {padding-bottom: 8px !important;}
How to hide author box from single article view
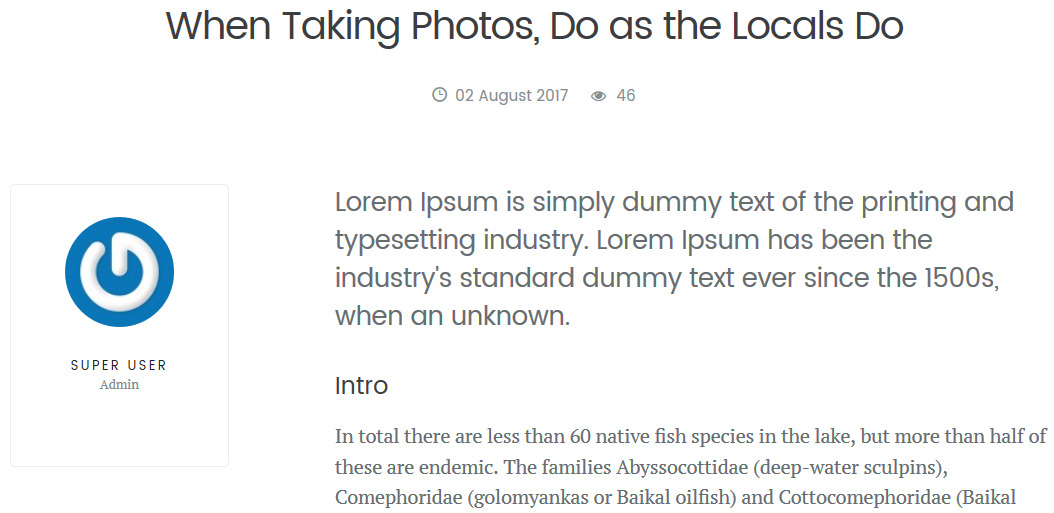
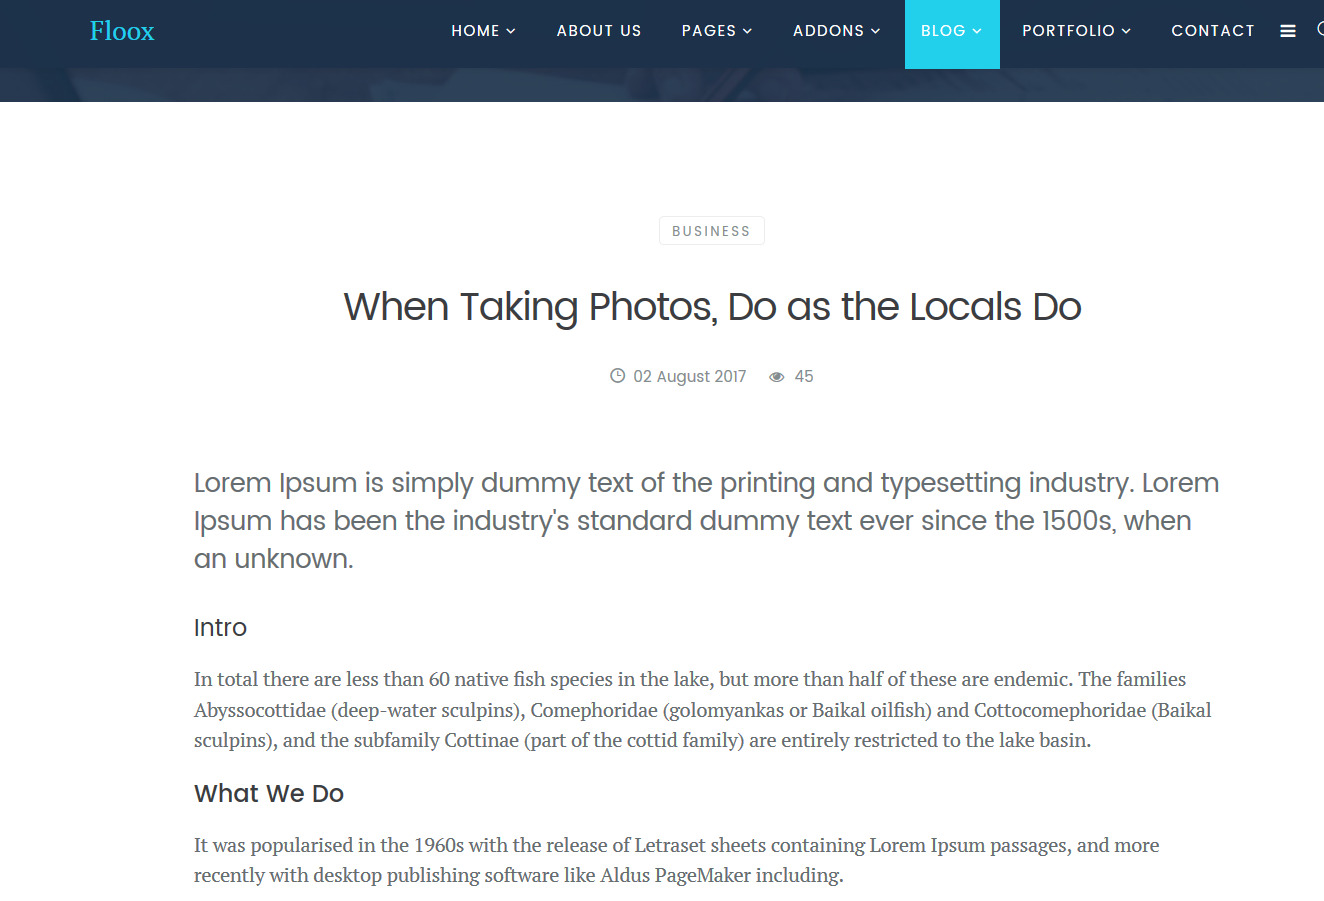
By default on the left side of every article there is box with author Gravatar and short info.
To hide article box from single article view you have to do 2 steps:
- Articles > Options > Show Author [No]
- Then in Custom CSS field (template settings) or inside custom.css file please add following code:
body.view-article div.article-details-wrap .col-sm-3 {display:none;}body.view-article div.article-details-wrap .col-sm-9 {width:100%}
Article view after using above tips:
Floox Icons
Floox template use its own collection of 17 addcional icon fonts, list of them include that file: templates\shaper_floox\css\floox-icon.css
![]()
.floox-wave:before {content: "\e910"; }.floox-builder:before {content: "\e900";}.floox-chat:before { content: "\e901";} .floox-clock:before { content: "\e902"; } .floox-edit-tools:before { content: "\e903"; } .floox-headphones:before { content: "\e904";} .floox-love-fill:before { content: "\e905";} .floox-love-line:before { content: "\e906"; } .floox-minus:before {content: "\e907";} .floox-paper-plane:before {content: "\e908";} .floox-pen-tool:before {content: "\e909";} .floox-picture:before {content: "\e90a"; } .floox-plus:before { content: "\e90b";} .floox-promotion:before {content: "\e90c"; } .floox-search:before { content: "\e90d"; } .floox-smartphone:before { content: "\e90e"; } .floox-structure:before { content: "\e90f"; }
Example of icons usage
<i class="floox-icon floox-pen-tool">floox-pen-tool</i><span class="floox-icon floox-structure">floox-structure</span>![]()
Search Icon next to Menu
Probably you have seen search icon (feature) in this same row as menu.

You can recreate this effect very easy:
- Add new module type: Search
- Search Button : Yes
- Search Button Image: No
- Position: menu
- Show title: Hide
- Menu Assignment > Module Assignment: On all pages
- Advanced > Layout: topsearch
- Advanced > Module Class Suffix: pull-right floox-top-search
*remember to add one space before class name
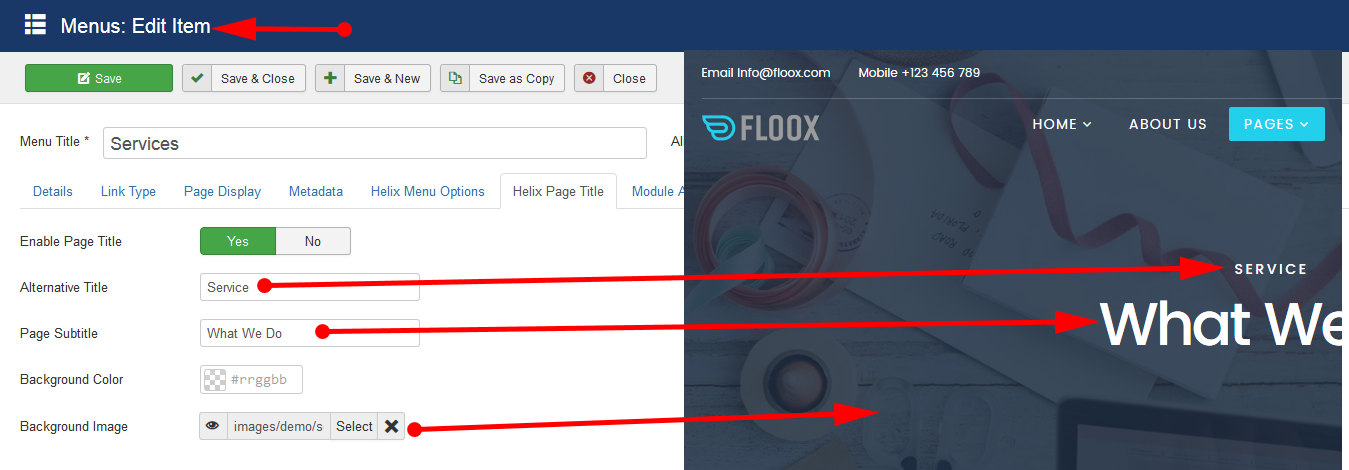
How to change titles & images from Headers
In demo content which you have from QuickStart you might seen that most of subpages have page Titles and Subtitles located below the menu. Beside there is also background image.
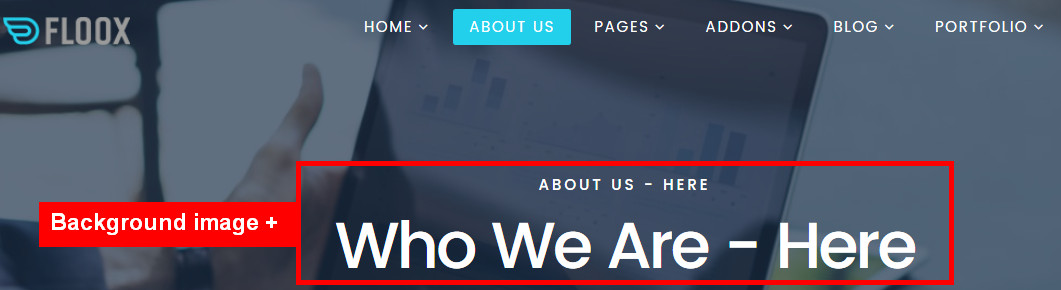
Those two design elements you can easily replace with your content.
- Go to Menu Manager
- Find MainMenu
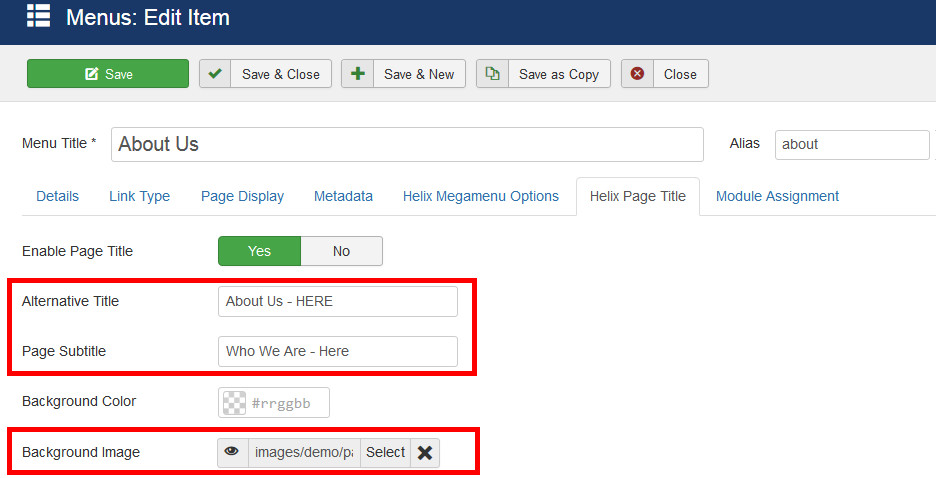
- Find menu item which you are going to customize, for example, About us
- Choose tab named "Helix Page Title"
- Change used Page Title and Page Subtitle
- Upload your own background image. For demo purpose we used jpg files, 1920 × 432 px
- Play with different options.
How to change background color under menu
Many users ask us: How to replace/change background color used under menu and logo (header) when you'd scroll down the page. Default color there is navy blue with transparency level.

We understand that in many cases you want to use your own background color based on colors taken from logo or corporate identity manual. It's very easy to change. Header use background color based on RGBA colors (CSS rule). Here is example custom CSS code modification to replace from navy blue into green:
#sp-header.menu-fixed {background: rgba(32,112,41,0.95);}Custom CSS code in Helix3 based templates should be used in one of following locations:
- custom.css file (a new file) must be located here: templates\shaper_floox\css\custom.css
- In Custom CSS code field inside Floox Template settings.

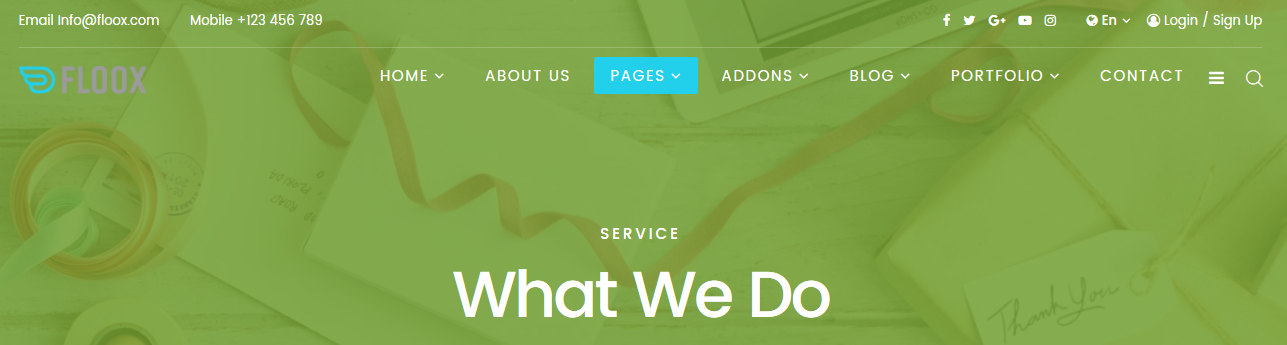
How to change background color overlay for headers
I guess you are wondering: How to change background color overlay for headers used on subpages.

We used an extra background layer based on CSS rules only. It means that you can use your own background color, based on HEX and opacity level.
Here are example modifications (different bg color), look at the screenshot below:
 div.sp-page-title::before {
    opacity: 0.7;
    background: #83BB35;}
Transparency layer (no bg color):
div.sp-page-title::before { opacity: 0; } Custom CSS code in Helix3-based templates should be used in one of the following locations:
- custom.css file (a new file) must be located here: templates\shaper_floox\css\custom.css
- In Custom CSS code field inside Floox Template settings.
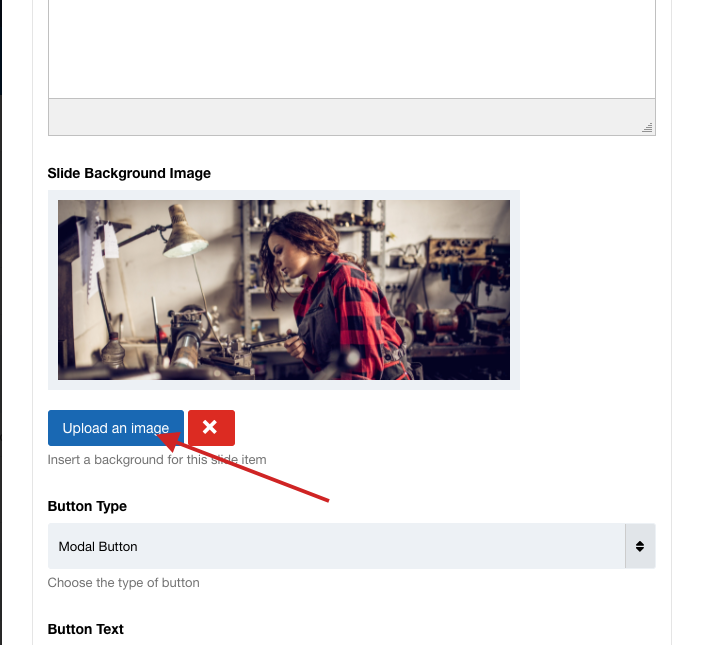
How to change the slider image
To change the slider go to the SP Page Builder >Pages >Home(or your desired page). Here click and open the addon options.
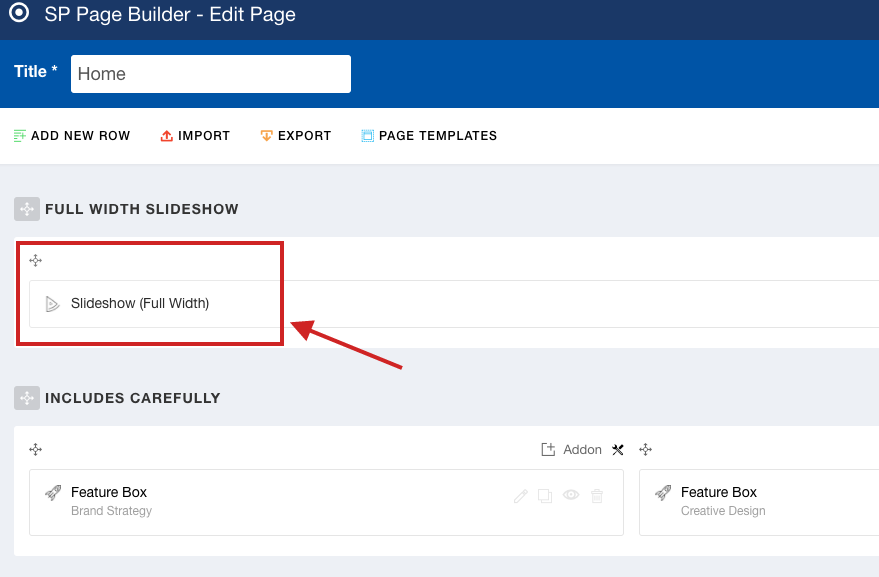
Remove the image and upload your desired one. The image size will be 1920*763.
How to remove background overlay from slideshow
We used an extra background color overlay layer based on CSS. It means that you can use your own background color value (HEX and minimal opacity level) or just set a transparent value. Example Custom CSS code:
.sppb-slider-fullwidth-wrapper .sppb-slider-item-wrapper .sppb-slideshow-fullwidth-item .sppb-slideshow-fullwidth-item-bg::after {
  background: transparent;
}
Now you know the full class name we used there, so it is up to you what you do with this knowledge.