SP LMS Cart
Joomla 4, 5, 6
Updated 9 Oct 2024
1 min read
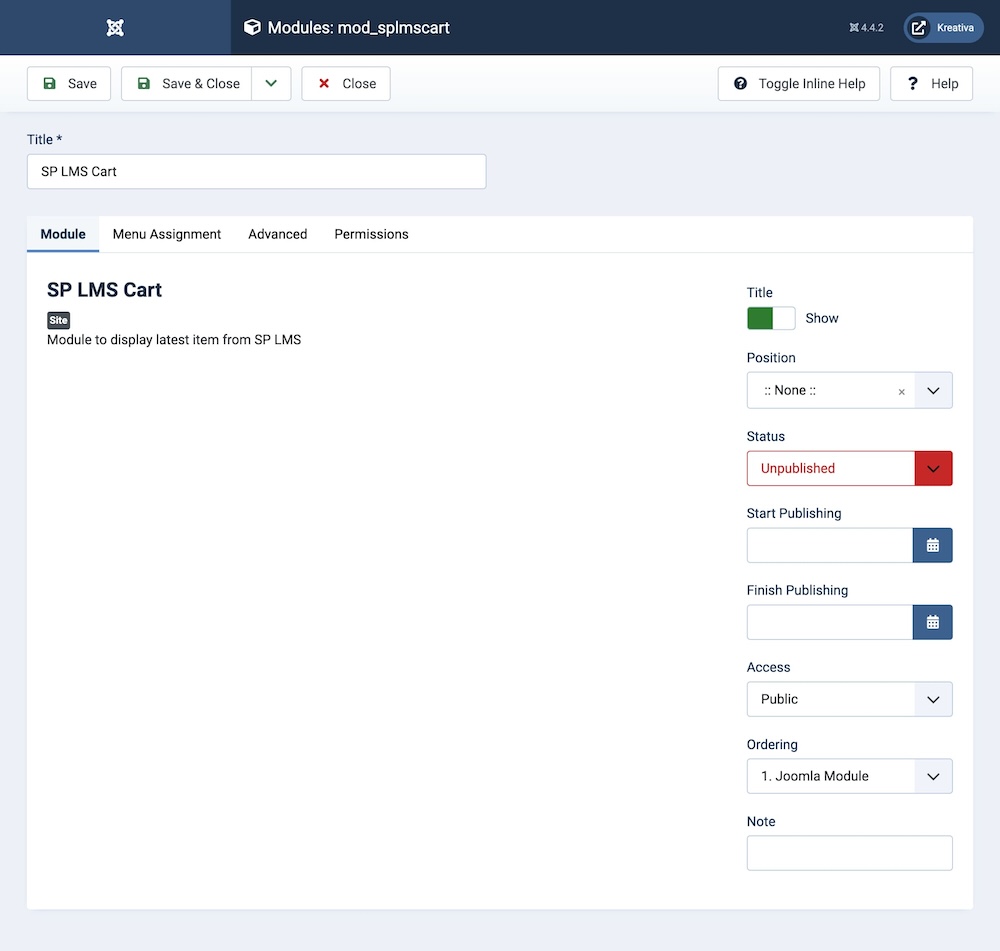
Title: Toggle whether the title will be shown or hidden.
Position: Set the position of the module within the webpage.
Status: Set whether it is published, unpublished, or trashed.
Start Publishing: Set when the module will start publishing.
Finish Publishing: Set when the module will end publishing.
Access: Set which user groups can view this category. You can restrict access to certain categories based on user permissions. You can choose between
- Public
- Guest
- Registered
- Special
- Super Users
Ordering: Set the ordering type.
Note: Add any additional notes if applicable.
How to Add the Cart Module to Your Site
- Navigate to the Module Section
Start by accessing either Home Dashboard > Modules or Content > Site Modules. - Create a New Module
Click the "New" button. In the search bar that appears, type "cart" to quickly find the SP LMS Cart Module. Once it appears in the results, click the "+" icon to create the module. - Configure the Cart Module
Give your cart module a relevant title. If you prefer not to display the title on your website, toggle the Title visibility option on the right side of the screen to "Hide". - Set the Module Position
Choose where you'd like the cart module to appear on your website, such as content-top or another predefined position. Once you’ve selected the appropriate position, click "Save & Close" to apply your changes. - Preview the Cart Module
You will now see the cart module displayed as a cart icon on your website's frontend. Clicking this icon will trigger a popup that redirects users to the checkout page. - Display Purchased Courses
When a user purchases any courses through your site, they will see the details of their selected courses (such as the course name, total price, etc.) displayed on the checkout page.