

How to rename Helix3 template
Introduction
Since the first Joomla versions, there have been big changes in the Joomla! Template Manager. Right now in Joomla 3.9+, you cannot simply rename a template folder by using FTP to change its name, because information regarding the name is stored in different locations. This is because of the Joomla! template is treated as an extension, so some information is in the database as well as in the template files and language file.
Note! We do not support framework plugin rename, this guide is only for template rename.
Rename before installation
This method is the simplest method. Beginner level. First please download and use the newest JoomShaper template package that you can find on our download section. Then follow the following steps:
- Rename the zip filename, an example from "shaper_helix3_template_only_j3.zip" to "new_template_only_j3.zip".
- From package extract (unzip) templateDetails.xml file - to edit the xml file using your favorite text editor (Notepadd++ or other similar). Then rename template name inside.
from:<name>shaper_helix3</name>
to (for example):<name>new</name>
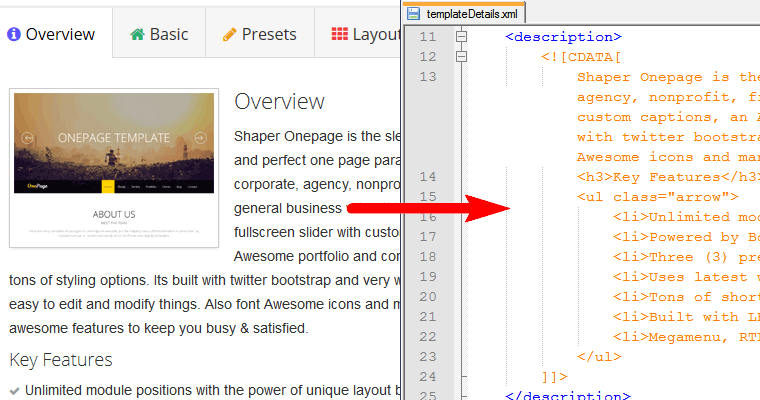
- Also in templateDetails.xml you can change description of template.
- Rename the language file name according to new template name from default:
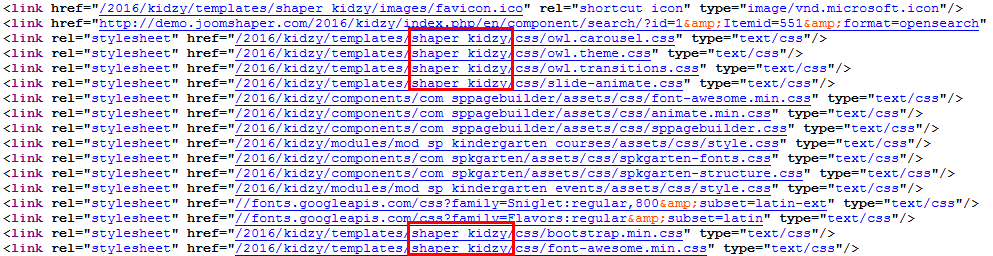
language\en-GB\en-GB.tpl_shaper_helix3.ini"
tolanguage\en-GB\en-GB.tpl_new.ini
- Then rename language file name inside templateDetails.xml file from:
<language tag="en-GB">en-GB.tpl_shaper_helix3.ini</language>
to
<language tag="en-GB">en-GB.tpl_new.ini</language>
- Save changes, and then copy inside template package changed templateDetails.xm file.
- Unzip from template package language file, rename the language file according to new name, for example, en-GB.tpl_new.ini and copy into template zip (repack). And of course you can delete language file with old name, you don't need it anymore.
- Install this modified template as a new template and set as default. Don't worry it would be independent of original one even if you used QuickStart before.
Remember that renamed template may not have all similar settings from quickstart so you have to set them manually as they were/are in "old" one looking at them. So if you are using QS uninstall old template after you will rewrite all settings.
Note: If you want change template name after installation is requested changes not only in files but also in database.
Rename after installation
Sometimes you need rename template after you installed and made some changes already. This method requests additional tool, but it also quit easy. First you have to find out/choose a new name or template. This name must be used everywhere. If your site can be visited by users please turn on OFF-LINE mode because site will be broken for a while (few minutes). This is very important tip!
1. In template settings you can start from template rename from: "shaper_aspasia - Default" to "New - Default" or just "New"
2. Rename folder name from "templates\shaper_aspasia" to "templates\new" - or similar chosen name.
3. Rename file name from "language\en-GB\en-GB.tpl_shaper_aspasia.ini" to "language\en-GB\en-GB.tpl_new.ini"
4. Inside templates\new\templateDetails.xml file - rename line < name >shaper_aspasia< /name > to < name>new< /name >
5. Now you have to use MYSQL Manager, in most cases you will find one in your Hosting Panel. Use search option to find "shaper_aspasia" :

6. Changes must be done inside only two tables: prefix_extensions and prefix_template_styles. From old template name to new name. Remember to save changes.