- TemplatesTemplates
- Page BuilderPage Builder
- OverviewOverview
- FeaturesFeatures
- Dynamic ContentDynamic Content
- Popup BuilderPopup Builder
- InteractionsInteractions
- Layout BundlesLayout Bundles
- Pre-made BlocksPre-made Blocks
- DocumentationDocumentation
- EasyStoreEasyStore
- ResourcesResources
- DocumentationDocumentation
- ForumsForums
- Live ChatLive Chat
- Ask a QuestionAsk a QuestionGet fast & extensive assistance from our expert support engineers. Ask a question on our Forums, and we will get back to you.
- BlogBlog
- PricingPricing
Specialists

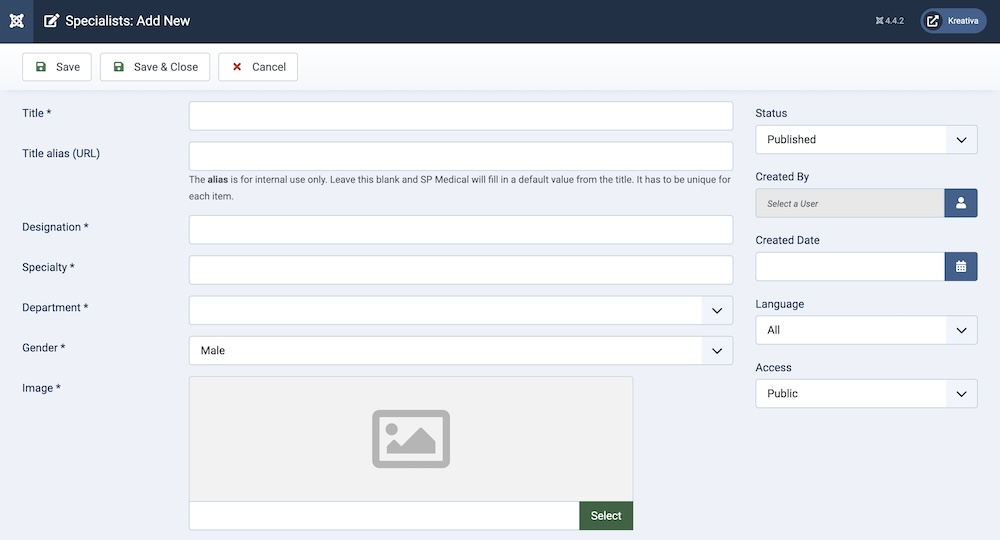
Title: Provide a title for the specialist.
Title alias (URL): You can either automatically generate an alias from the title or manually enter one yourself. If you want the alias to be auto-generated, leave the field blank.
Designation: You can provide a designation for the specialist.
Specialty: In this field, you can provide the particular speciality for the specialist in question.
Department: Enter the name of the department the specialist belongs to.
Gender: Choose the gender of the specialist using the dropdown menu.
Image: You can upload an image to represent the specialist.

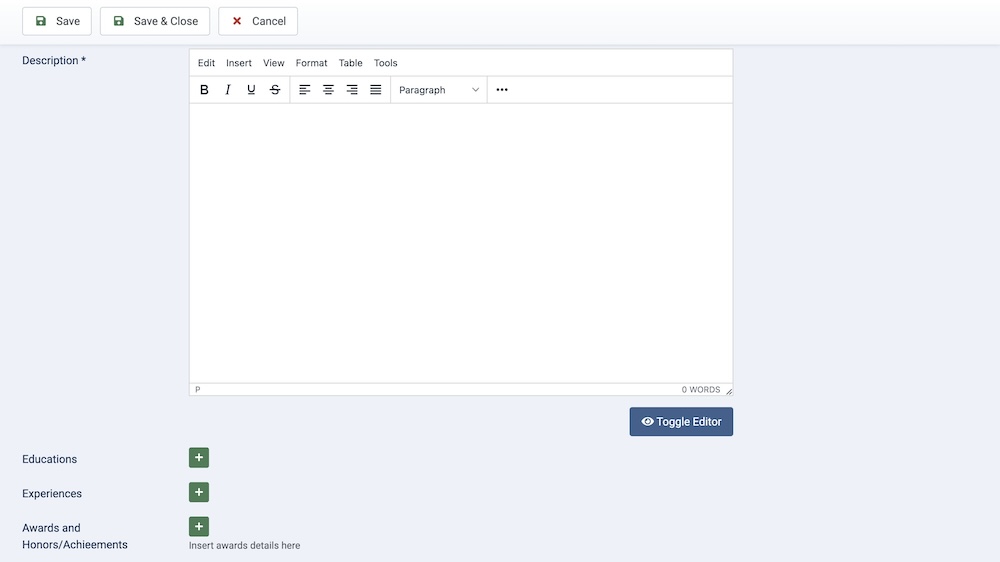
Description: A detailed description of the specialist. This text field allows you to describe any other relevant information regarding the specialist.
Education: By clicking on the “+” icon, you will get three additional fields where you can enter the title of the educational qualification, additional text (such as information regarding certification), and the time/date.
Experience: By clicking on the “+” icon, you will get three additional fields where you can enter the title of the experience, additional text, and the time/date.
Awards and Honors/Achievements: By clicking on the “+” icon, you will get three additional fields where you can enter the title of the award or achievement, additional text, and the time/date.

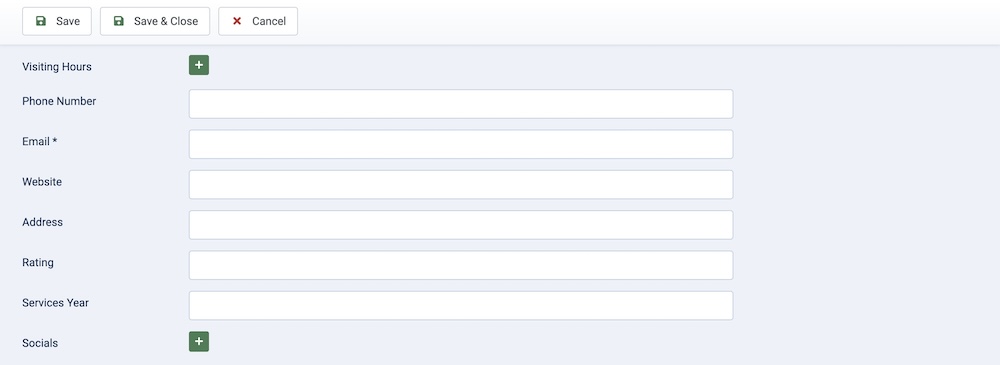
Visiting Hours: By clicking on the “+” icon, you will get two additional fields where you can choose the visiting day using a dropdown menu as well as the time/date.
Phone Number: Enter the phone number of the specialist.
Email: Enter the email address of the specialist.
Website: Enter the website of the specialist.
Address: Enter the address of the specialist.
Rating: Enter the rating of the specialist.
Services Year: Enter the years the specialist has been in service.
Socials: By clicking on the “+” icon, you will get three additional fields where you can enter the Icon Class of the social media website (based on Font Awesome or similar libraries), Social Name (name of the site), and the Social URL (link of the specialist’s account).

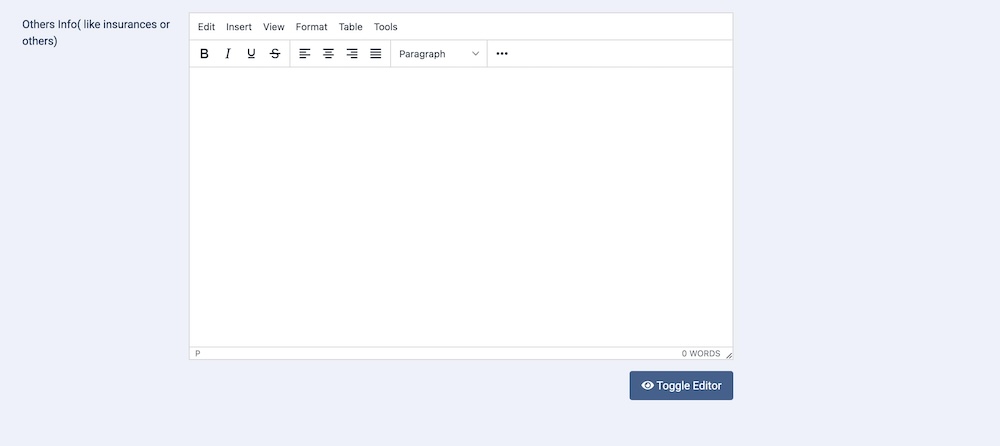
Other Info (like insurance or others): In this field, you can enter any additional info of the specialist.
Status: You can show/hide the category by changing its status from Published/Unpublished.
Created By: The person who creates the category will be automatically assigned to this field once the lesson is created, but an admin (Super User) can change the user at any time.
Created Date: Clicking on the calendar icon will enable you to set a different date for the creation date but if left blank, it will automatically take the current date when the lesson is created.
Language: Specifies the language for this category. If your site is multilingual, you can assign the category to a specific language. If it's meant to be available in all languages, you can set it to "All".
Access: Controls which user groups can view this category. You can restrict access to certain categories based on user permissions. You can choose between
- Public
- Guest
- Registered
- Special
- Super Users

