

Creating Categories
Creating categories in EasyStore allows you to organize and structure your products, making it easier for customers to navigate and find the items they're looking for. Categories help you maintain a well-organized online store.
Adding a New Category
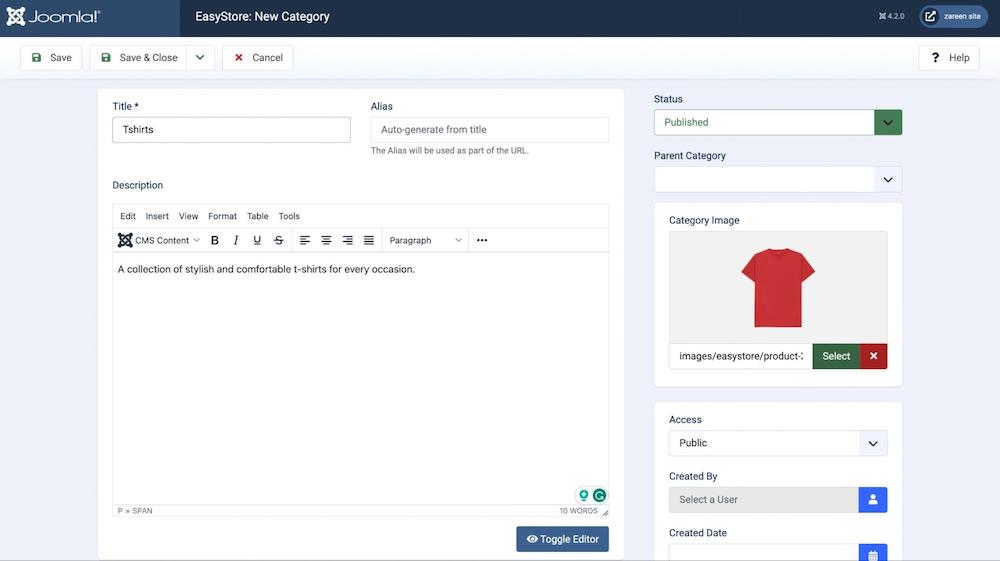
To create a new category, go to the Joomla backend Dashboard > Components > EasyStore > Categories and click on + New.
- Title: Enter a title for the new category. This is the name that will be displayed to customers on your store's frontend.
- Alias: By default, the alias is automatically generated from the title. The alias is a URL-friendly version of the category name that is used in the URL when accessing the category page.
Category Description
Provide a description for the category. This description can help customers understand what types of products are included in this category.
Category Status and Hierarchy
Status: Choose the publication status of the category. Select "Published" to make the category visible on your store or choose other options if necessary.
Parent Category: If this category is a subcategory or belongs to a larger category, you can select the parent category from the dropdown list. This helps establish the hierarchical structure of your categories.
Category Image
Category Image: Upload an image that represents the category visually. This image could be a thumbnail or icon that provides a visual cue to customers about the category's content.
After entering the required category details, click the "Save" or "Save & Close" button to add the new category to your store. This category will now be available for assigning to products.
Displaying Product Categories in SP Page Builder Pages
You can display product categories in any SP Page Builder page using the Categories List addon. This lets you curate and present your store's categories with full control over layout and visibility settings.
Before you begin, make sure your categories are already created.
Steps to Add the Categories List
- From your Joomla dashboard, navigate to Components > SP Page Builder > Pages.
- Choose the page you want to edit from the list of pages.
- Drag and drop the Categories List addon onto your desired section.

Addon Settings

- Grid column: Set the number of columns to display categories in a grid layout.
- Column gap: Adjust the horizontal spacing between each category item.
- Row gap: Control the vertical spacing between rows of categories.
- Limit: Define how many categories will be displayed.
- Category: Select specific categories to show in this section.
- Category title: Toggle the visibility of the category name.
- Category image: Choose whether to display the category image. These are the images you set while creating your Categories.
- Enable scroller: Turn on horizontal scrolling for categories.
- Slides per Item: Set how many category items are visible within the viewport at once.
- Number of Slides to Scroll: Define how many items move forward or backward with each scroll action.
- Show Indicators: Enable this option to display navigation indicators (such as dots) that show the current position within the scroller.
- Enable pagination: Enable pagination to divide categories across multiple pages.
Note: “Enable scroller” and “Enable pagination” cannot be used at the same time. Use Enable scroller if you want categories to scroll horizontally in a single row, or Enable pagination if you want categories split across multiple pages.
Assigning Categories as a Menu Item

To display Categories on your site’s menu:
- Go to Joomla Dashboard > Menus > All Menu Items.
- Click +New to create a new menu item.
- Select Menu Item Type and choose SP Page Builder > Pages.
- Click Save to display the categories on the frontend.