
Opt-in Form
What is an Opt-in Form?
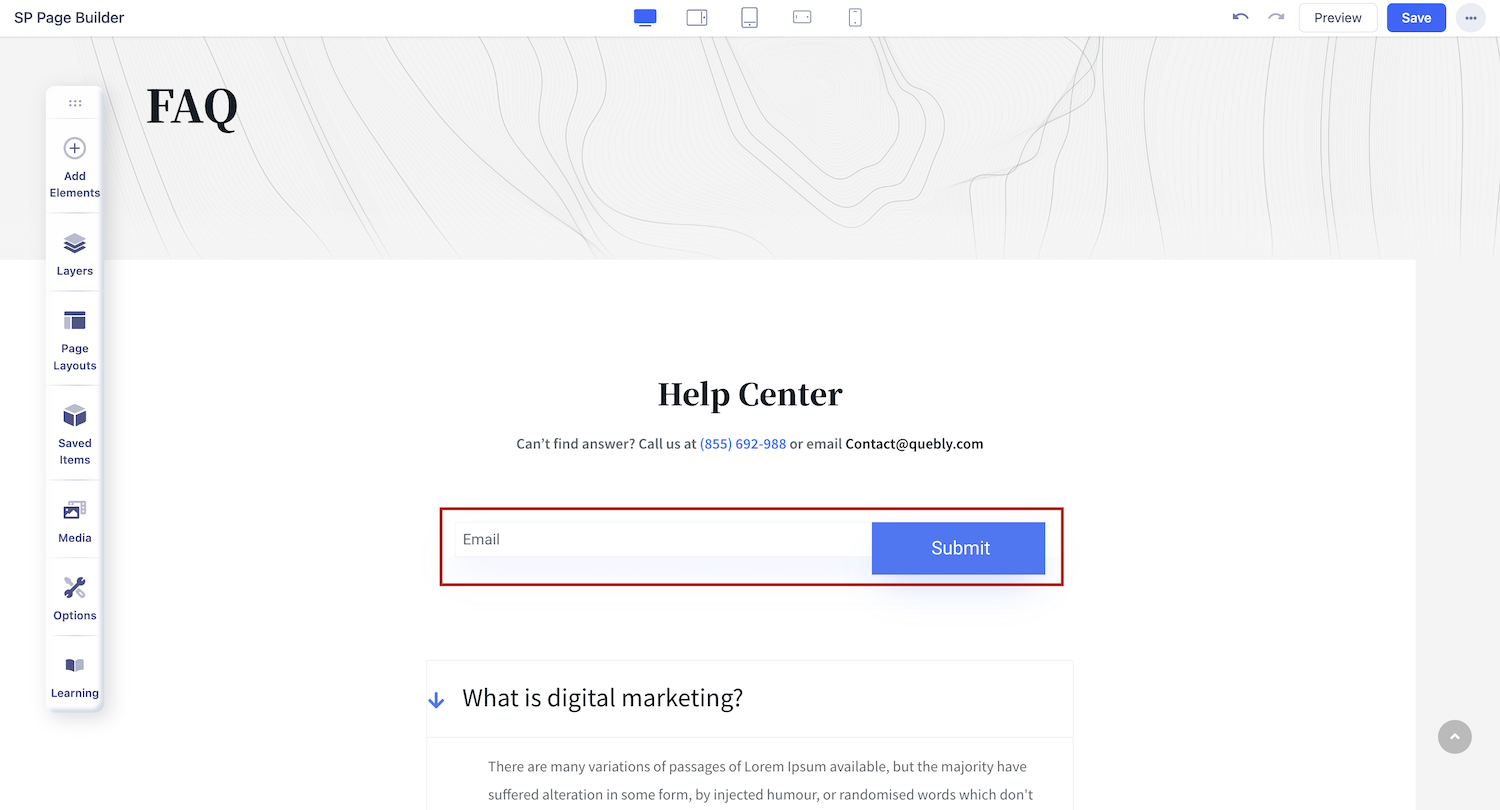
An opt-in is a form of consent acknowledging interest to receive further information about a product or service. SP Page Builder Opt-in Form addon is dedicatedly designed for newsletter subscription forms. This addon helps you create a stylish newsletter subscription form with different layouts.
Key features of the Opt-in Form Addon
- Have a stylish newsletter subscription form anywhere on the web pages.
- Multiple API options to set up a newsletter form.
- Enable reCAPTCHA for spam protection.
- Have a checkmark option for GDPR compliance, privacy policy, or others.
- There are multiple layouts for the newsletter to fit different page designs.
- Add visuals to the newsletter form section.
How to Add an Opt-in Form
You can add an Opt-in Form addon to your page from the SP Page Builder sidebar. Simply drag the addon from the Addons panel and drop it on the section of the page where you want to add an opt-in form.
Opt-in Form Settings
Platform
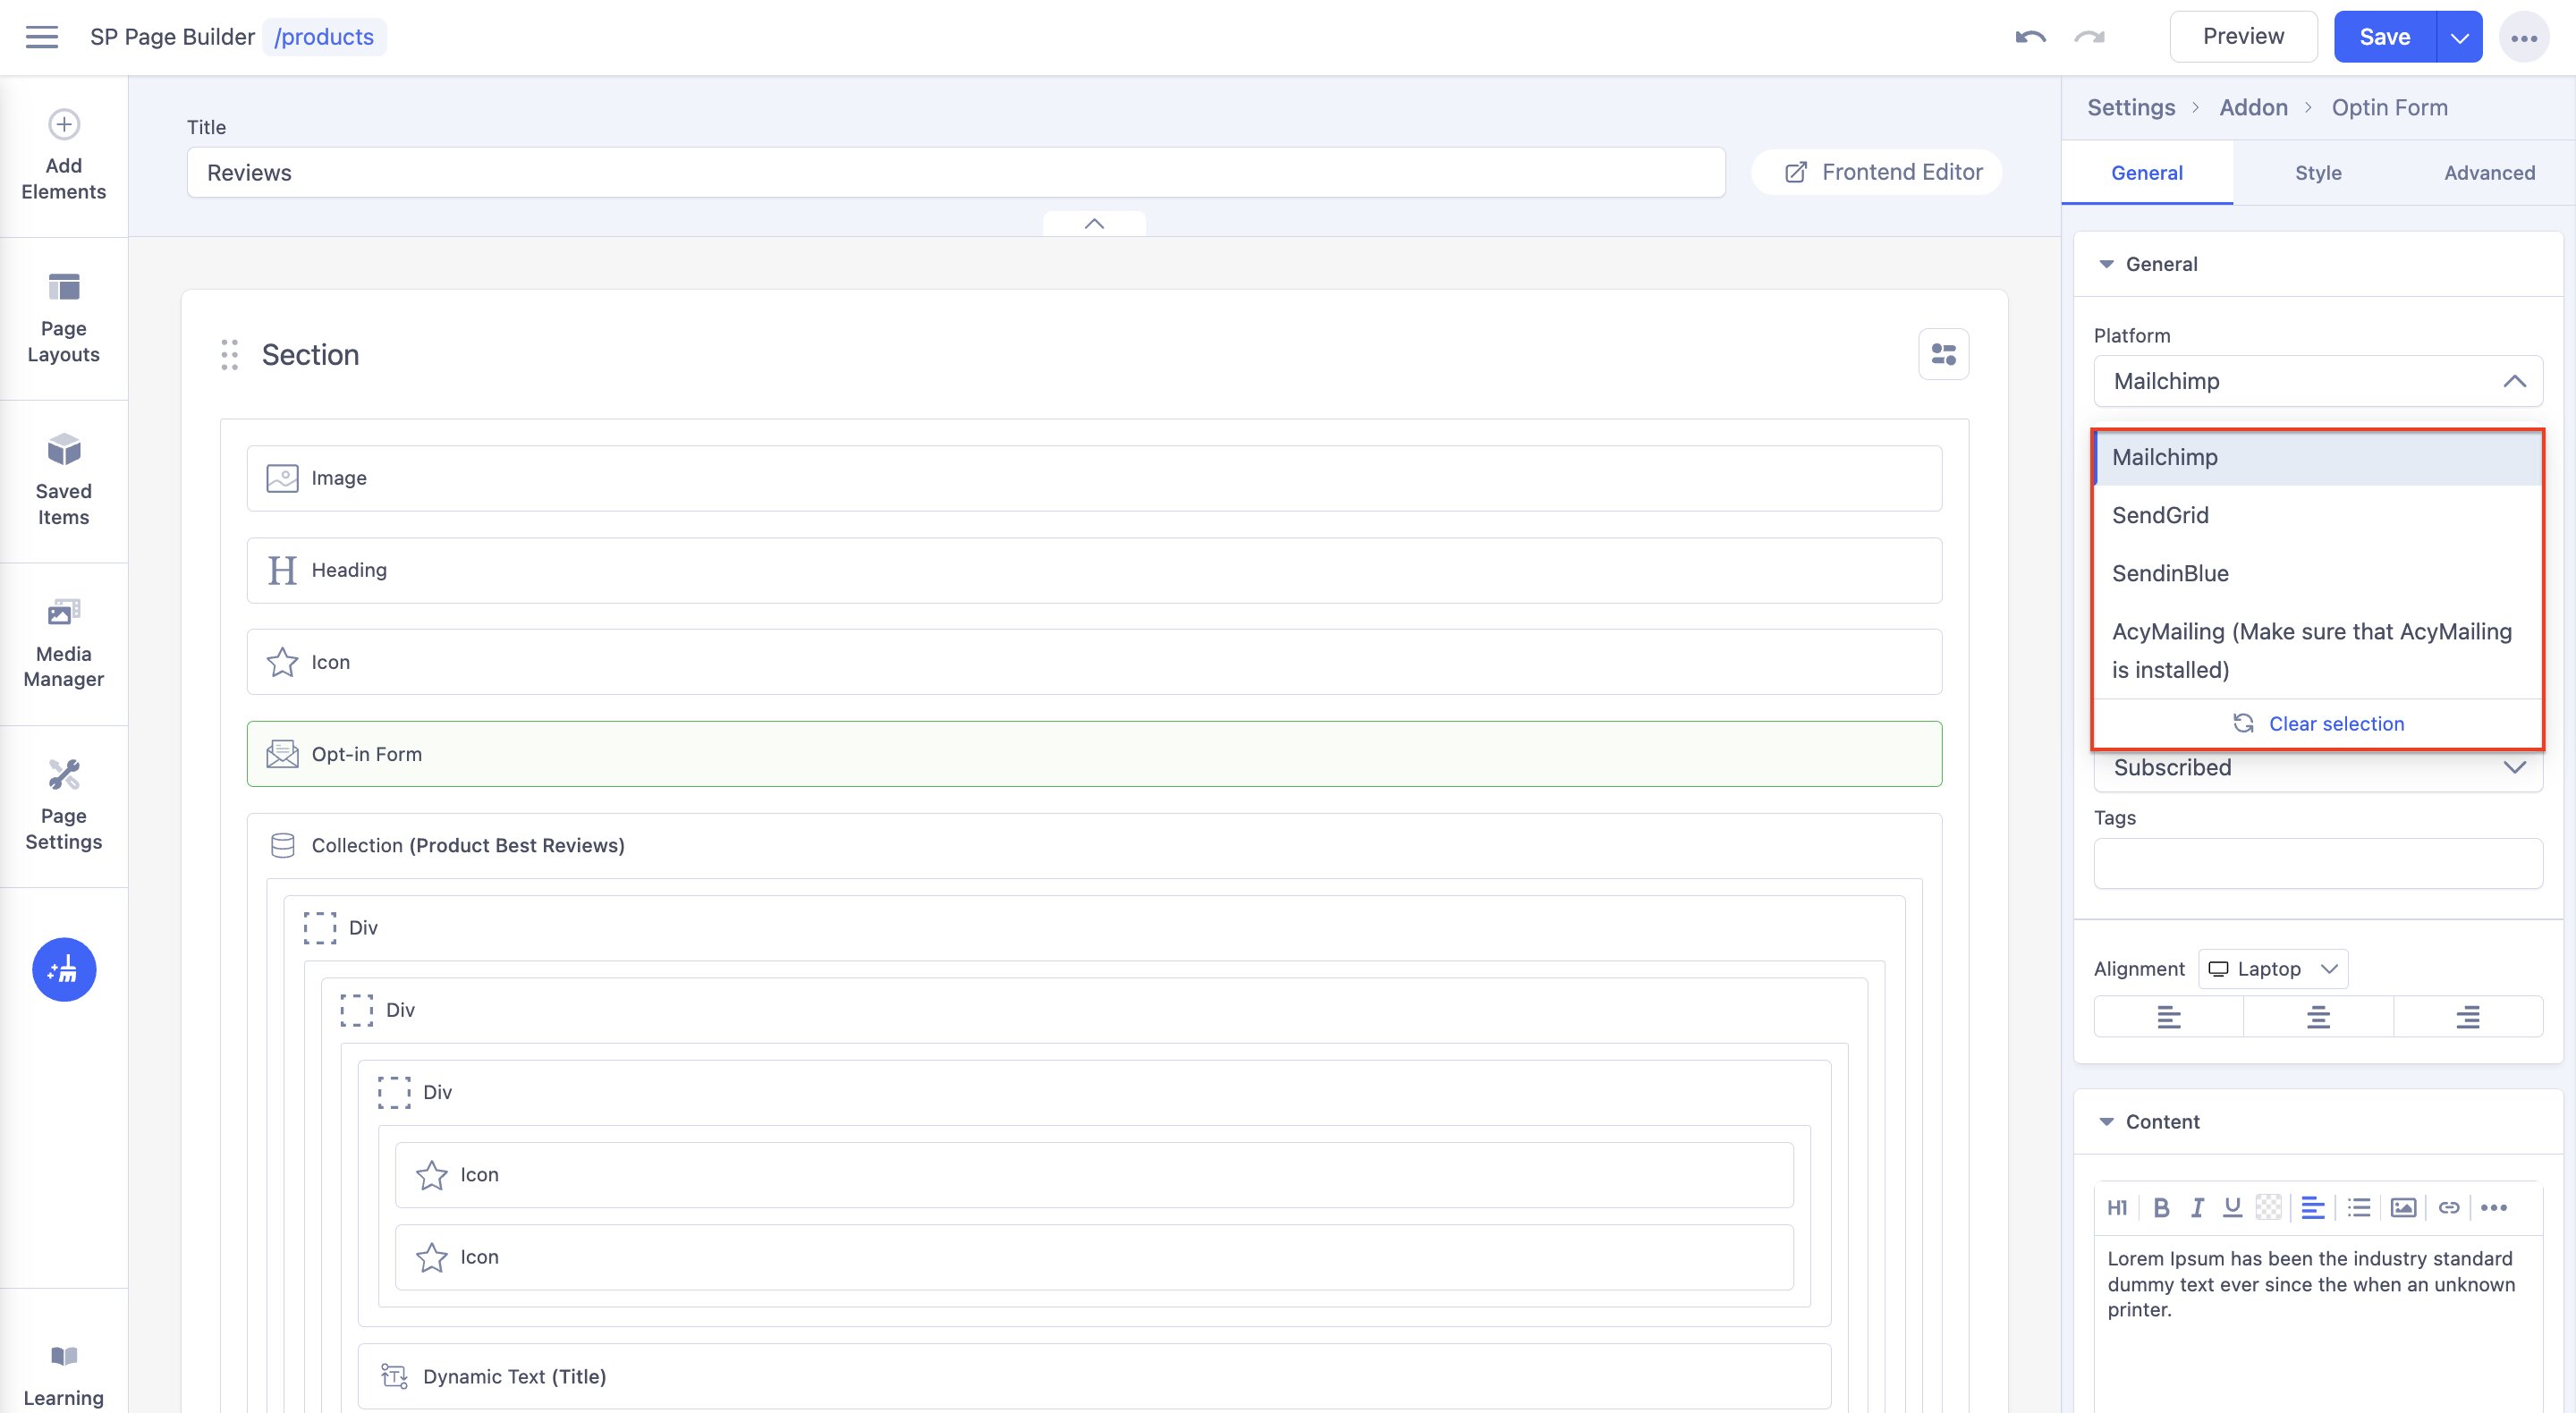
Opt-in Form addon in SP Page Builder currently works with the following email/newsletter solutions:
- AcyMailing
- MailChimp
- SendGrid
- SendinBlue
You will need to add the API Key (credentials) of the email platform you want to use. Each platform has its required fields to set up the API key.
Here are the options you get based on the selected platform:
MailChimp
Hide Name field: Display or hide the name field in the subscription form.
MailChimp API Key: Insert your MailChimp API key in this field. To learn more about how to acquire your API key, visit the official Mailchimp website.
List ID: Add your MailChimp Audience ID in this field to connect and transfer subscriber data. Learn more about acquiring your Audience ID on Mailchimp's official website.
Action Type: Pick an action from the menu that will take place once a user subscribes to MailChimp. Select between “Subscribed” and “Pending”.
Tags: Insert a list of tags to apply to the subscriber (such as, “Lead”, “Newsletter”, etc.). Add multiple tags by separating them via commas (,). Leave the field empty if you wish to skip tagging. This feature is only available to Pro users.
SendGrid
Hide Name field: Display or hide the name field in the subscription form.
Add SendGrid List ID(s): Choose to hide or display the field for adding SendGrid List IDs.
SendGrid List IDs: Insert the List IDs in this field. Multiple IDs can be inserted using commas (,) as separators. This option only becomes visible once the previous setting, Add SendGrid List ID(s), is set to “Yes”.
SendGrid API key: Insert your SendGrid API key. To learn how to acquire the API key, please refer to the official SendGrid website.
Brevo/SendinBlue
Hide Name field: Display or hide the name field in the subscription form.
SendinBlue API Key: Insert your Brevo/SendinBlue API key in this field. Learn more on the official Brevo website.
SendinBlue List ID: To find your Brevo/SendinBlue List ID, log into your account on their official website. You'll be able to locate your contact category list there. Navigate to your desired list item. The last number in your browser's URL is your list ID. Paste that ID in this field.
AcyMailing
Hide Name field: Display or hide the name field in the subscription form.
Automatically subscribe to: Use the dropdown to select which lists the user will be automatically subscribed to (such as, “Lead”, “Newsletter”, etc.).
Content
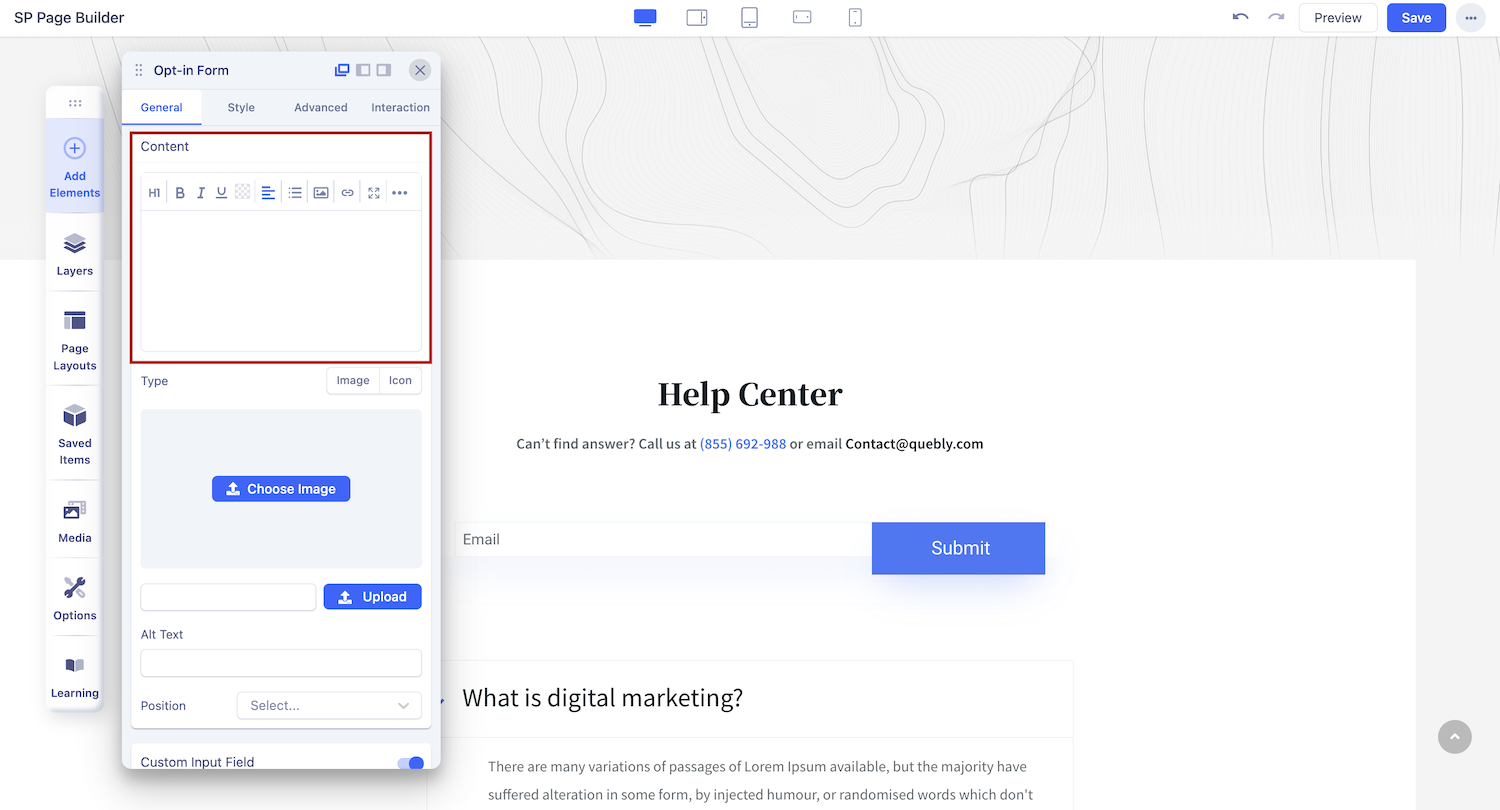
Here you can add the content you want to display on the opt-in form. You can customize your content with all the handy settings of a text block addon.
Media
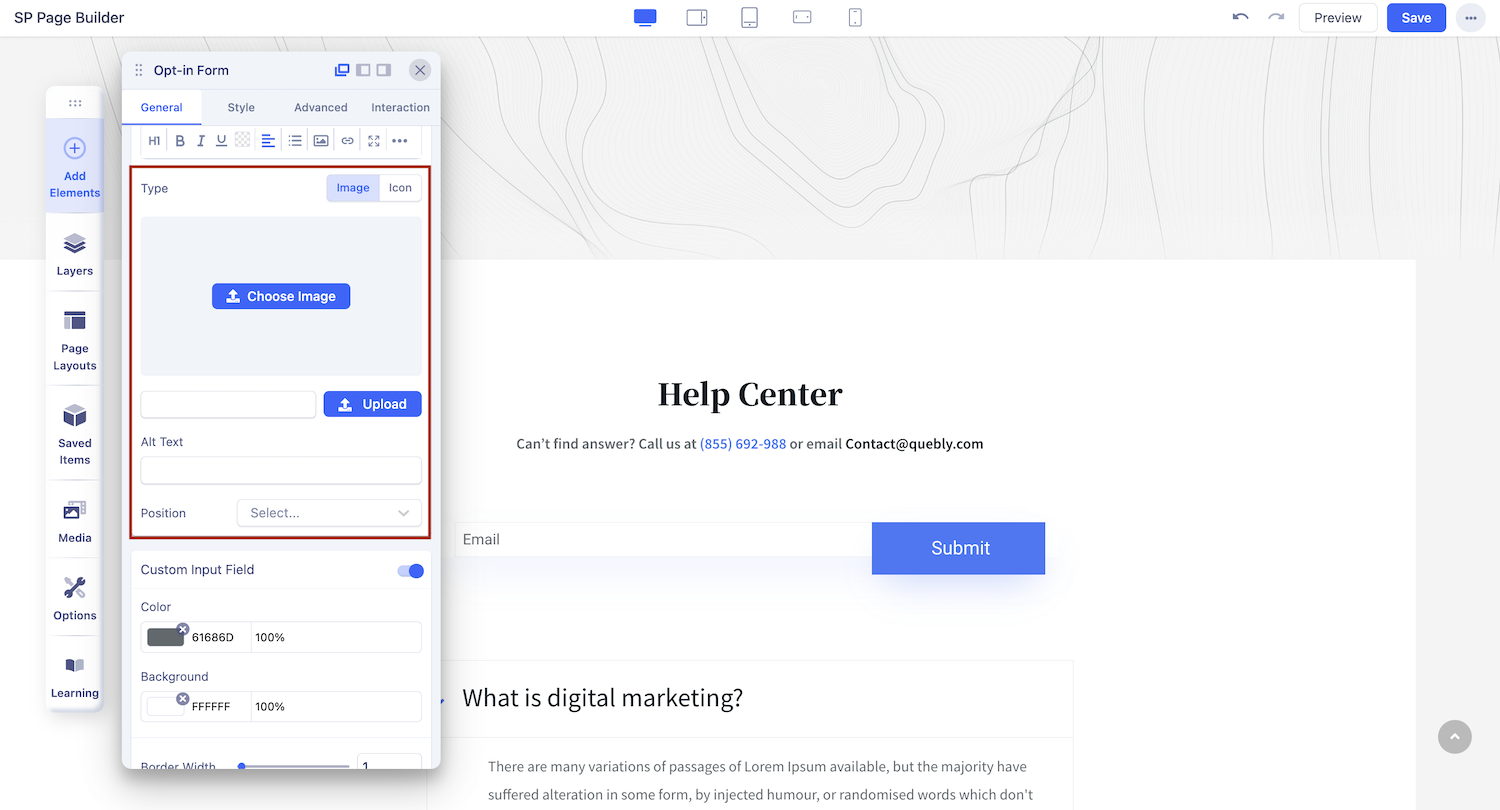
Add an image or icon to your opt-in form, set position, Alt text, icon size, icon color, and more from the Media tab.
Options
Enable Captcha: Enable this option to add a Captcha to your opt-in form.
Show Checkbox: Enable this option to add a consent checkbox to your opt-in form. Using a checkbox means a user must take an action and click to show that they agree to your Privacy Policy.
Checkbox Label: Add a label to your checkbox so that users can understand what they are consenting to.
Field
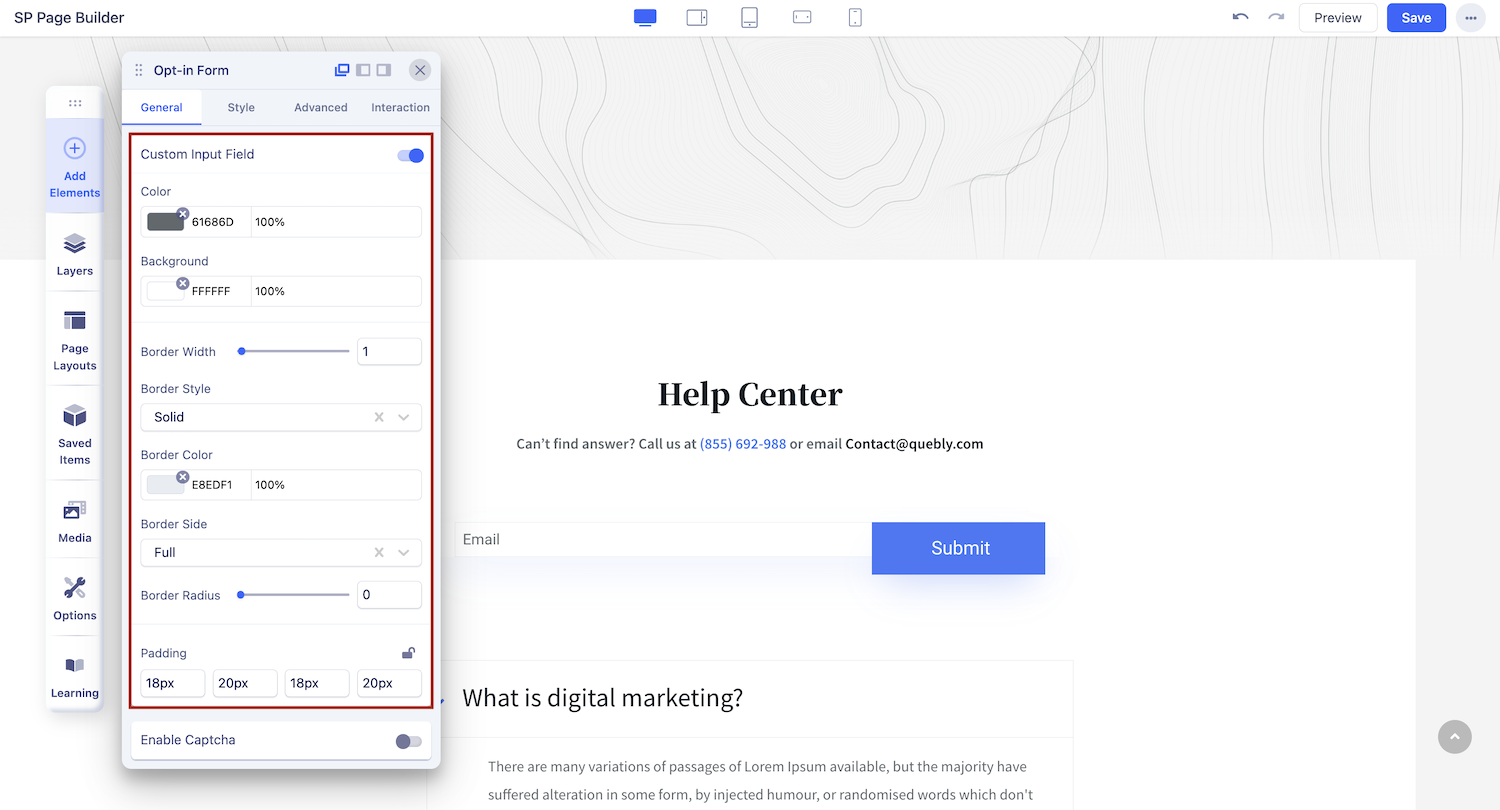
Custom Input Field: Enable this option to add customization such as border width, border style, padding, and more to your input fields.
Title
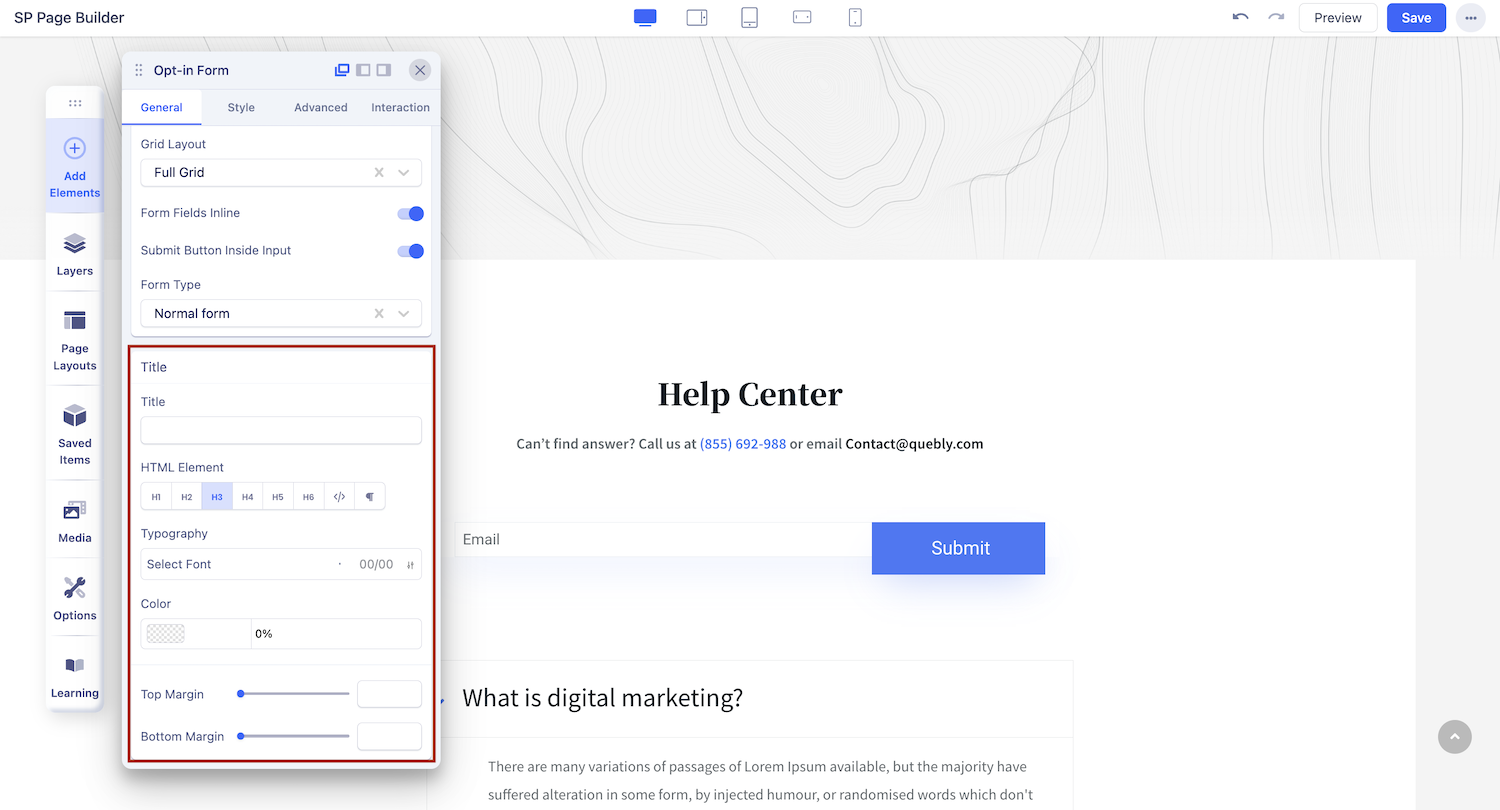
Title: Add a title to your opt-in form here. You can customize the title, add the margin, and color, and do so much more.
Learn more about the Typography styles Here.
Layout Settings
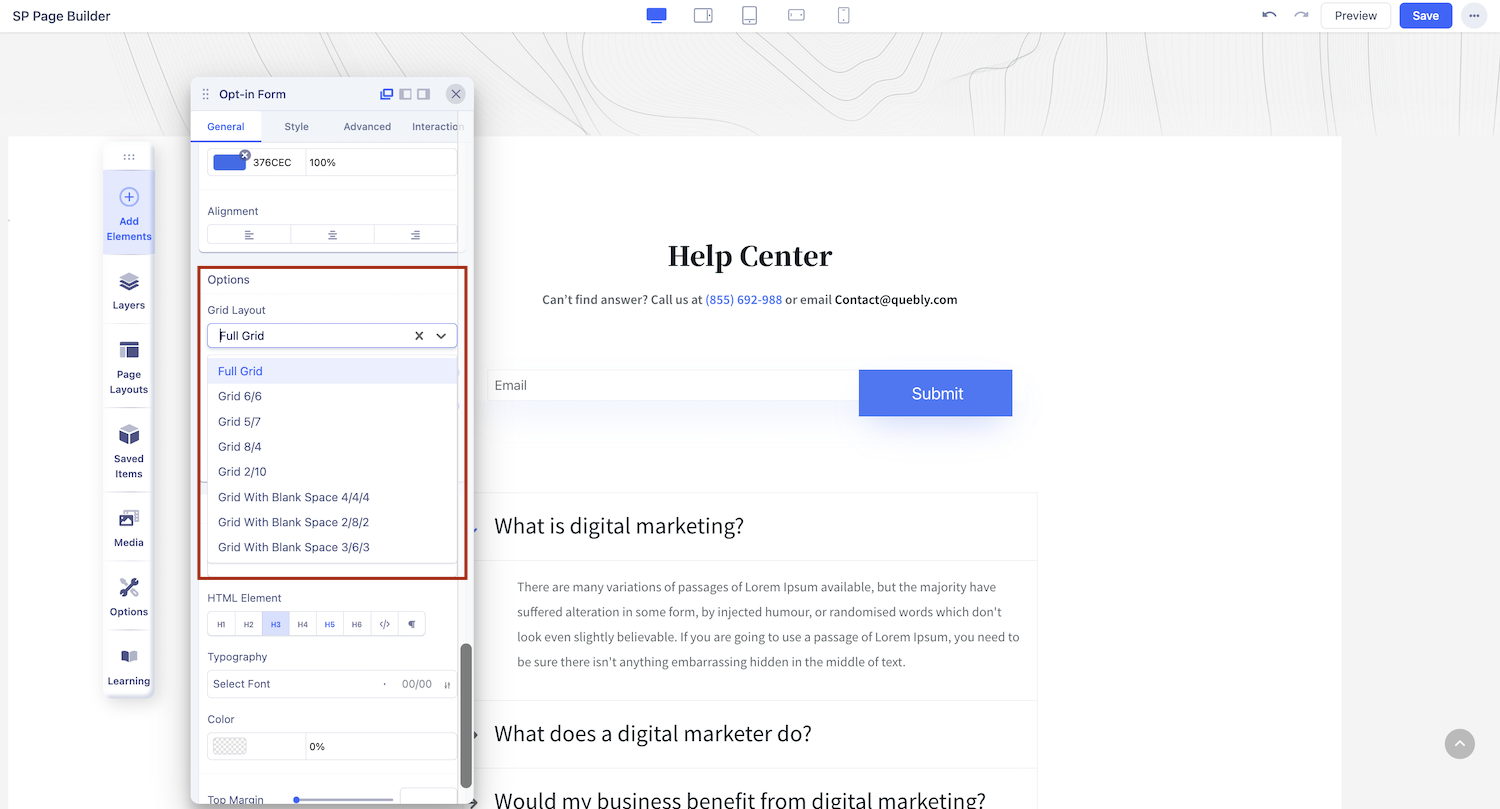
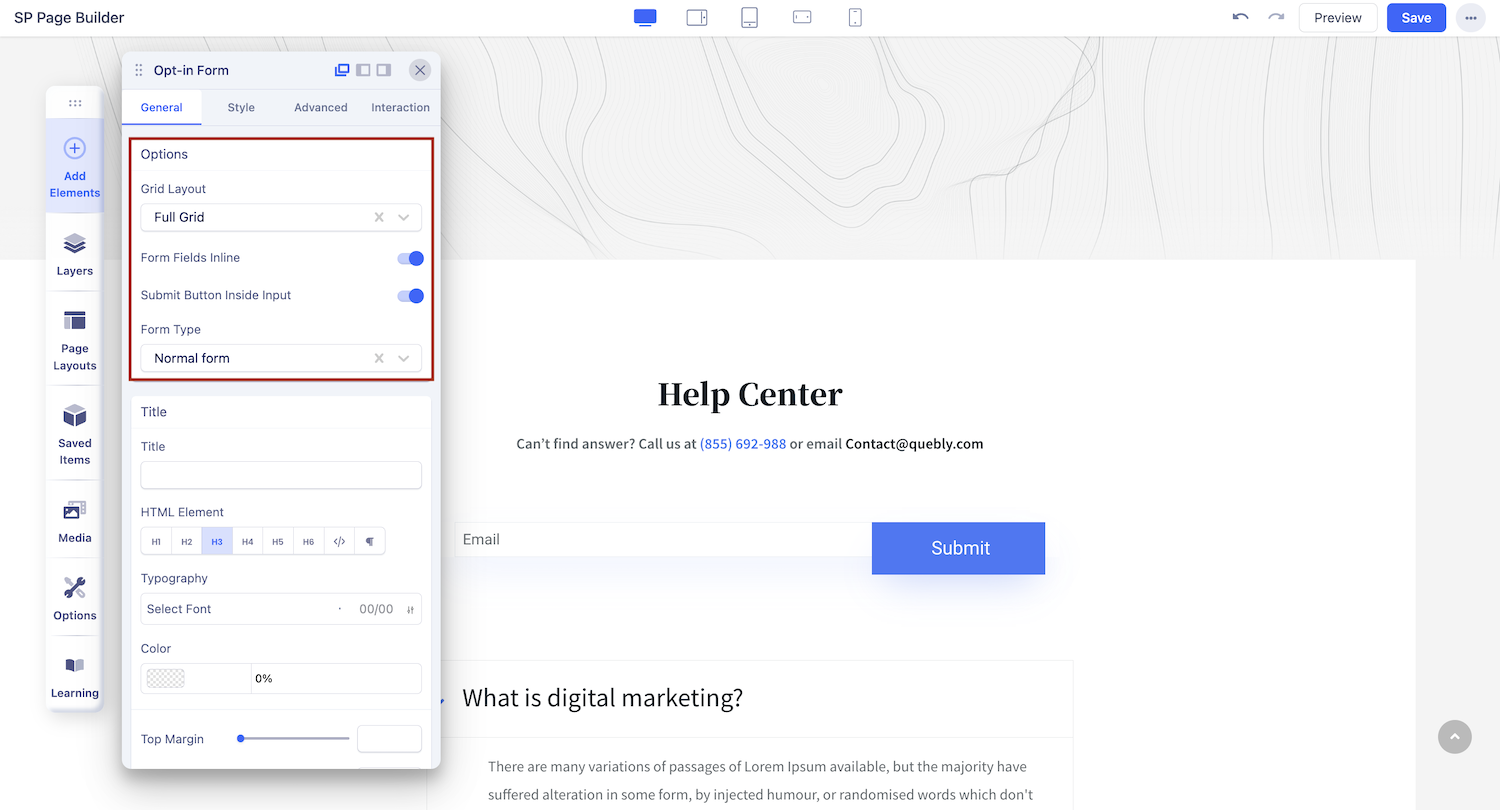
Grid Layout: Choose your form grid layout from the dropdown menu. You have the following options to choose from:
- Full Grid
- Grid 6/6
- Grid 5/7
- Grid 8/4
- Grid 2/10
- Grid With Blank Space 4/4/4
- Grid With Blank Space 2/8/2
- Grid With Blank Space 3/6/3
Form Fields Inline: Enable this option to make all the input fields inline.
Submit Button Inside Input: Enable this option to make the Submit Button inline with the input field.
Form Type: Choose your Form Type to be a Normal form or a Popup form.
Button Settings
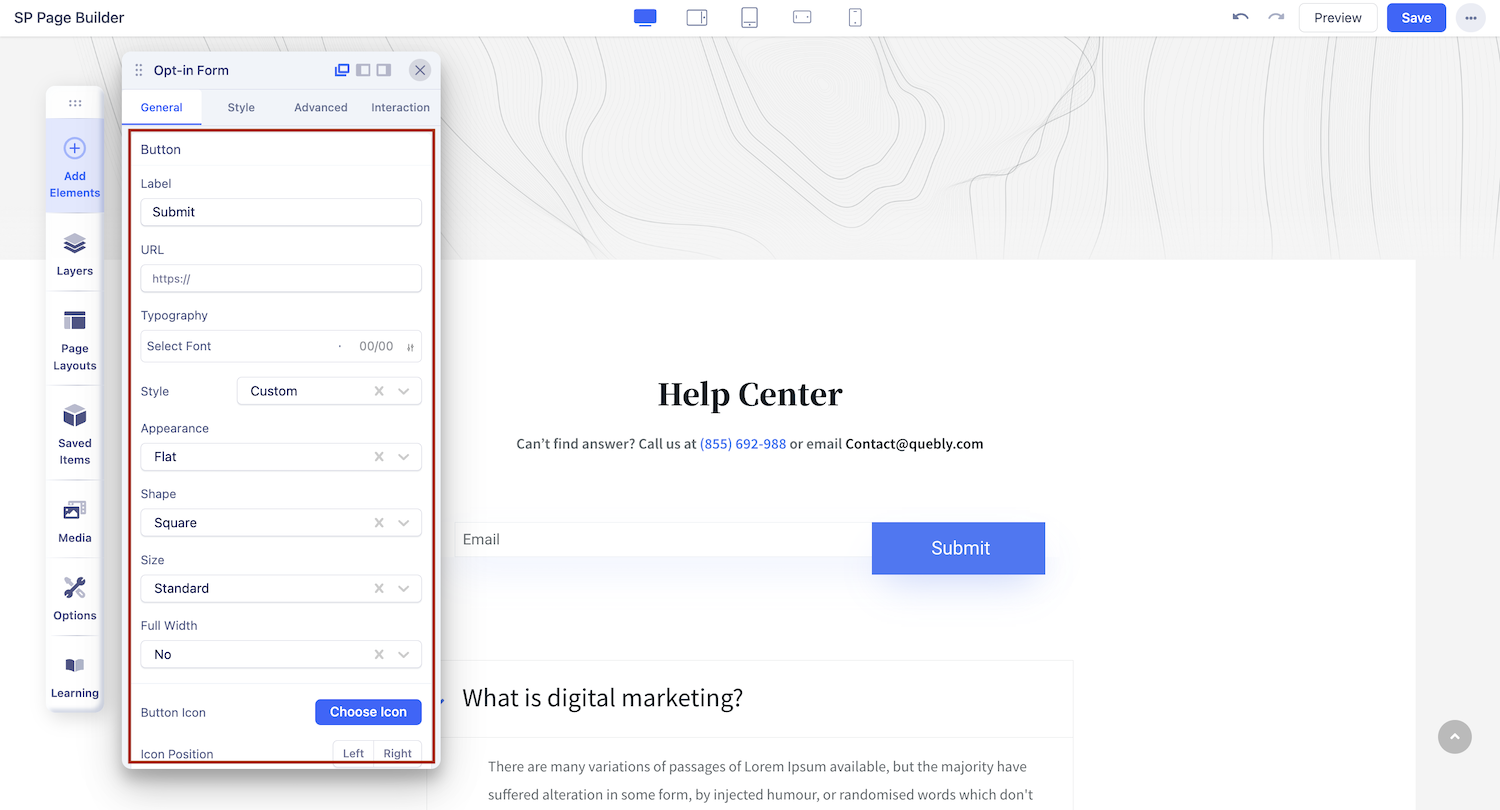
Customize your form button, add a Label, choose button style, appearance, shape, and more. Learn more about Button.