

Clients
The Client is a dedicated addon to showcase your clients, with whom you work. With SP Page Builder Clients addon you can add your client's logo, and their information with ease and display them with amazing design structure.
How to Add a Clients Addon
You can add a Clients addon to your page from the SP Page Builder sidebar. Simply drag the addon from the Addons panel and drop it on the section of the page where you want to add a Clients addon.
Clients Settings
When you click on the Clients addon, the addon inline editor will open up. You can access the addon settings and customize the addon to fit your needs. The Clients settings come with two different tabs:
- Items
- Title
Items
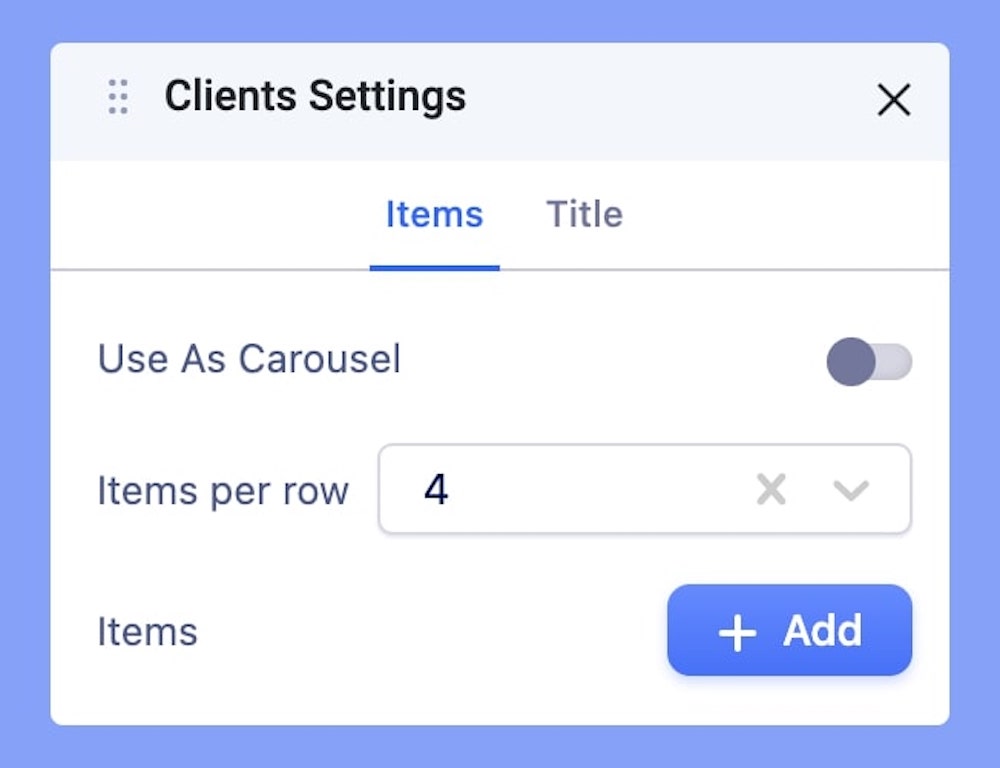
The Items tab lets you carry out fundamental customization of your addon.
Use As Carousel: Enable this in case you want to show your client items in a carousel slide show.
Items Per Row: Set how many client items you want to display in each row.
Items: Click on the +Add button to add more client items.
Upon enabling the “Use as Carousel” option you will get further options to customize your carousel.
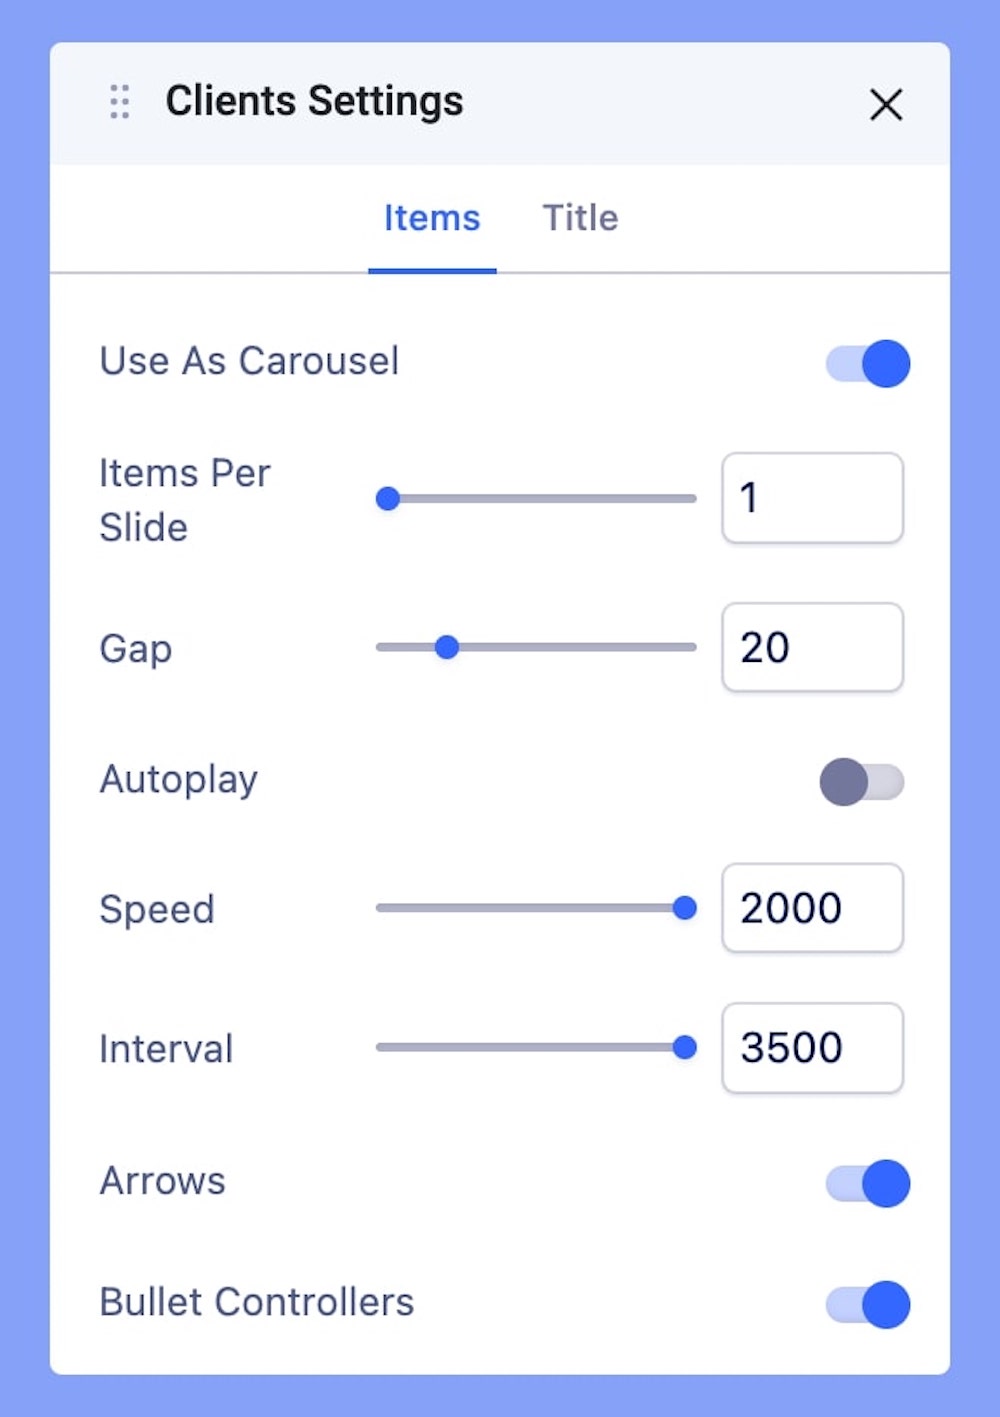
- Items Per Slide: Set how many items will be displayed on each slide.
- Gap: Set an optimum gap between each item
- Autoplay: Enable this option if you want your slider to autoplay
- Speed: Set an optimum speed for your autoplay slider
- Interval: Set an optimum interval between each displayed slideshow.
- Arrows: Enable this to display arrows to the left and the right side of the screen.
- Bullet Controllers: Enable this option to display bullets in your slider to switch between your slides.
Customize the Client Items
How to Change Items’ Image
Click on the Edit button of your client item. Scroll down to the Image and hover over it. Click on Replace. You should now be able to choose your preferred image from the Media Manager. Or you can upload your image through the Upload button just below the image.
Also, edit the Title of your Image easily from the Title field.
How to Add Links to Your Client Item
Scroll down to the Link panel just below the Image. Here you can find a specific space where you can choose between the options URL, Menu, and Page.
- For URL, simply paste the web address you want to link to into the first field.
- For Menu, select the option you want to link to from the dropdown list. Note that the options on this list are all Menu Items that exist on your website.
- For Pages, select the option you want to from the dropdown list. Like Menu, these options are all existing Pages available on this website.
Lastly, you can enable the option Open in New Tab to open this link in a new tab and No Follow to tell search engines to ignore this link.
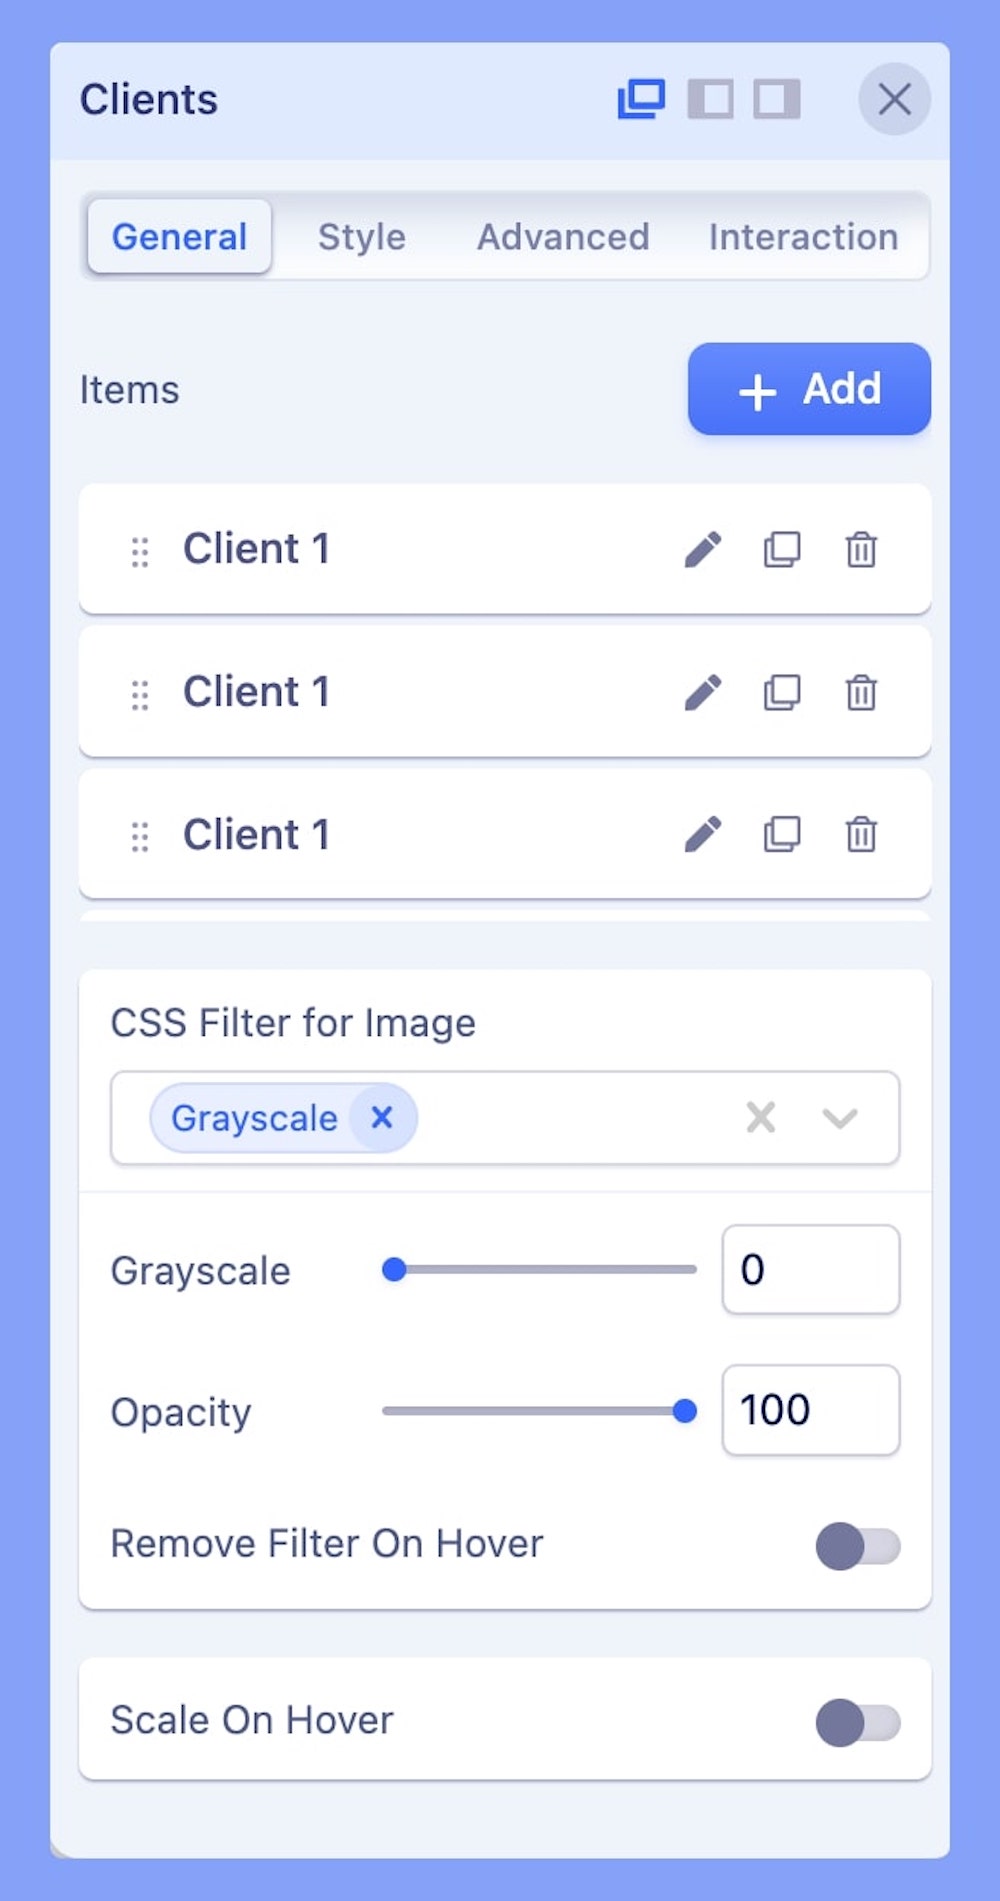
CSS Filter for Image: Comes with a drop-down menu containing Grayscale and Opacity.
- Grayscale: Add Grayscale to your image
- Opacity: Set the opacity for your image
- Remove Filter On Hover: Enable this option in case you want to remove your applied image filter upon hovering.
Scale on Hover: Enable this option if you want your item image size to increase upon hovering.
Add a Title to the Clients Section
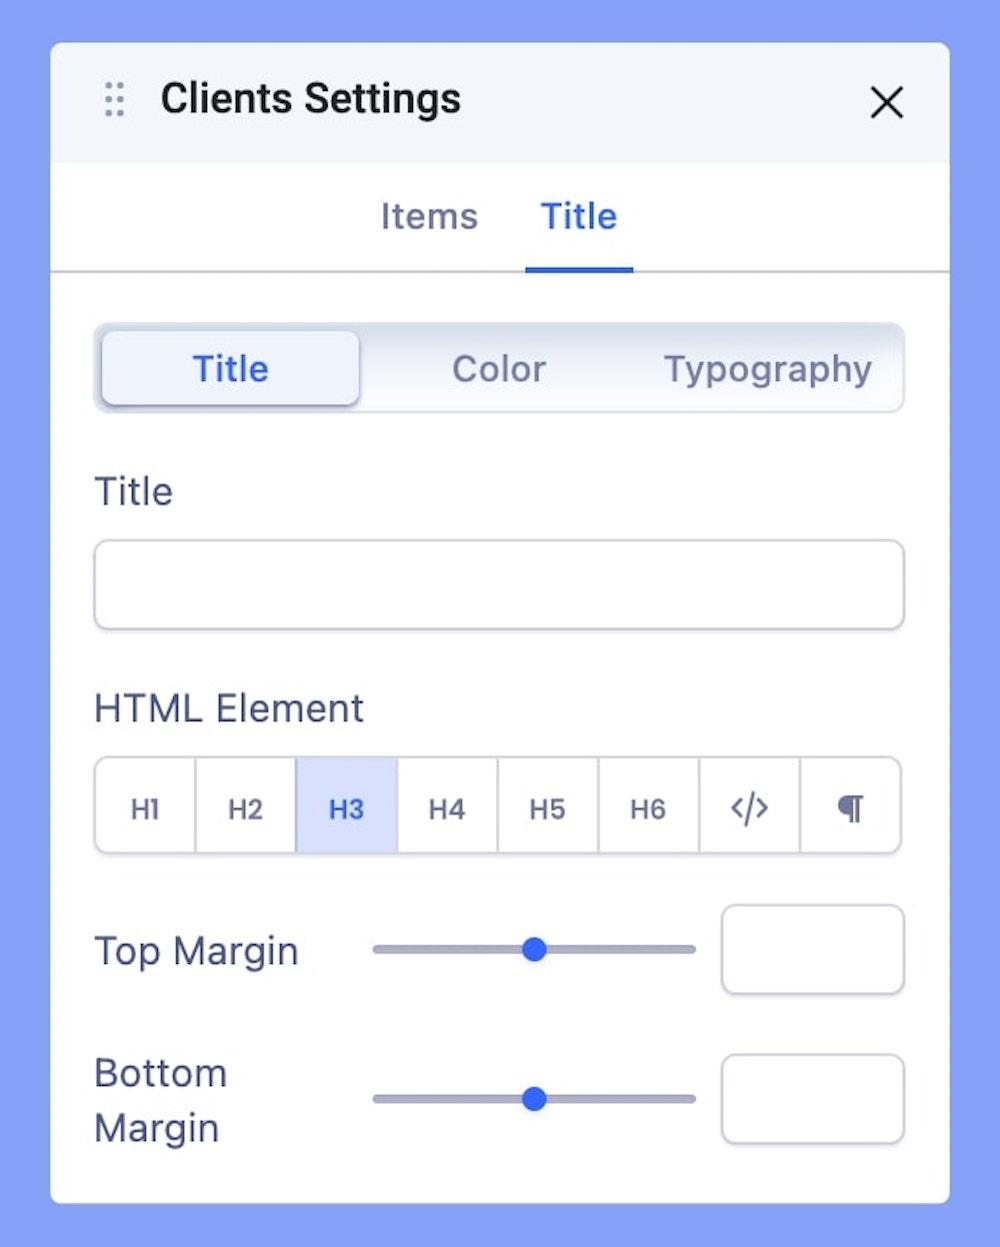
Use this tab to add a title to the section you just added with the addon.
Title: Add a title on top of your Client Items
Color: Set your preferred color of the added title. Learn more about color settings here.
Typography: Edit your title Font, Size, etc in this tab. Learn more about settings here.
Add New Client Items
Click on the “+” button to instantly add your client items to your rows.
Alignment
Choose the best alignment for your client items. You can choose from Left, Right, and Middle alignment options.