

Google Maps
Google Maps is a popular online mapping platform. Through this service, users can access the map for any location, get directions, and more. Using the Google Maps API and SP Page Builder Google Maps Addon, you can easily embed a map into your web pages and use it to display various locations.
Adding Google Map API Key
For this to work, you first need to obtain a Google Map API Key and add it to your site. To do this, follow the instructions from this Google documentation to create a Maps JavaScript API key.
It's 3 short steps (watch the video guide):
- Register at the Google Maps platform
- Create an organization
- Create an API key
Keep in mind that since 2018, Google Map (API) is no longer free, so you will need to add your billing information during this process. Luckily, you will only get charged if you exceed the $200 credit they give you for free each month!
With the current billing system, you need to activate each Google API separately. They all have different pricing plans, so you need to enable them individually for your domain.
Therefore, if you're still getting a restricted usage message after you've enabled billing, find out which API you need for the features you want to offer and ensure that it's enabled. If your previous Google Maps API key was created before this change, we strongly recommend creating a new personal Google Maps API and associating a credit card with it.
Once you’ve got your API key, visit your site’s backend Joomla Dashboard. Here, from the left side panel go to Components > SP Page Builder Pro > Settings. Paste the API key you created into the field named Google Map API Key. Finally, don’t forget to click on Save Changes.
Also, if you’re looking for an alternative to Google Maps, please take a look at the Open Street Map which is completely free!
How to Add Google Maps
To add the Google Maps Addon, open the Addons Panel by either clicking on the plus icon inside a row or by clicking on the Addons button on the Left Sidebar.
From the Addons Panel, click and drag the Google Maps Addon which you will find under the General section.
Google Map Settings
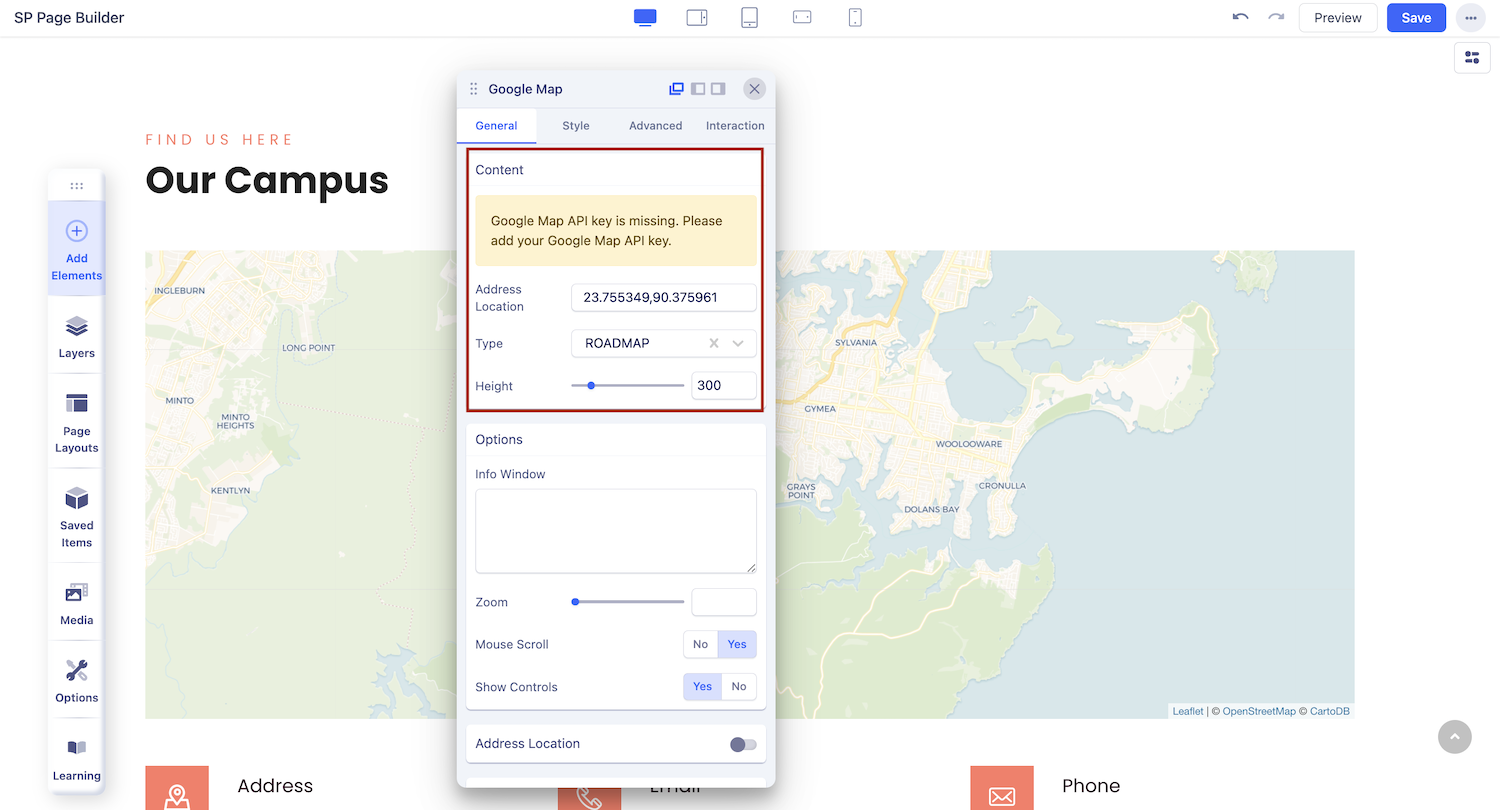
Now it’s time to set up the map location and customize the map to suit your preferences. To do this, click on the Geo-Tag icon to bring up the Google Map Settings menu.
Map
Address Location: Define the map location here by entering its exact coordinates. You should be able to find these coordinates easily if you look them up on www.google.com/maps.
Map Type: For the Map Type, select any one of the options available from the following dropdown list which includes:
- Roadmap: Shows default Roadmap view.
- Satellite: Shows Google Earth satellite image.
- Hybrid: Shows a combination of both Roadmap and Satellite views.
Height: Drag the range slider to the right to increase it and drag it to the left to decrease it. You can also directly enter the height you want into the input field that is beside it.
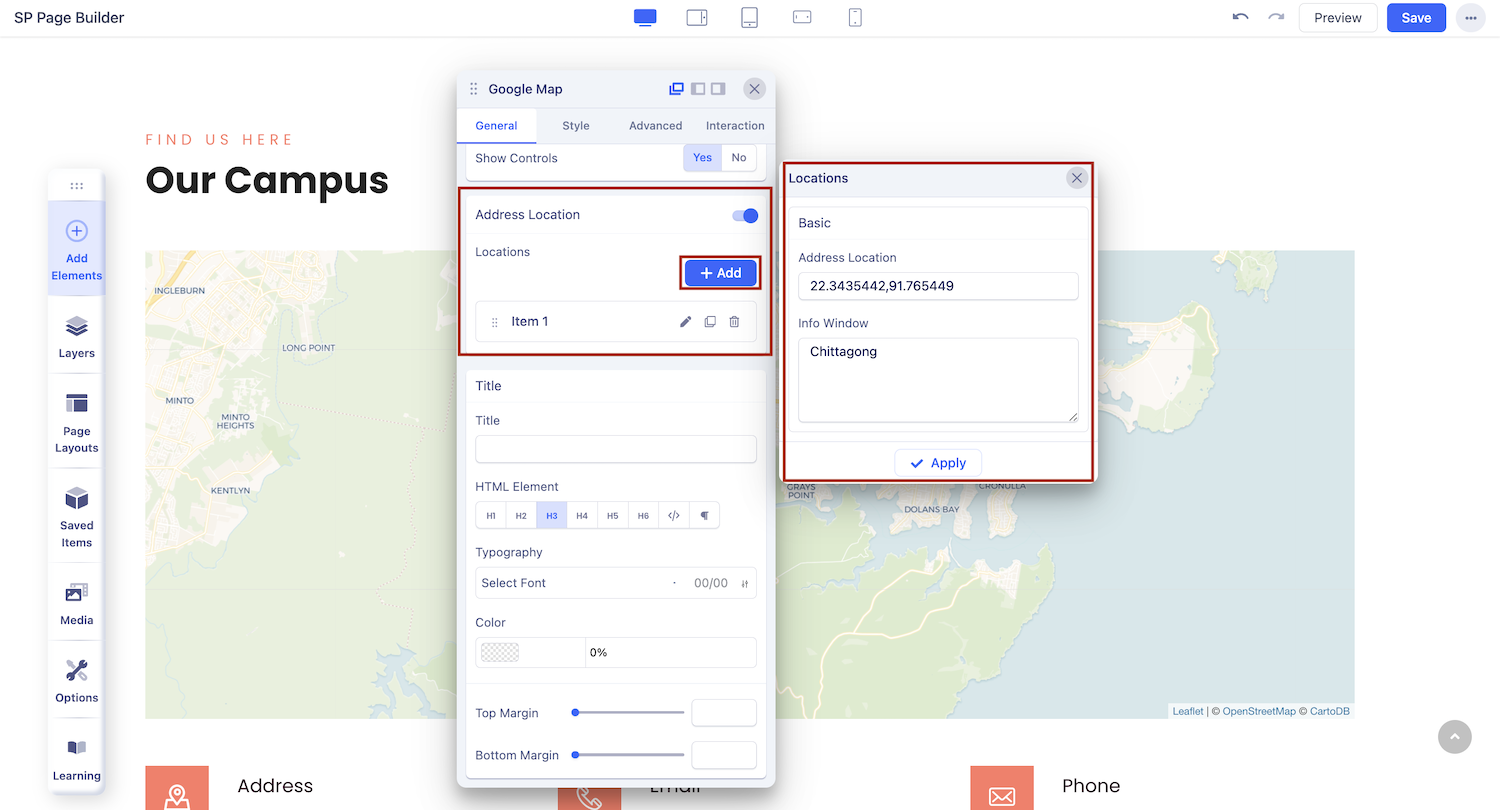
Multiple Locations: Enable this option to show multiple locations on a single map.
+Add: Once the Multiple Locations option is enabled, this button should appear. Click on this to add a New Item (Location). This action will open the New Item form.
Address Location: Enter your location’s coordinates here.
Info Window: Add a description for this Item/Location.
Finally, click on Apply to save this and repeat these steps to add more locations.
Note that you’ll find another add location button on the inline editor in the shape of a plus icon after you’ve enabled the Multiple Locations option.
Also after saving, each Item will be listed just under the Add button on Google Map Settings menu. From here, you’ll be able to edit, duplicate, and delete these items using the icons on their right.
Options
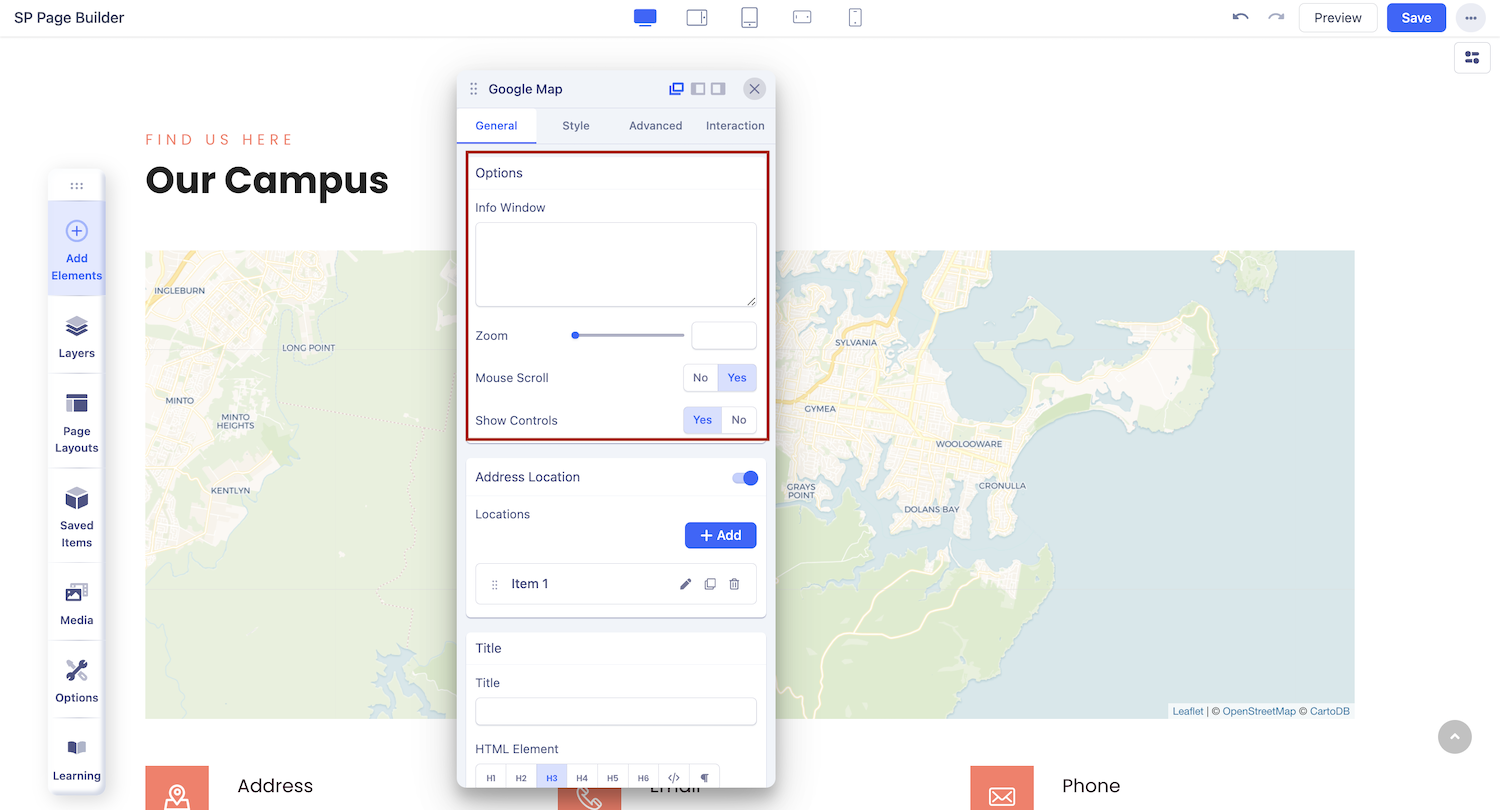
Now that you have added your location(s), it’s time to adapt the Map Controls to your tastes. To do this, head over to the Google Maps inline editor and open Google Map Settings. On the Options tab, you will find the following features:
Info Window: Add a short description of this Map.
Zoom: Use the range slider or the input field to set how much the Map will be zoomed into by default.
Mouse Scroll: Enable or disable zoom by mouse scroll.
Show Controls: Show or hide Map Control buttons like Zoom and Full Screen.
Title
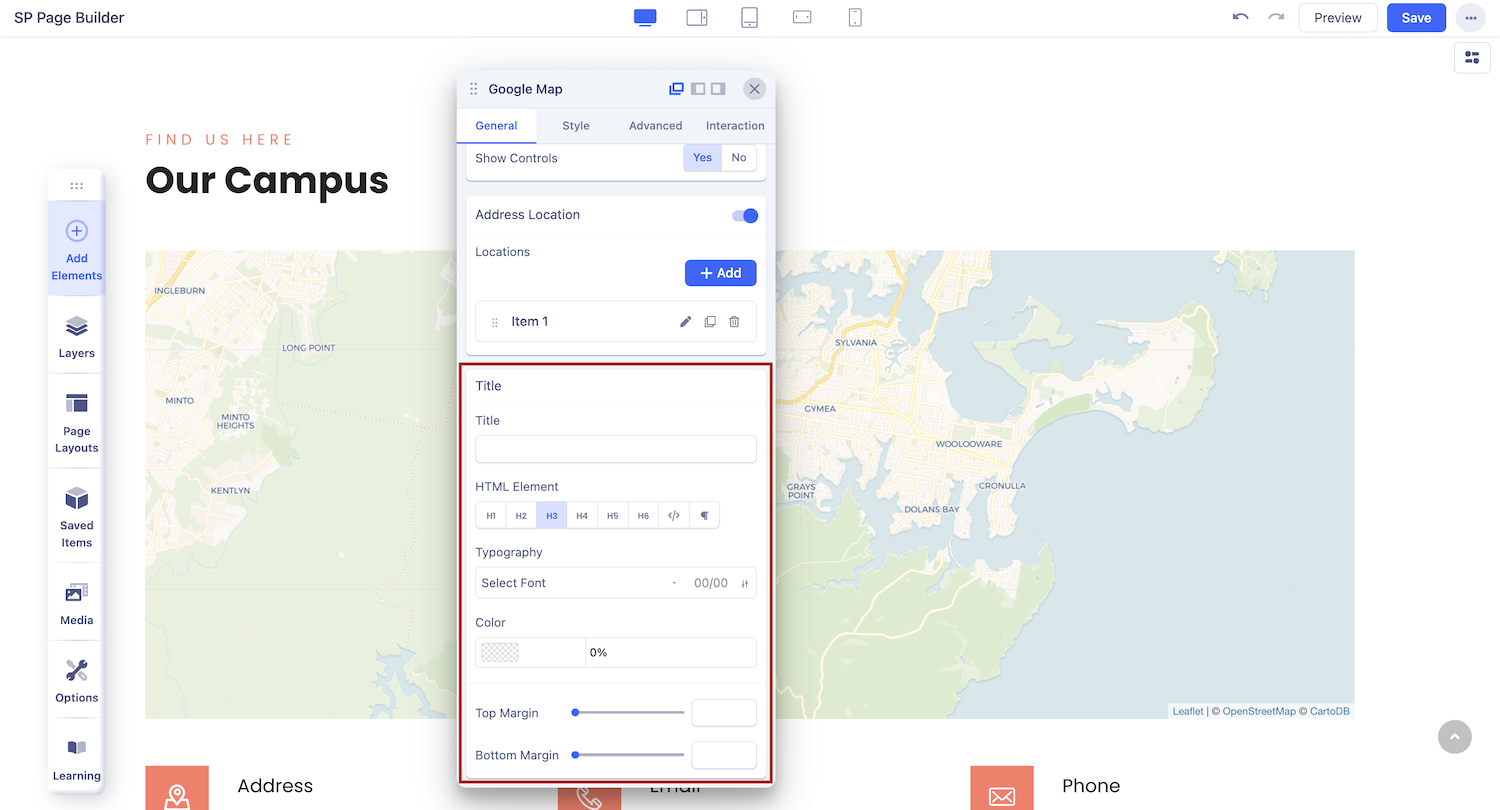
You can also add a Title to your Google Map. Go to the Title tab on Google Map Settings to access this option.
Title: Enter the text for the Title.
HTML Element: Set the HTML element hierarchy as H1, H2, H3, etc.
Top Margin: Set the top margin of your Title.
Bottom Margin: Set the bottom margin of your Title.
You can further customize your Title’s style using the options from the Color and Typography menus on the Title tab. For more information check out their dedicated documentation.
Embedding a Google Map (For Free!)
Using this method, you will be able to embed a Google Map into your webpage completely free although this method is very limited and will not give you all of the flexibility that comes with using the actual API.
To start, visit www.google.com/maps and search for the location you want to display. Once you’ve done that, click on the Share button that’s on the left side panel. Then, select the Embed a Map option and click on Copy HTML button to copy the iframe line.
Next, open the Addons Panel and Drag & drop the Raw HTML addon to your web page. Clear any placeholder text inside this addon and paste the line you just copied. And voila, your Map has been embedded!
Of course, for this Map, you won’t be able to point to Multiple Locations or do any other customizing but it’s still a good option for when you want to simply add a basic Map to your page.