

Articles
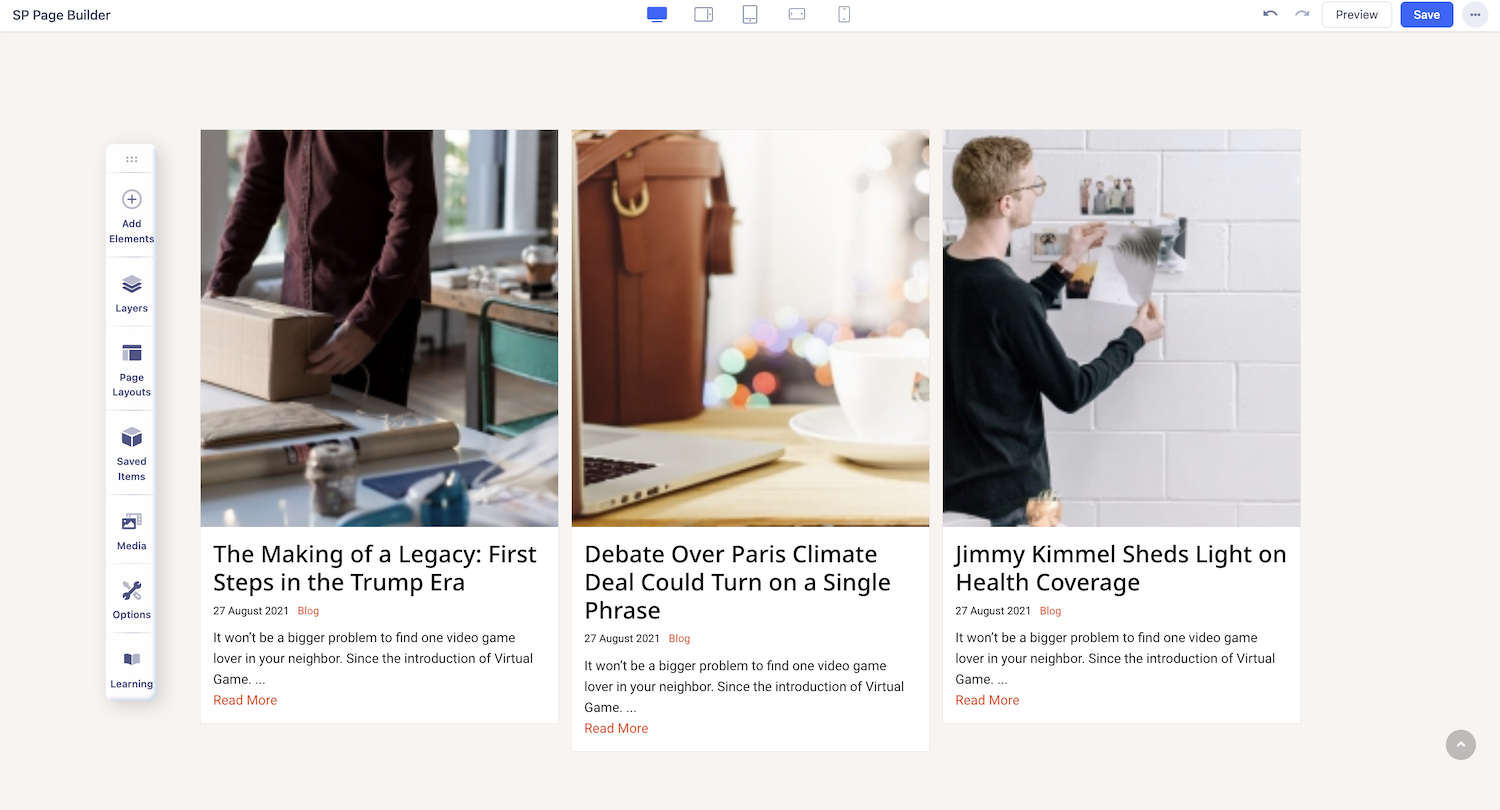
The article is a great addon of SP Page Builder to your blog posts, articles, and product promotional activities in the desired part of your website. Articles are automatically formed according to your given settings nicely on your web page. SP Page Builder automatically generates beautiful and crafty design and display for a stunning visual experience.
How to Add an Article Addon?
You can add an Article addon to your page from the SP Page Builder sidebar. Simply drag the addon from the Addons panel and drop it on the section of the page where you want to add the Article addon.
Article Settings
When you click on the Article addon, the addon inline editor will open up. You can access the addon settings and customize the addon to fit your needs.
Content

Ordering: Select the ordering of how the article will be ordered. There are few options, like latest, oldest, popular, etc. Select your desired one from the drop-down list of ordering options.
Include Subcategories: Enable this if you want to display articles under a subcategory.
Note: As of SP Page Builder v6.6.1, K2 Integration is no longer supported. Only Joomla Articles can be used as a content resource for this addon.
Options
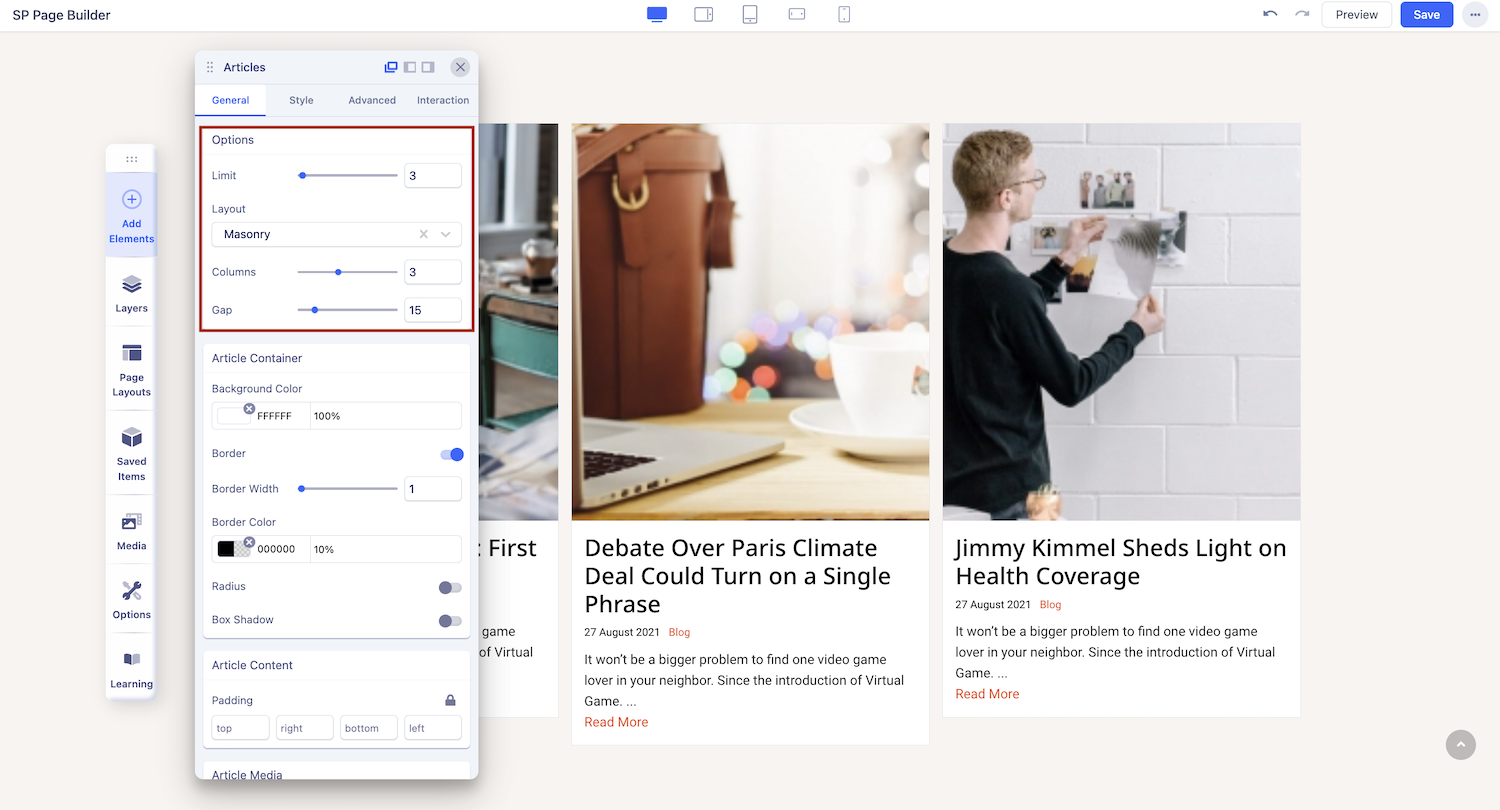
Limit: You can limit the number of articles you want to display. Enter the desired value in the field or use the slider to up and down the number according to your design requirement.
Columns: This field is there for you to set the limit of how many columns you want in every row. Insert that value according to your desire and outlook requirement.
Show Introtext: If you want to show intro text in your article, enable this option otherwise the intro text-related options will not show up. Leave it disabled if you don't want intro text.
Introtext Character Limit: Set the limit of how many characters will be shown in the intro text.
Layouts: The layouts option lets you choose the layout of your Article addon’s article list. You can choose from a range of options like Default, Editorial, Side by Side, Masonry, and Magazine.
Global Options
Hide Thumbnails: Enable this option to hide the thumbnails of the displayed articles.
Show Author: Enable this option to show the author name of the displayed articles.
Show Tags: Enable this option to display the tags of your displayed articles.
Show Category: Enable this option to show the category of the displayed articles.
Show Date: Enable this option to show the date of publication of the displayed articles.
Create Date Text: Add a text for your article’s date.
Show Last Modified Date: Add the time your article was last modified.
Last Modified Date Text: Use this field to add the latest modified date text.
Show Readmore: Enable this option to show the Read More button under each article's intro text.
Readmore Text: Use this field if you want to rename the Read More button.