

Layers
Layers are all the elements of a web page stacked on top of one another, which allow you to access all the elements you’ve used to craft the page. Using Layers in SP Page Builder allows you to keep your web page sections containing columns and all the content organized to manage your workflow without a hitch.
It turns your builder into a layered interface and lets you customize everything at any stage.
How to Use Layers
You can access layers from the frontend sidebar editor of SP Page Builder. When you open the Layers tab, you’ll see how the existing sections and their content are organized on the current page.
Clicking the vertical three dots menu beside the Canvas will let you expand or collapse the sections, clear the page canvas, or export & import the page layout.

Expanding a section will show the columns in that row and expanding a column will show all the addons in that column.
Clicking the vertical three dots menu on the individual section, column, and addon will open the related settings on the left.
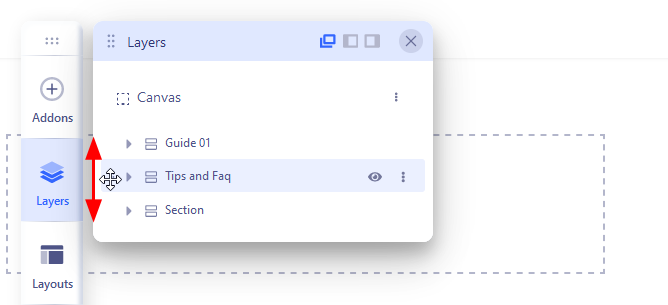
If you want to change the order of sections - move the mouse over a selected section (left side, to see the cursor icon with arrows) and then move it up or down. Later just save settings to keep changes.
Why Use Layers
In the Layers, you can drag and drop sections, columns, and addons to change where they are arranged on the page. You can view the changes live and decide how you want your page layout to be.
You can also access their related settings and customize the content at any stage in your workflow speeding up the entire development.
Layers can be adjusted with both frontend and backend editors.
For more convenience, you can use the frontend editor to visually and instantly see the layout changes and customize your page with minimal effort.
Access Nested Row Settings

In case you want to access the nested row settings, simply navigate to the Layers tab and Expand the Section associated with the nested rows. Expand the Columns and now you should be able to see your nested row. Click on the three vertical dots to access all the options related to the nested row. From here you can easily access your nested row Settings.
Please note that you can only access the nested row settings from the Layers.