

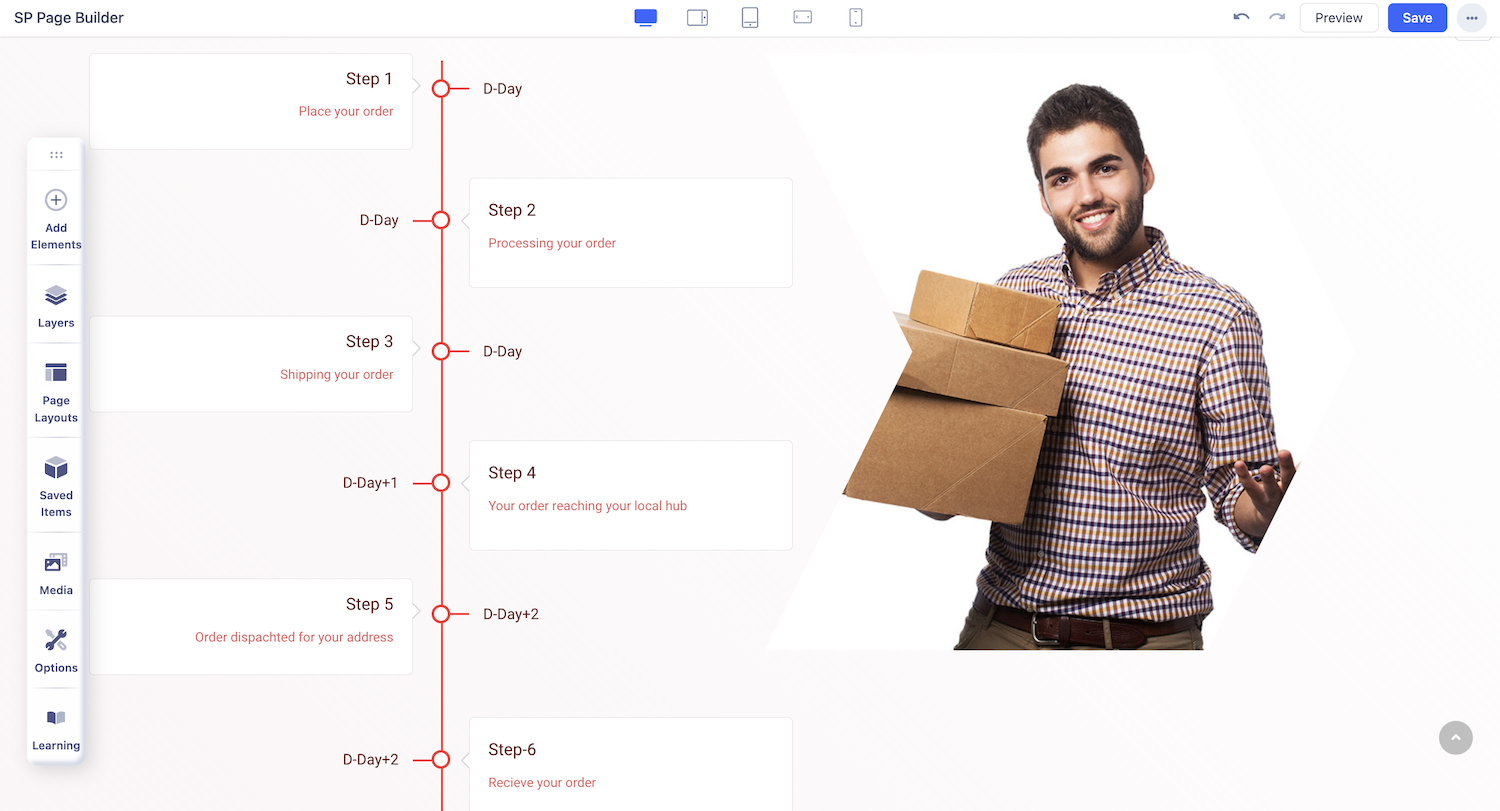
Timeline
The Timeline addon is a great way to represent data that spans a certain period of time in a way that’s informative and scannable. Using this addon saves time and effort as you don’t have to create such a structure from scratch.
How to Add a Timeline
To start, open the Addons Panel by clicking on the plus icon inside a Row or the Addons button on the Sidebar. Scroll down to the bottom of the Content section to find the Timeline addon. Finally, drag & drop this where you want to place it on your canvas.
Timeline Settings
Here, click on the +Add button to open the Timeline General Settings.
Timeline General Settings

+Add: Click on this button to add a New Item. This will open the New.
Item Title: Enter the text for your New Item’s Title.
Content: This section is actually a third-party rich text editor known as TinyMCE.
Enter your content within the large text field or simply click on the existing content and edit it directly.
You’ll find a dropdown at the top-left corner with several options like Headings, Inline, etc. From here, you’ll also be able to select the HTML elements you want your content to consist of.
The three-dot icon on the top-right gives you even more options to customize your content like font size, alignment, list, image upload, and more!
Timeline Date: Enter the date for your New Item.
Starting Date: Enter the starting date for your new item.
Ending Date: Enter the ending date for your new item.
Timeline Image: Upload an image to visualize the timeline.
Alt Text: Provide a brief description of the image for accessibility.
Timeline Style Settings
To customize your Timeline’s style, open the inline editor where you’ll find the icons for Typography and Color.
Typography
Click on the ‘A’ Letter icon on the inline editor to open the Typography window. Here, you can adjust the Font, Font Size, Line Height, etc. For more information on Typography check out this documentation.
Color
Change your Timeline’s color scheme using the Color Settings. Click on the Circle icon from the inline editor to open this window. Here, you will be able to change the color of the Bar, Background, Title, Content, and Date.
More on Color Settings here.